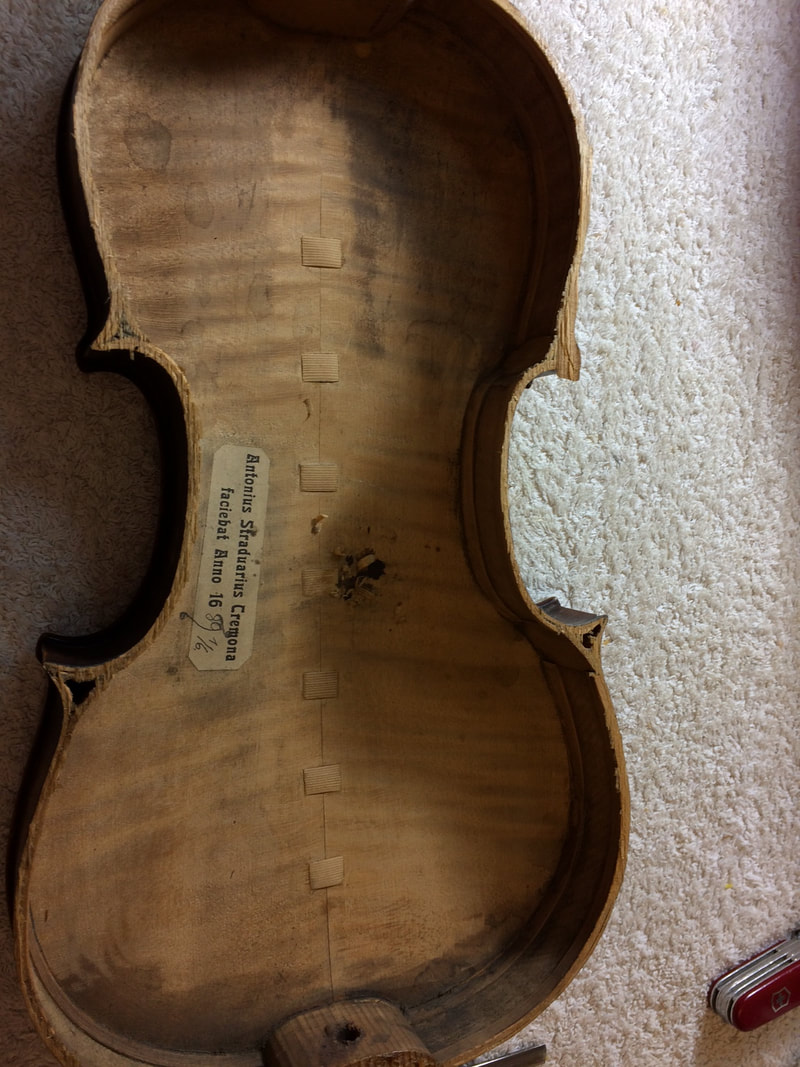
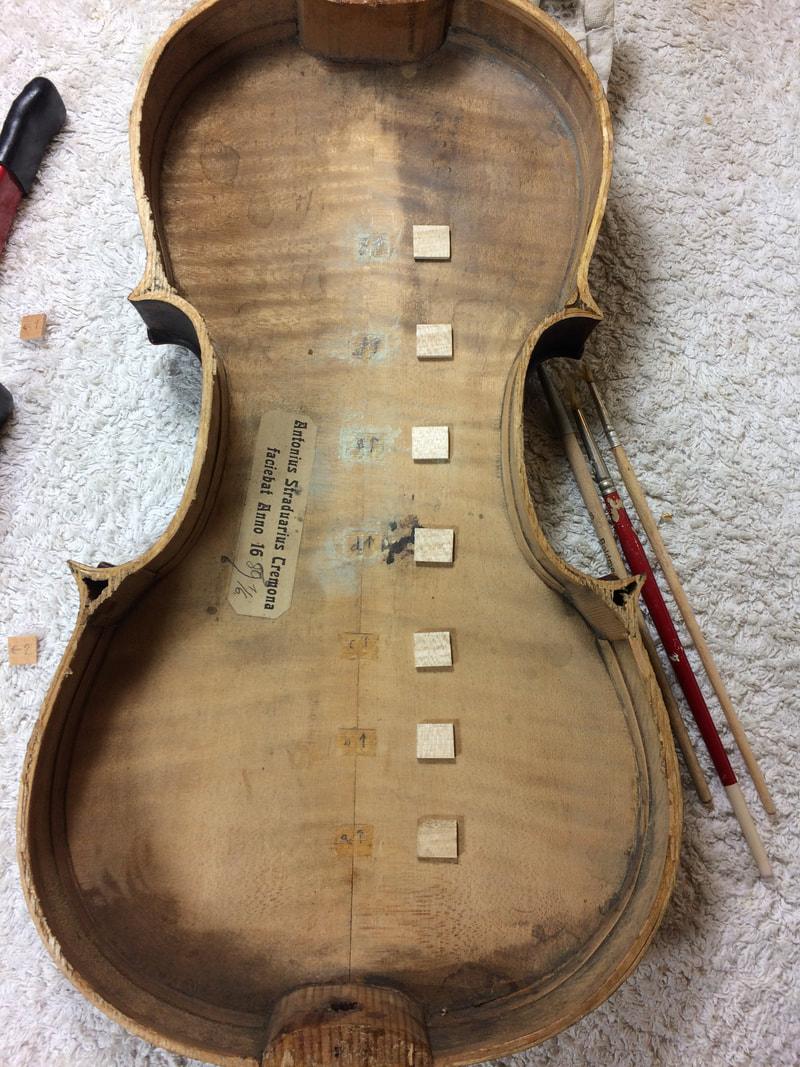
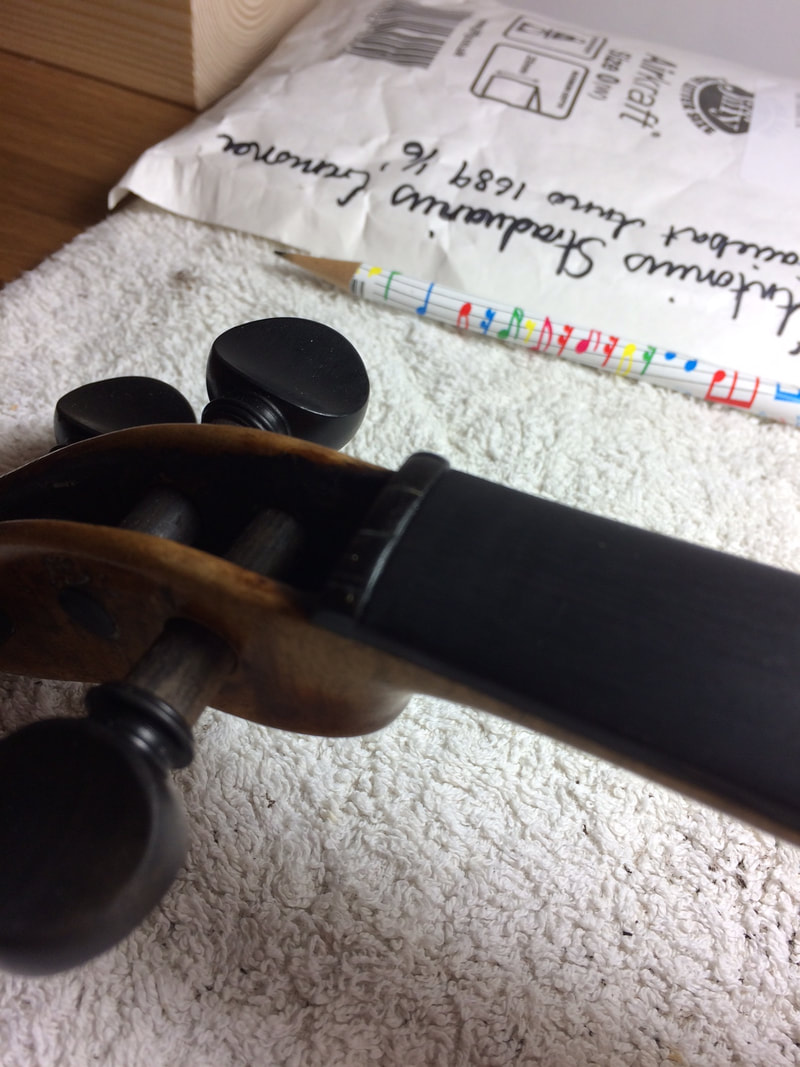
Restoration of violin labelled 'Antonius Straduarius Cremona faciebat Anno 1689 1/16'Spring 2018
|
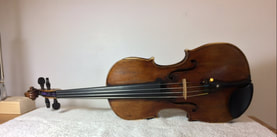
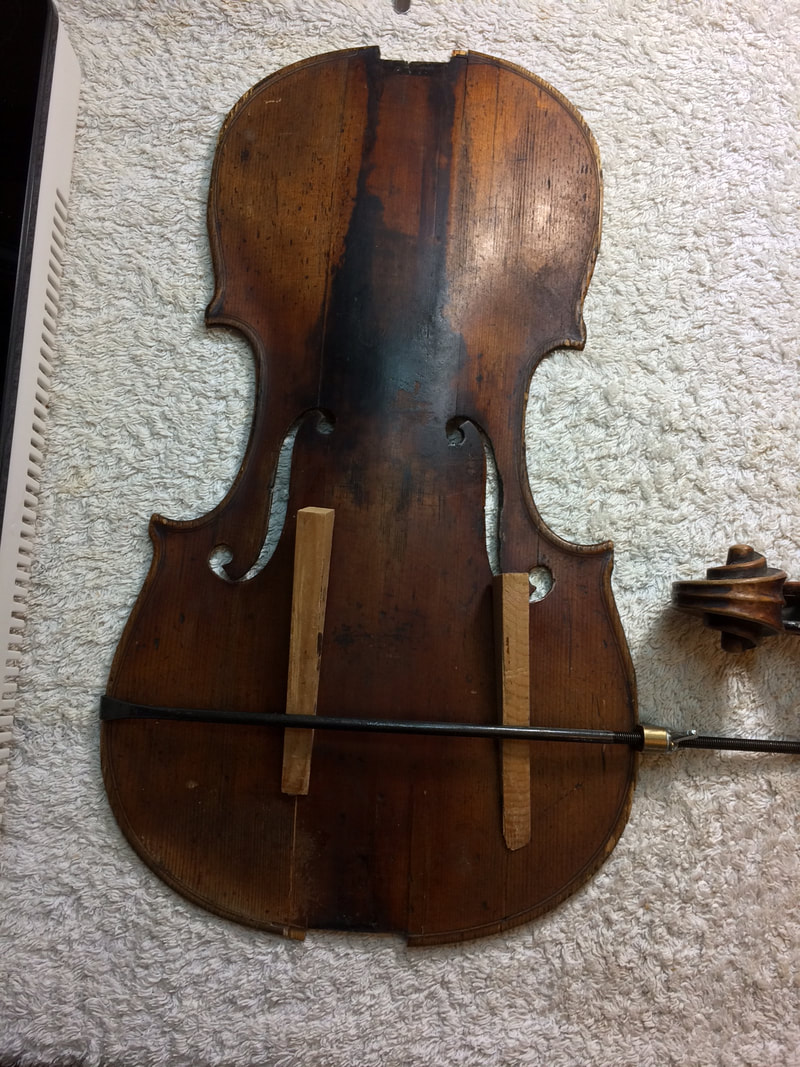
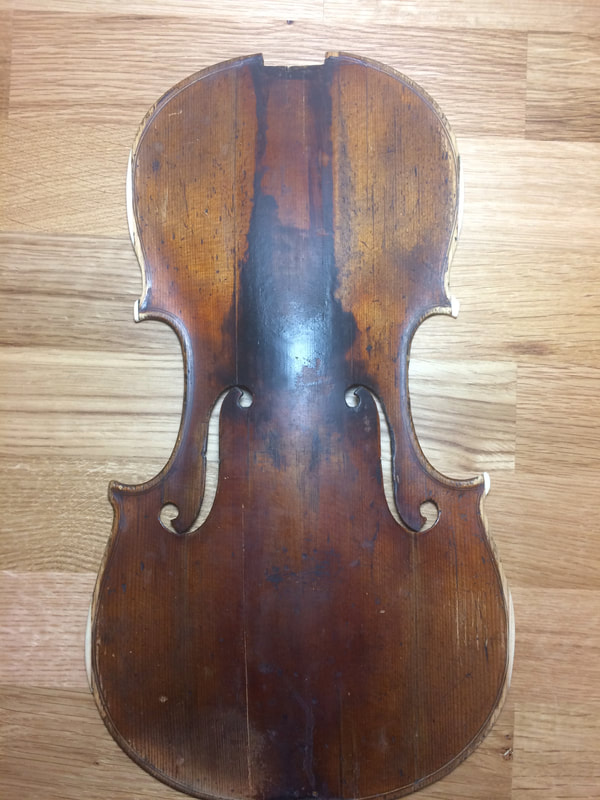
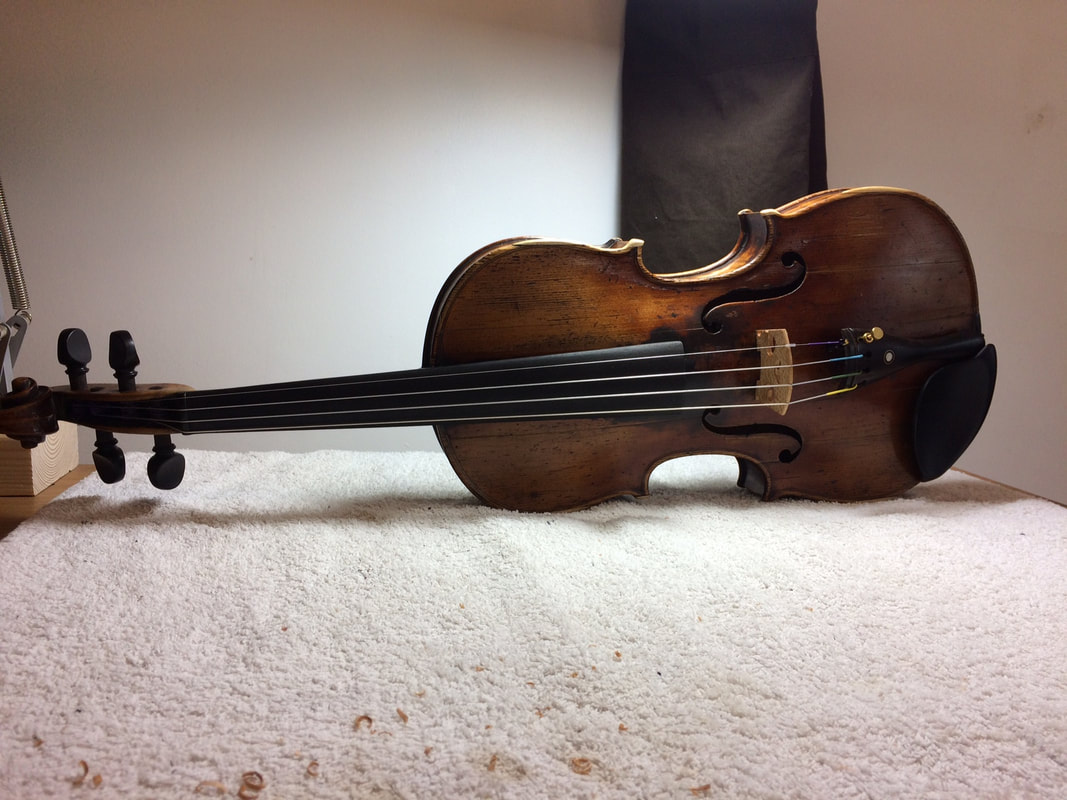
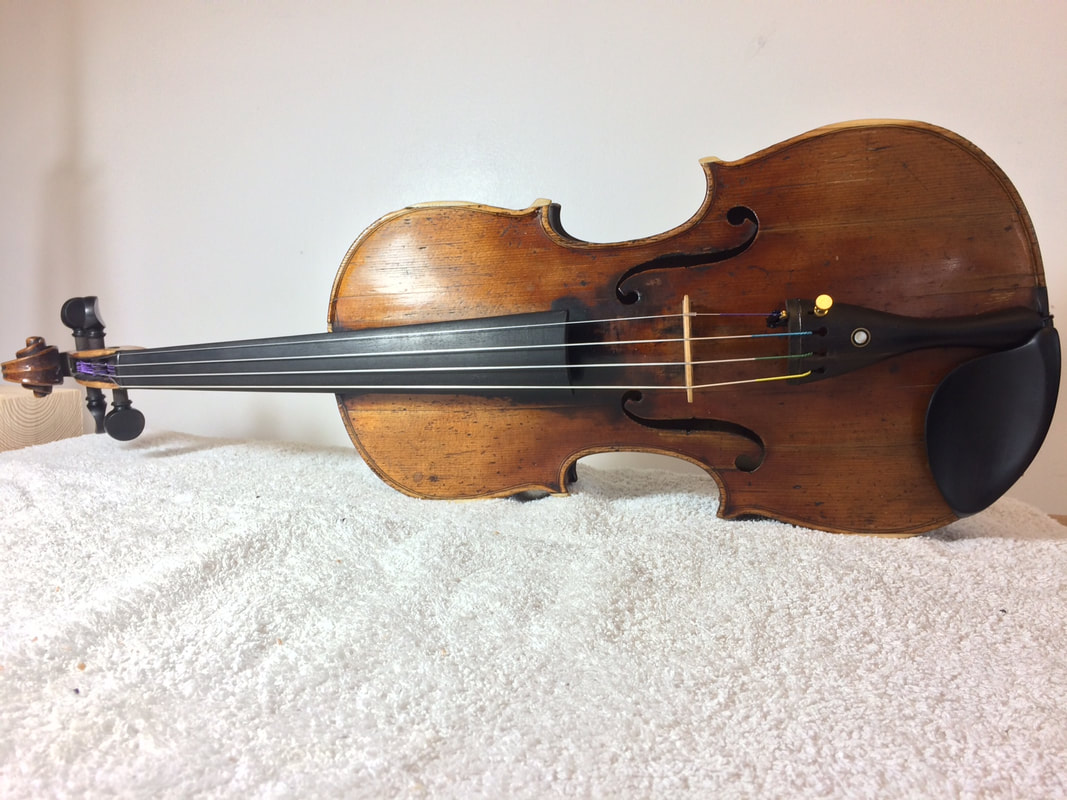
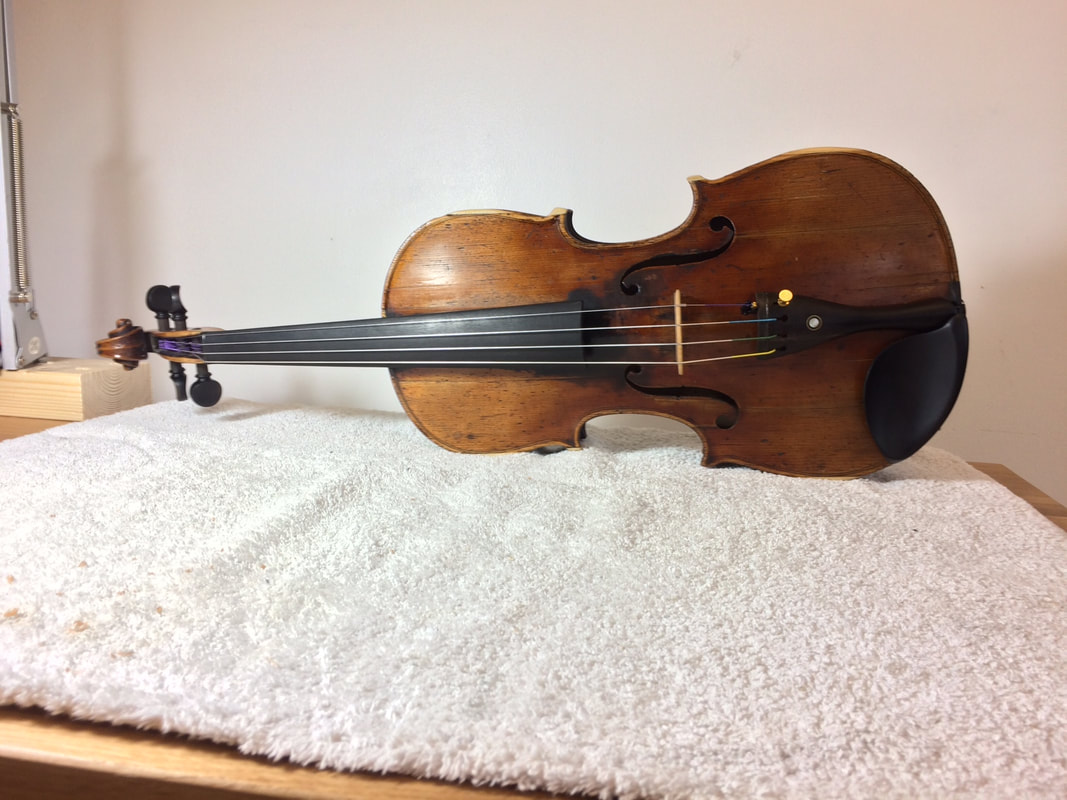
Completed violin
|
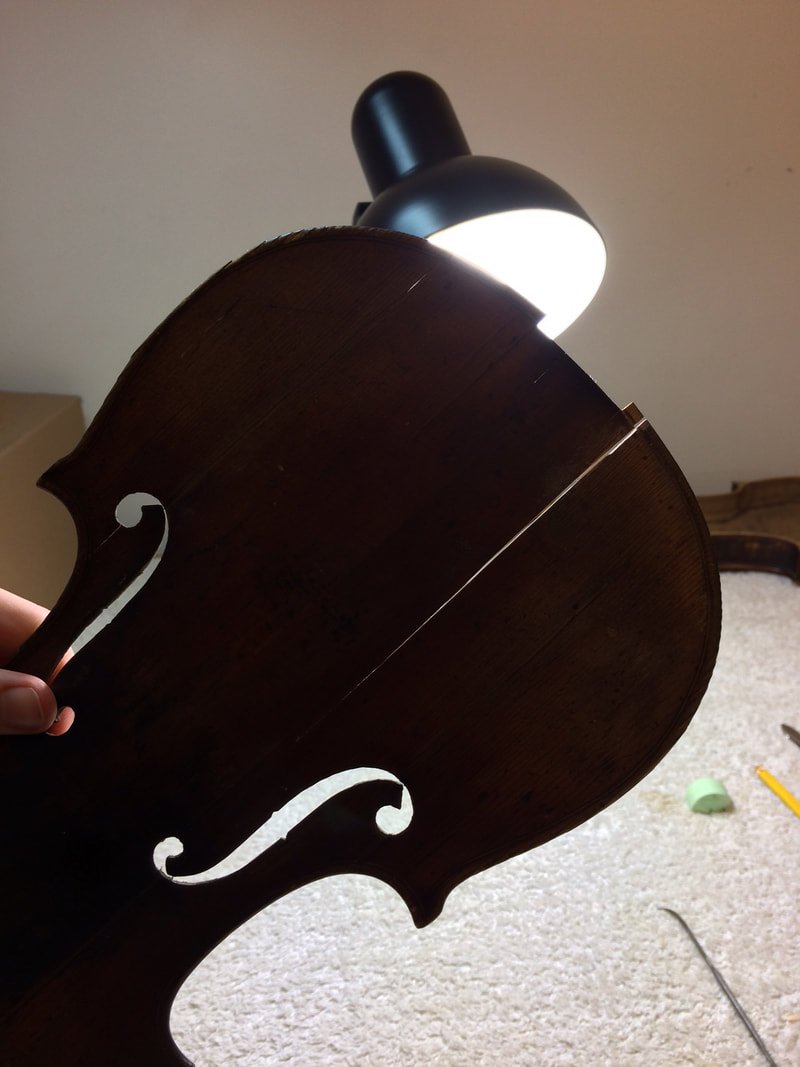
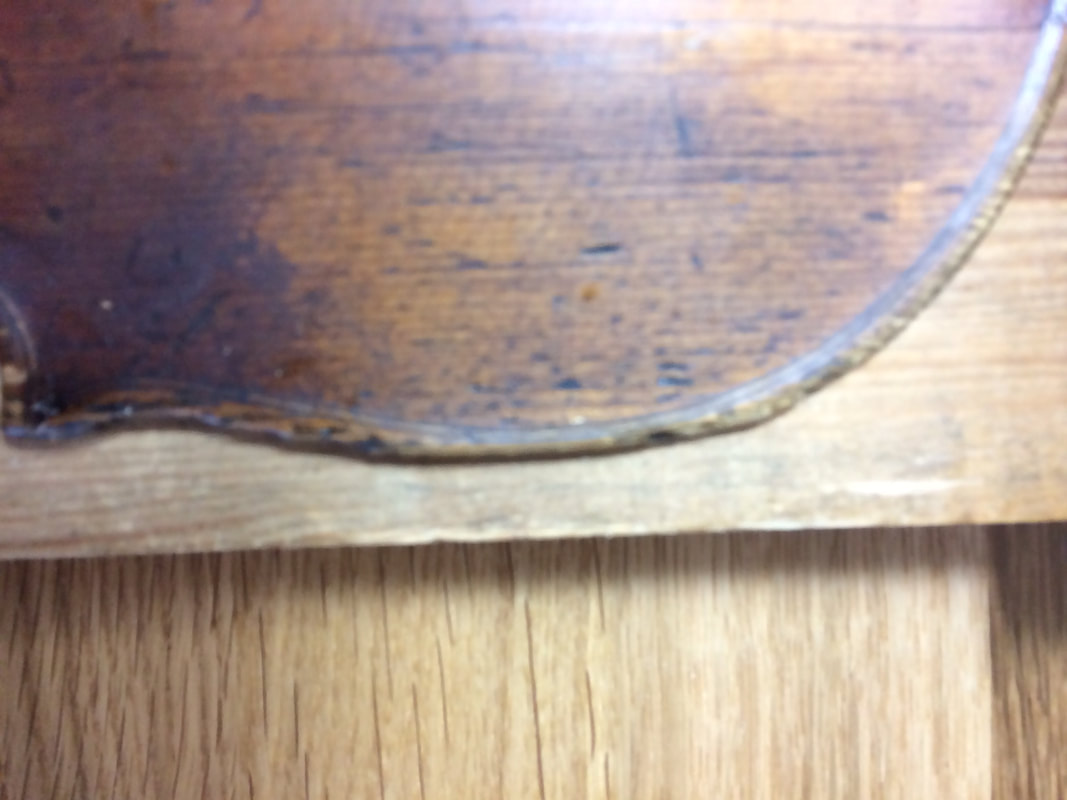
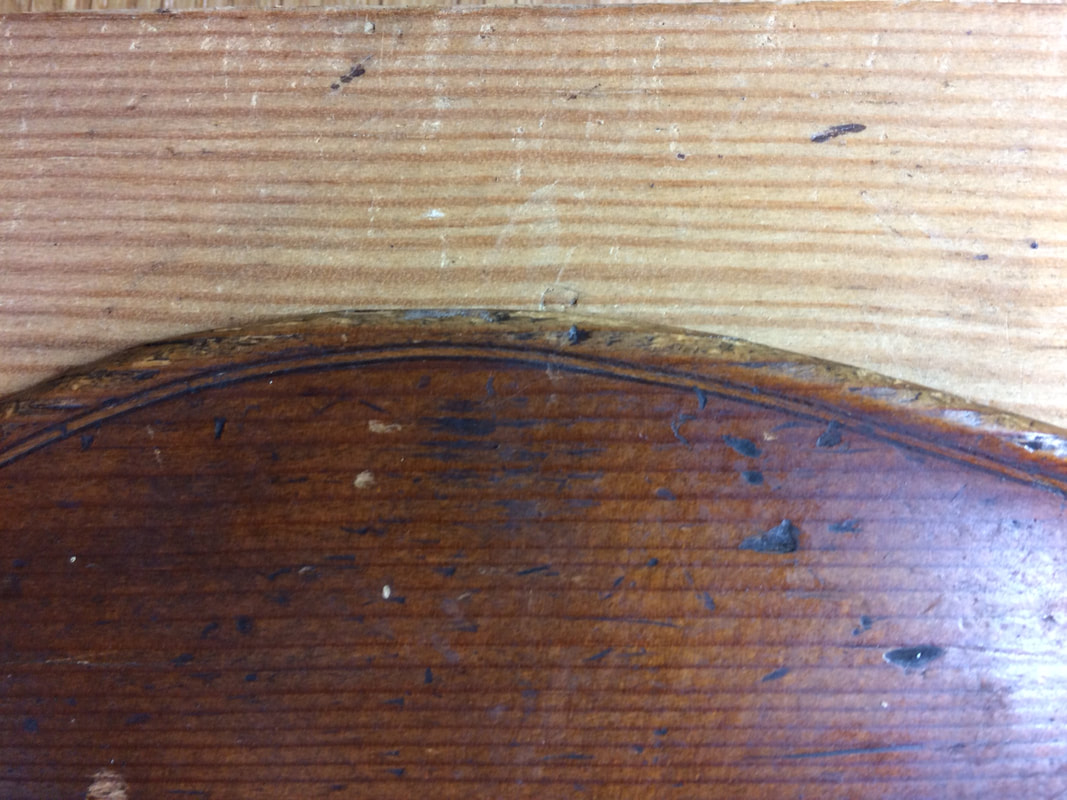
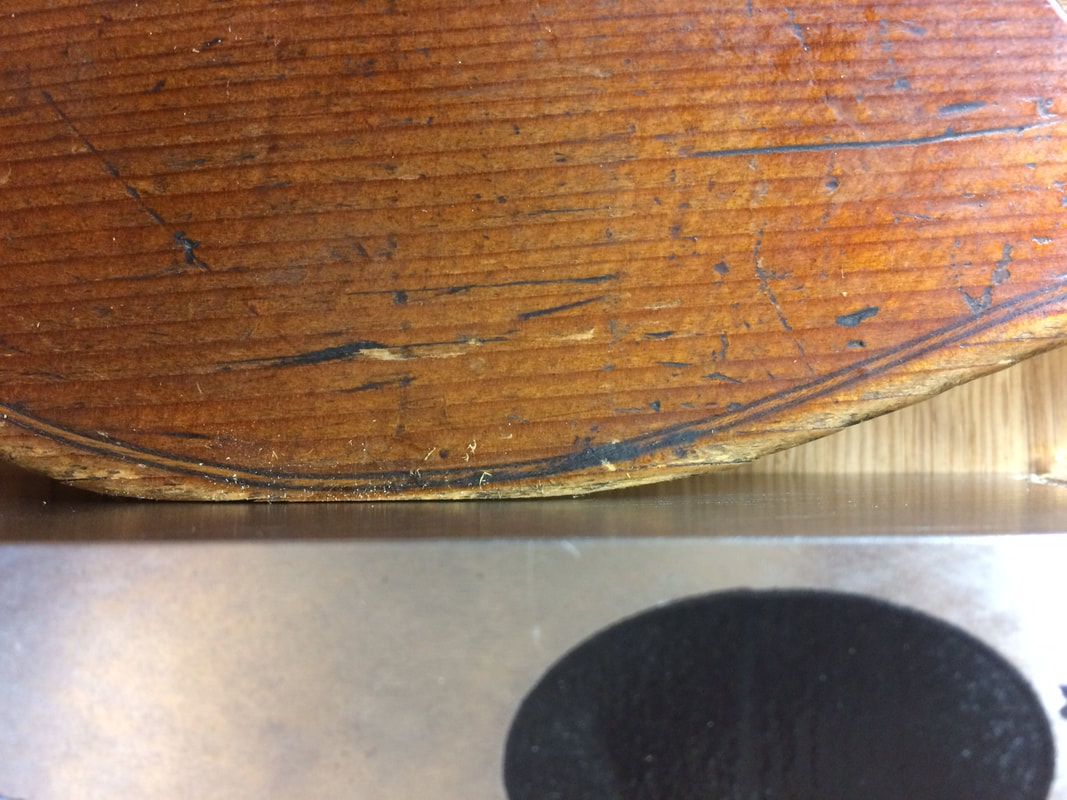
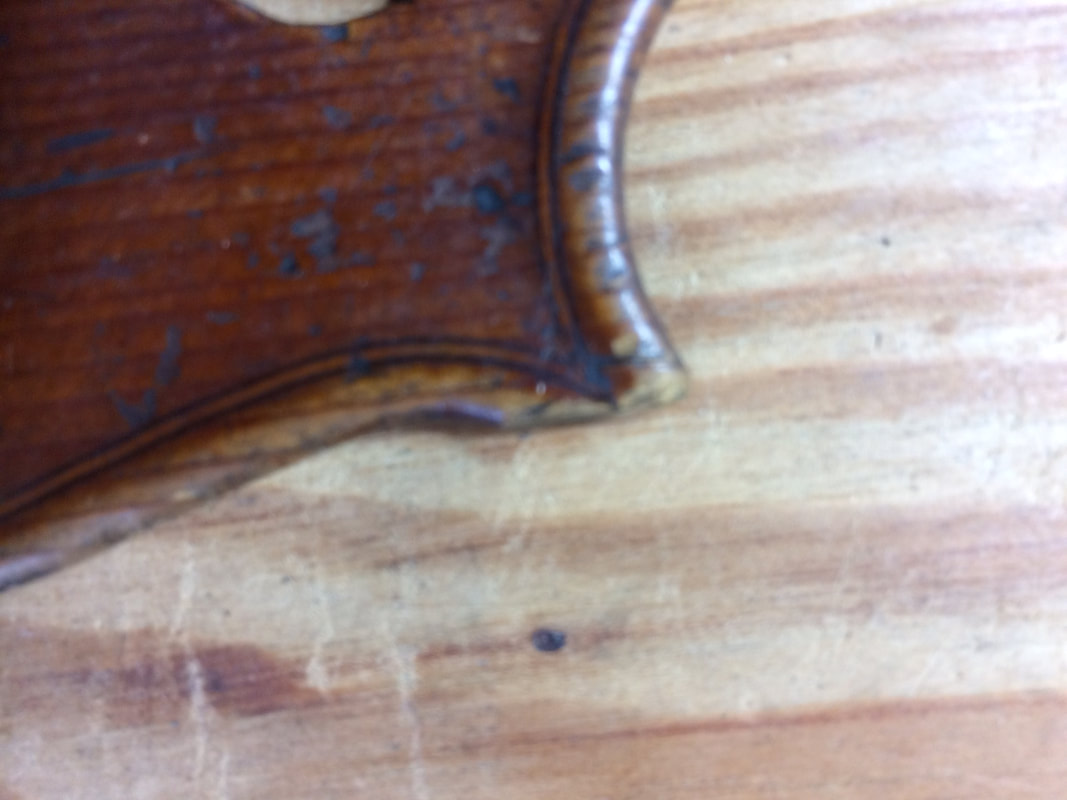
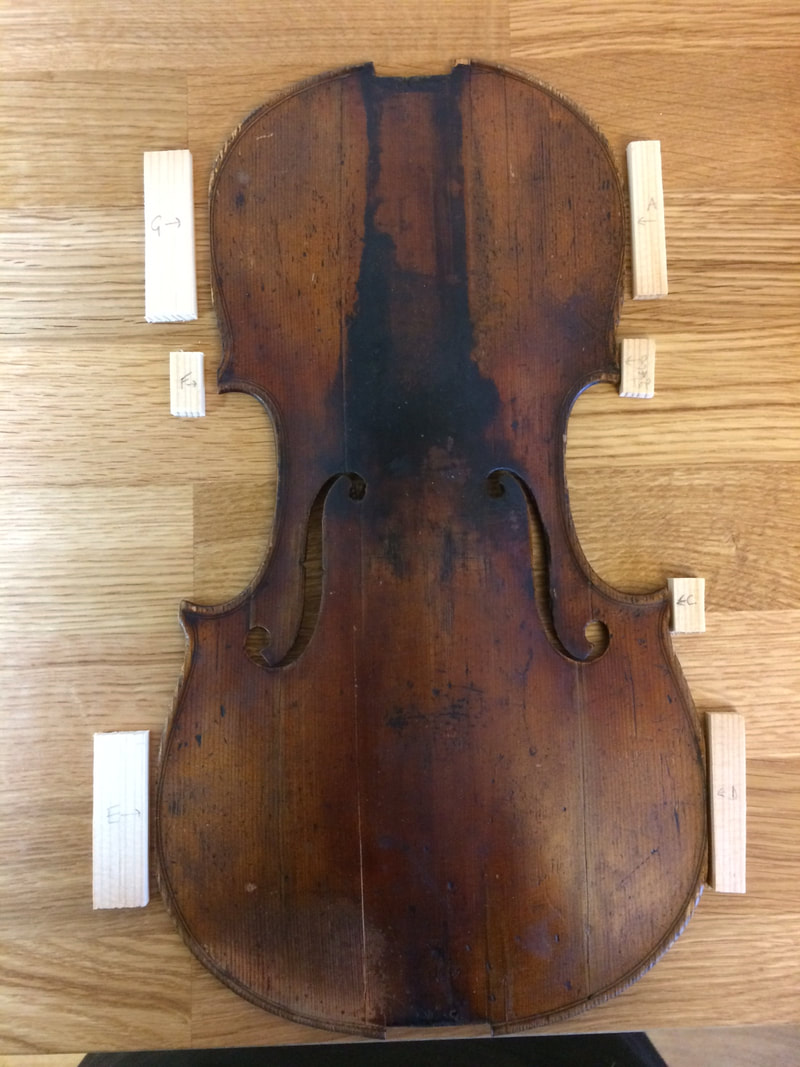
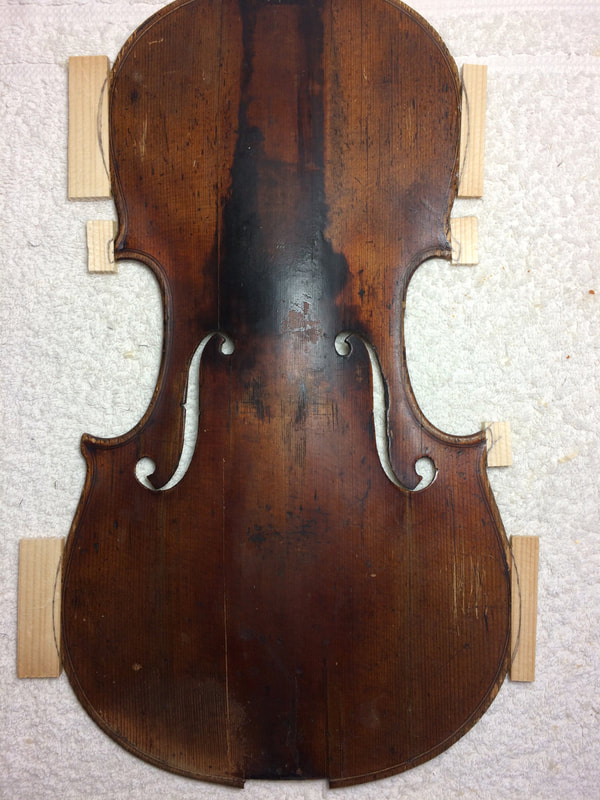
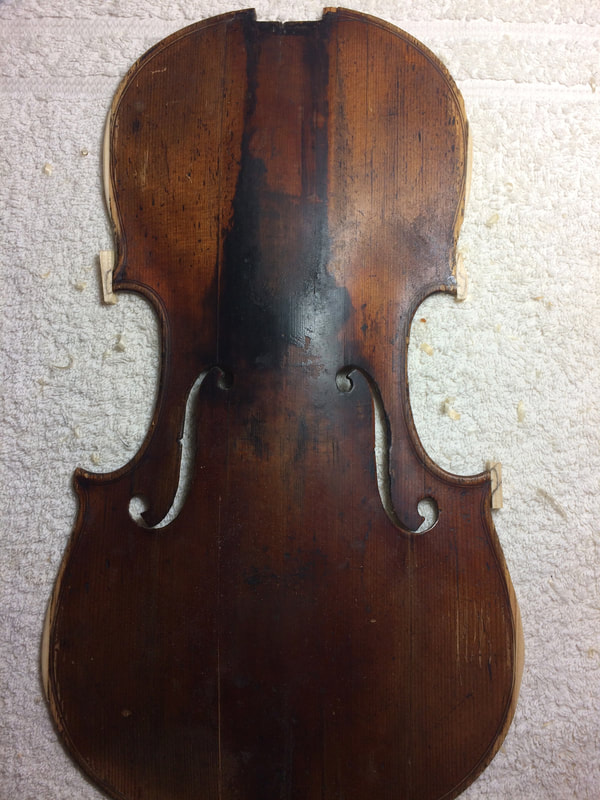
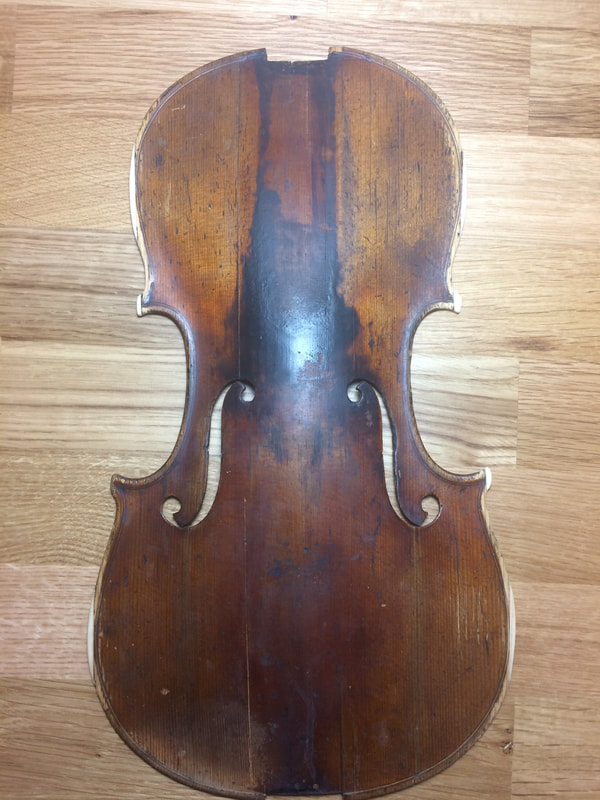
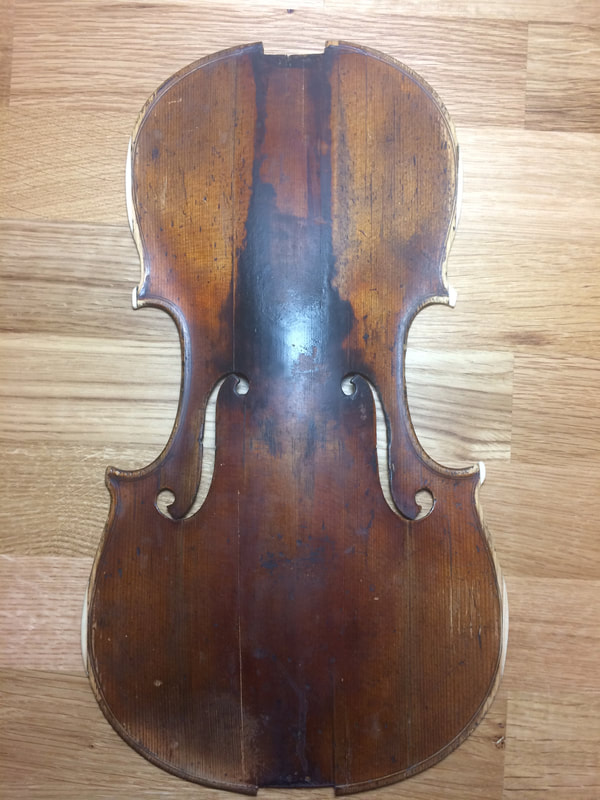
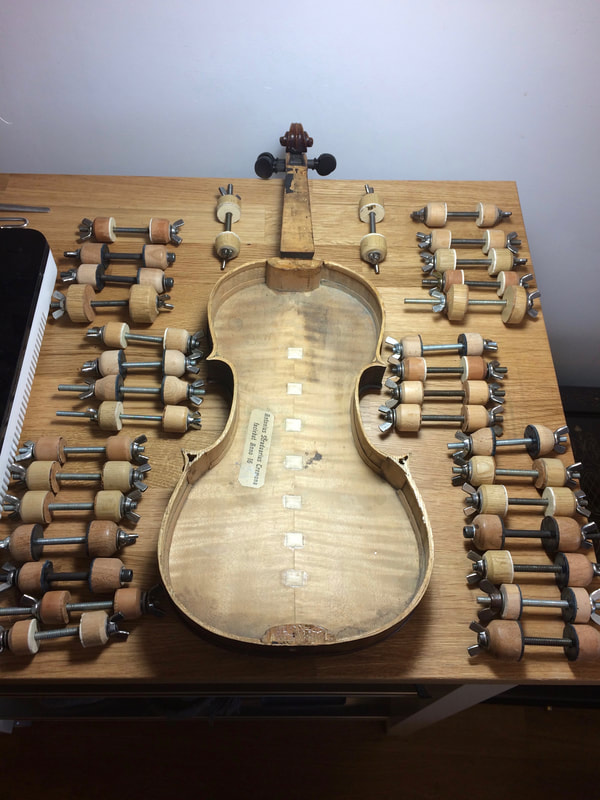
This violin came to us in rather poor condition! It was not set up and had multiple cracks in the front and back, as well as open seams. It was also in need of some edging work to replace damaged corners and edges on the front.
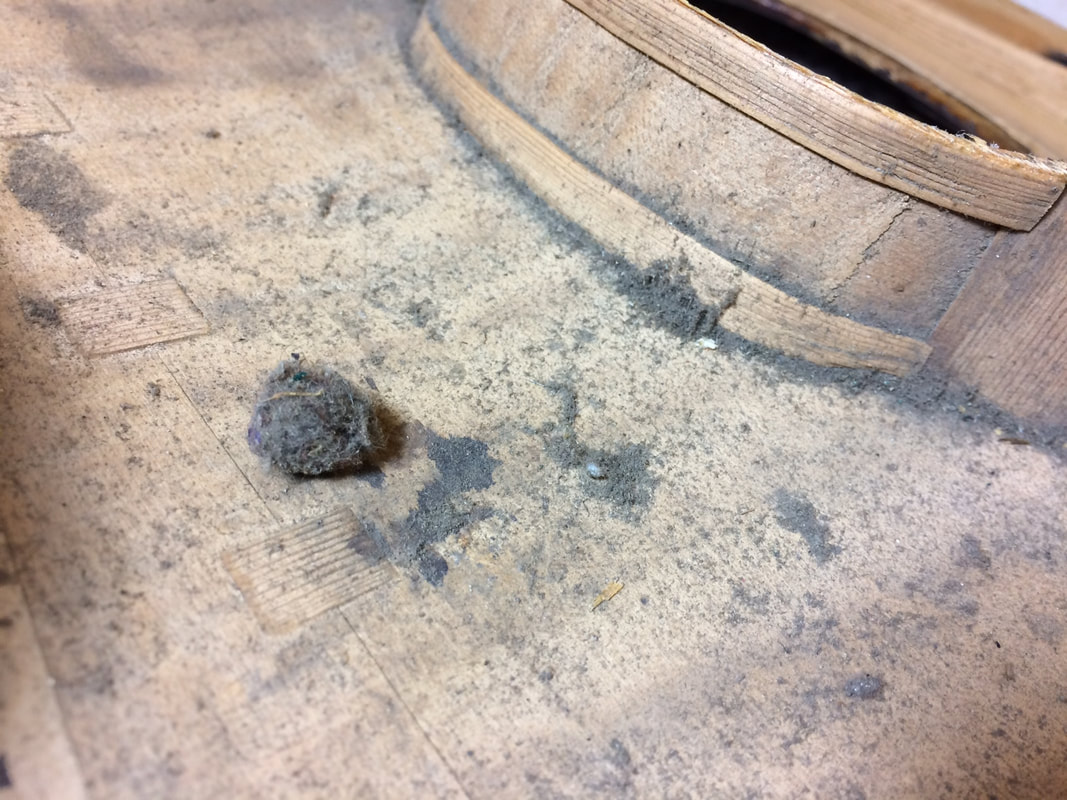
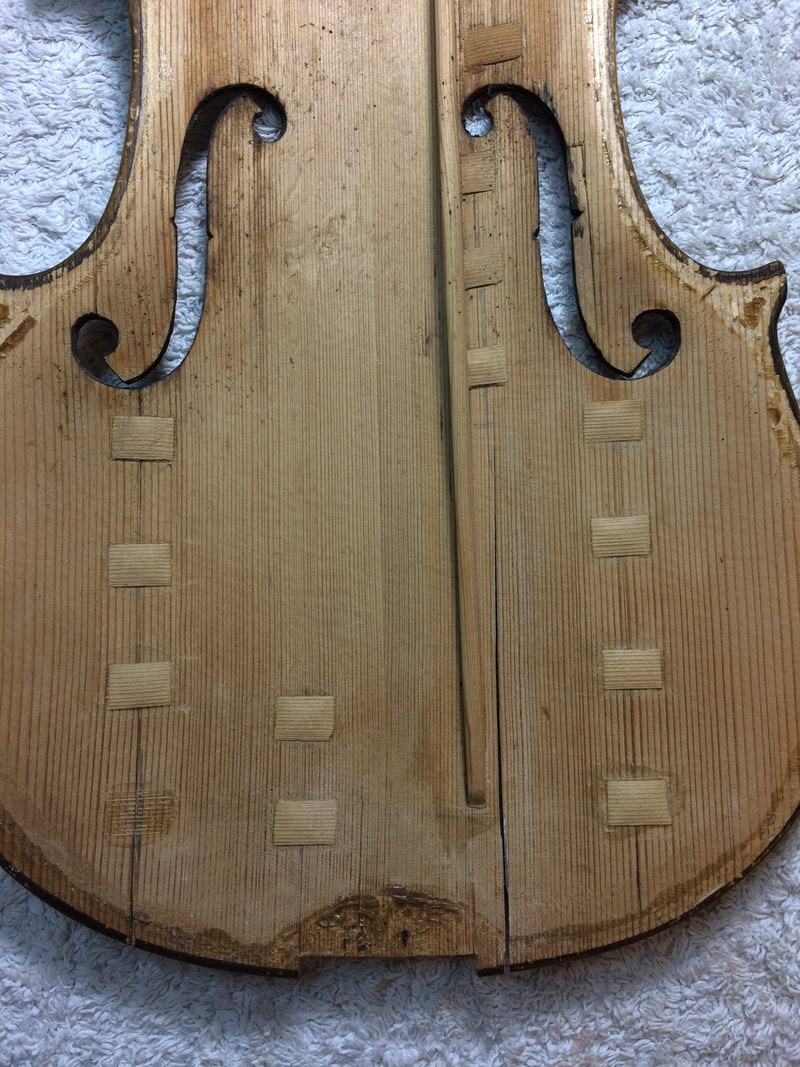
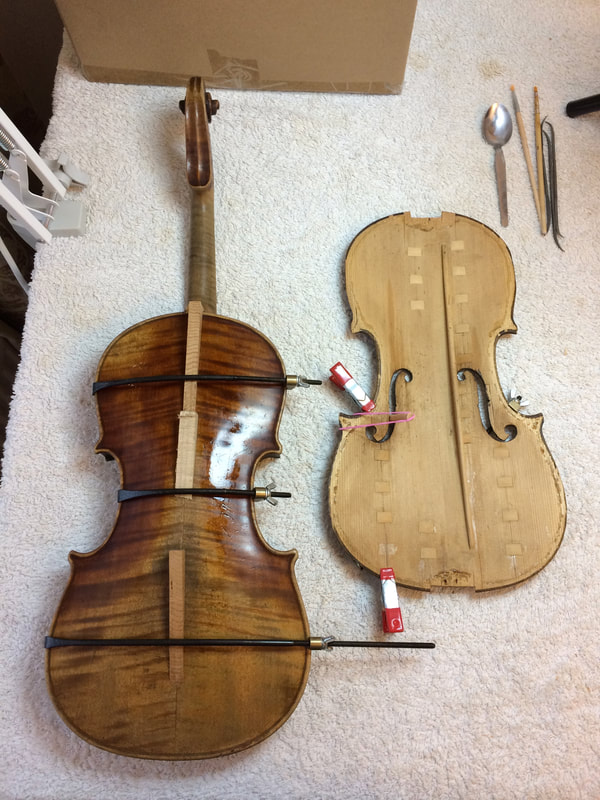
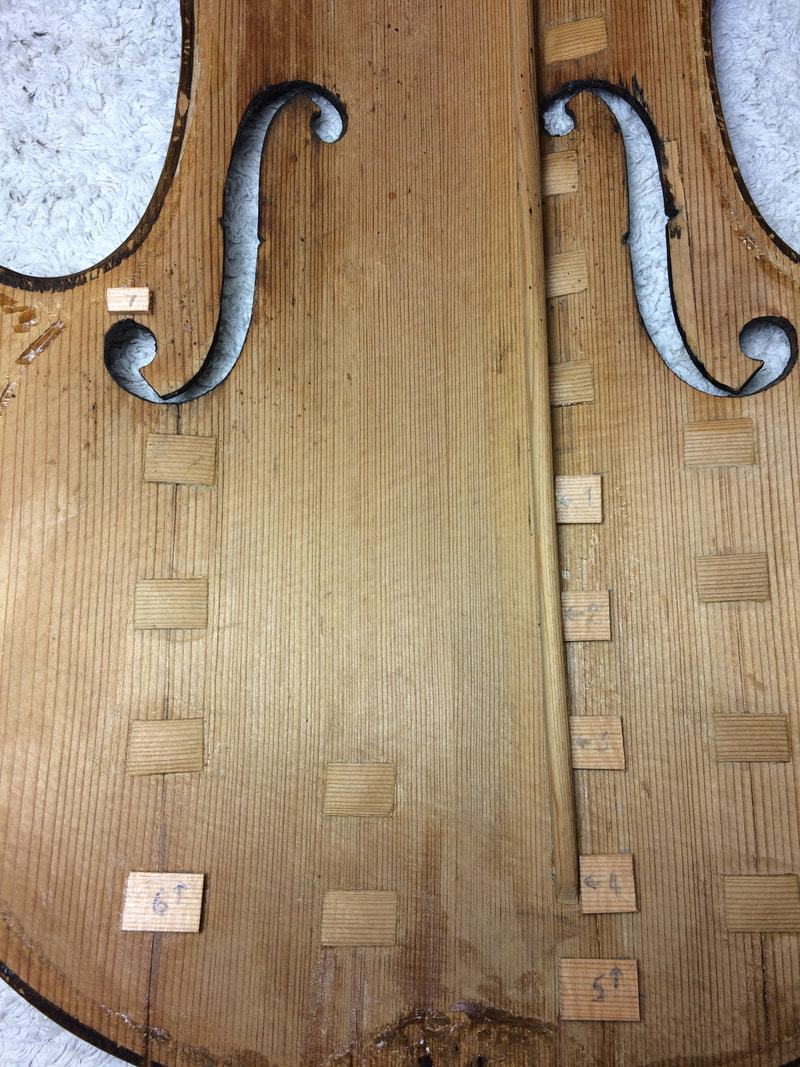
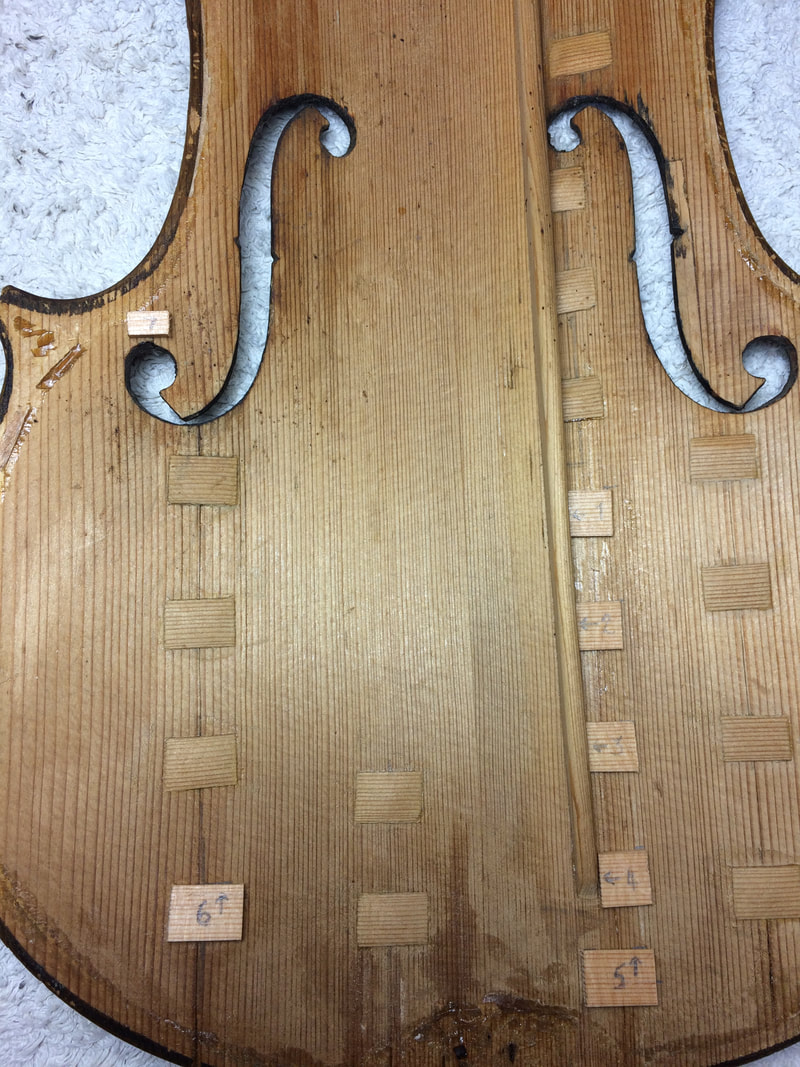
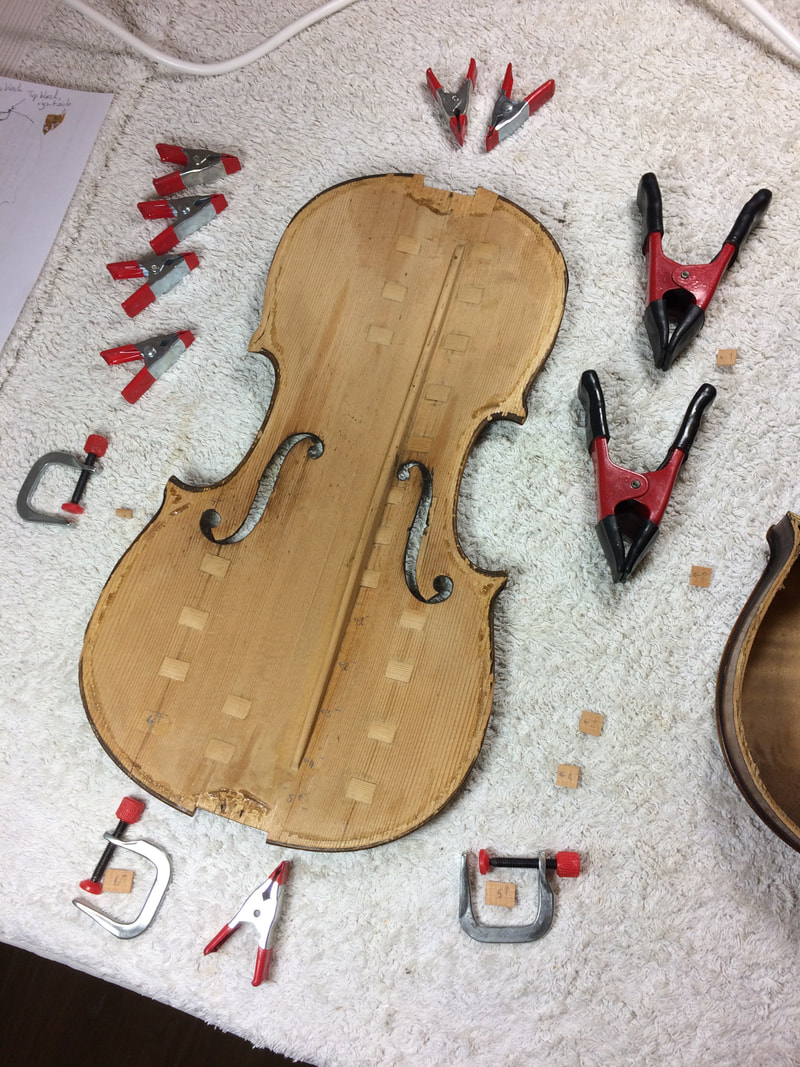
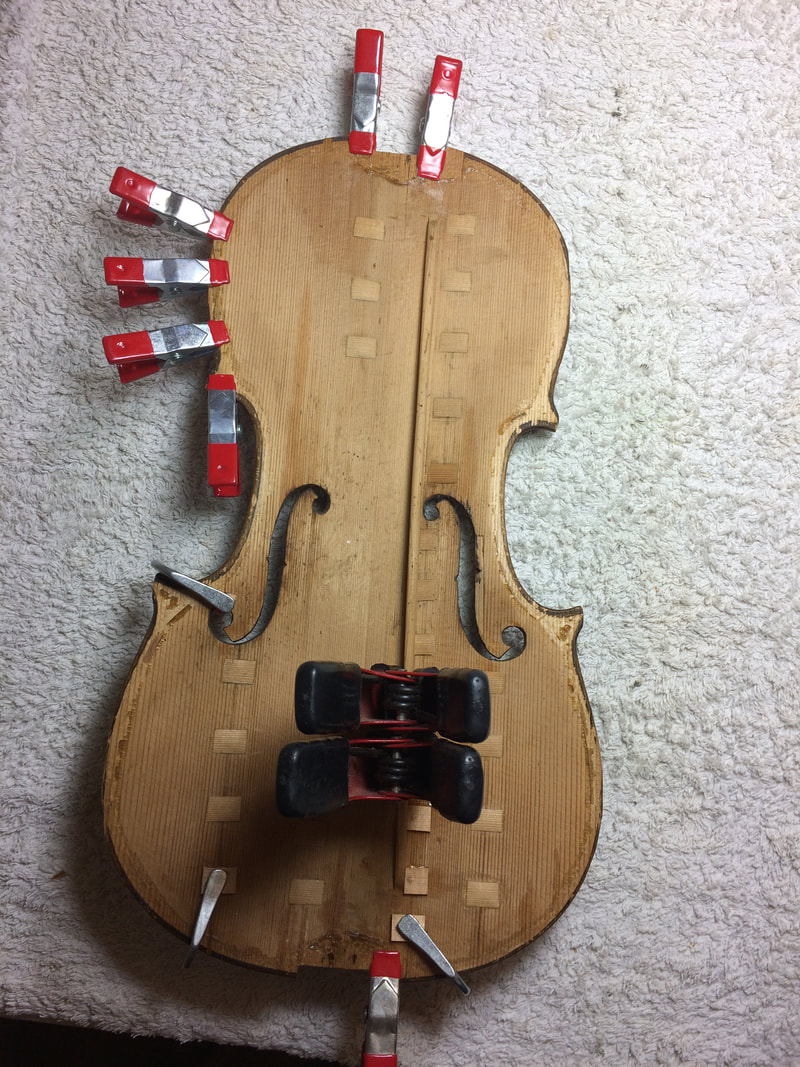
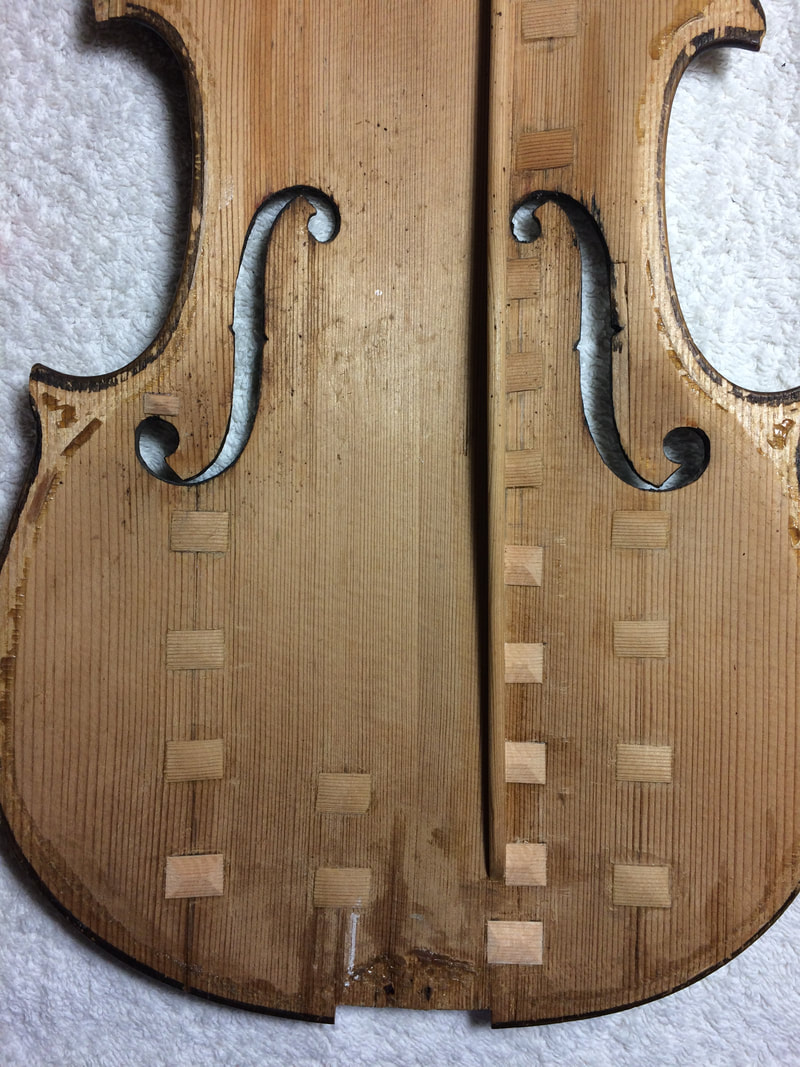
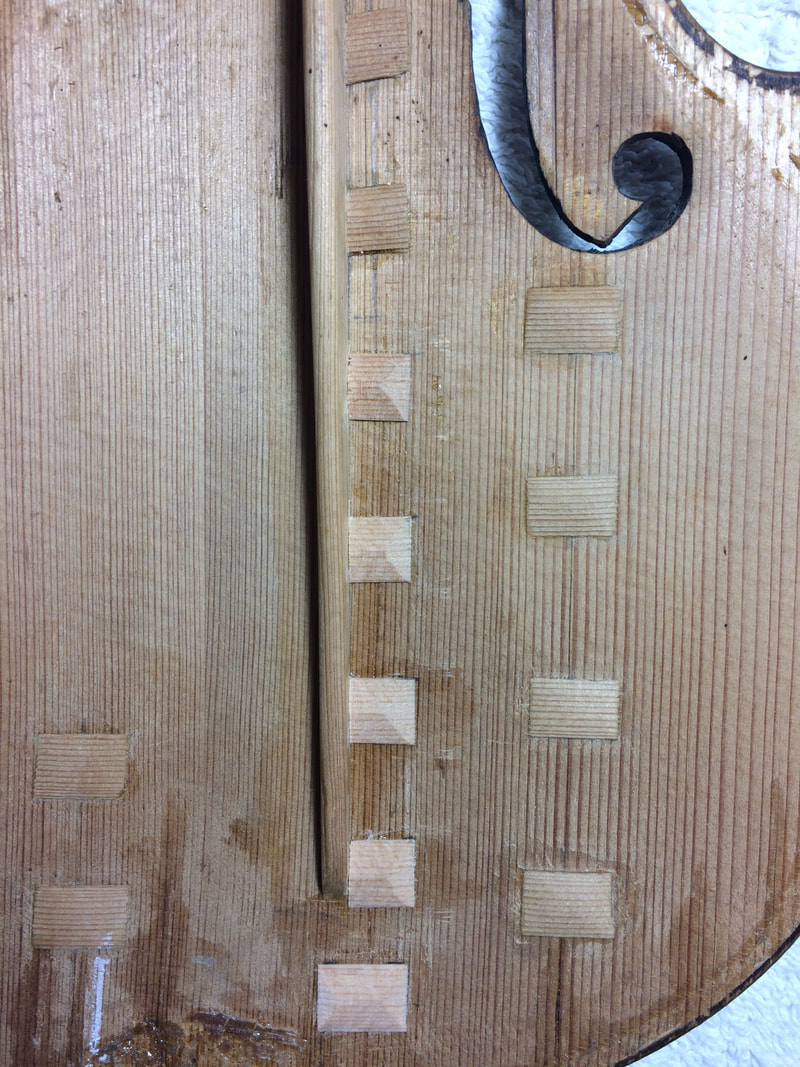
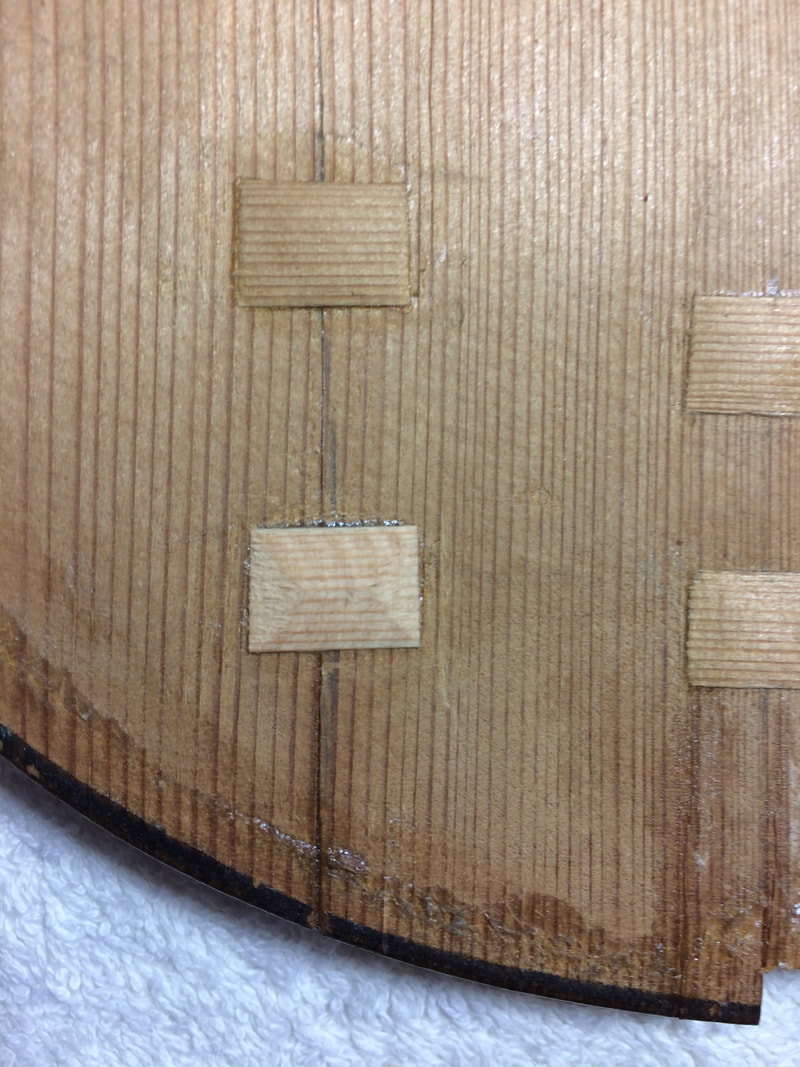
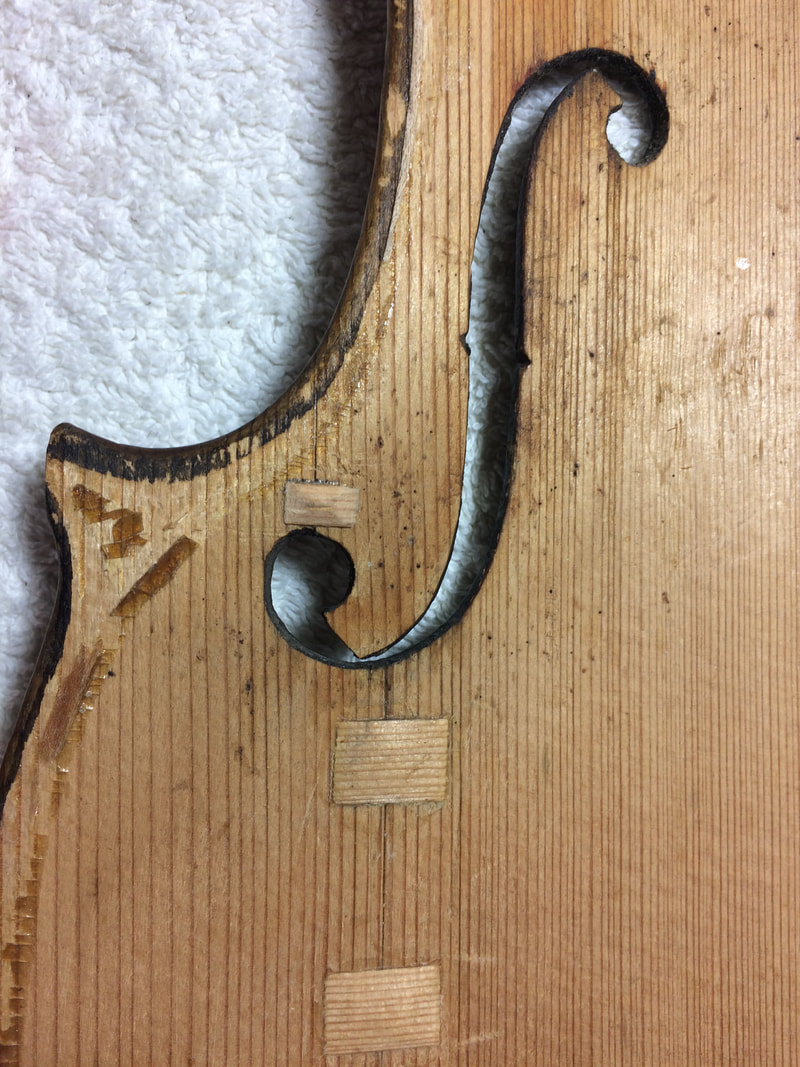
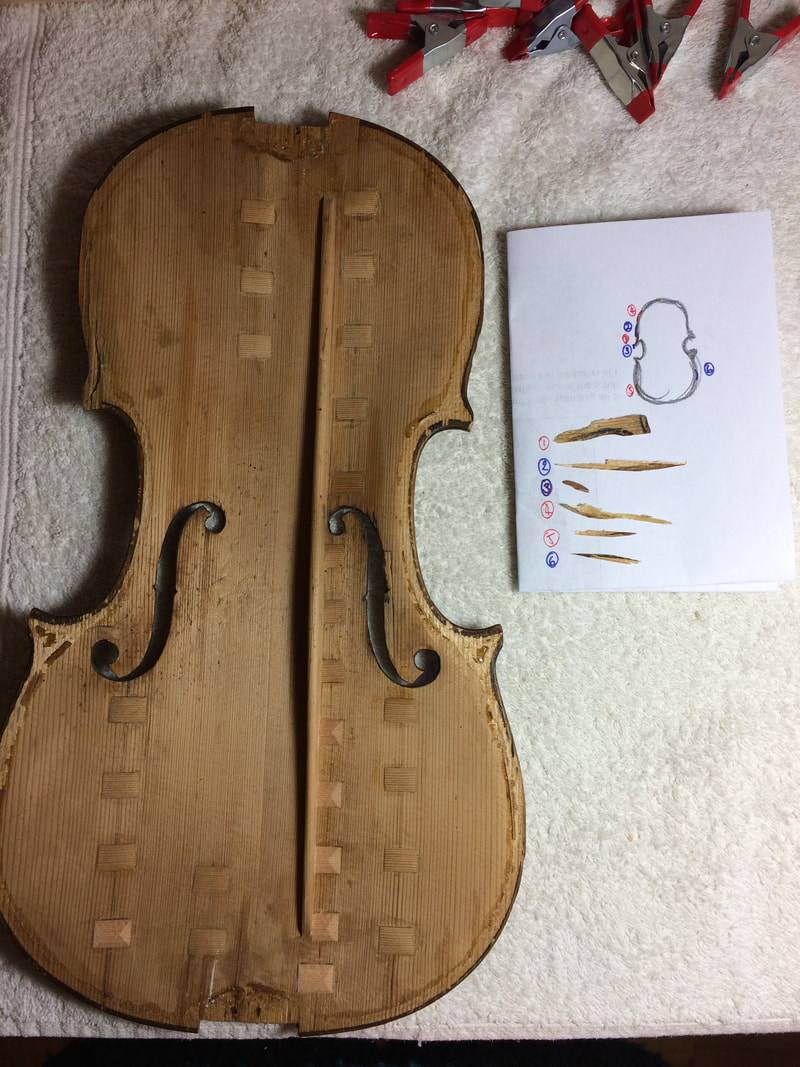
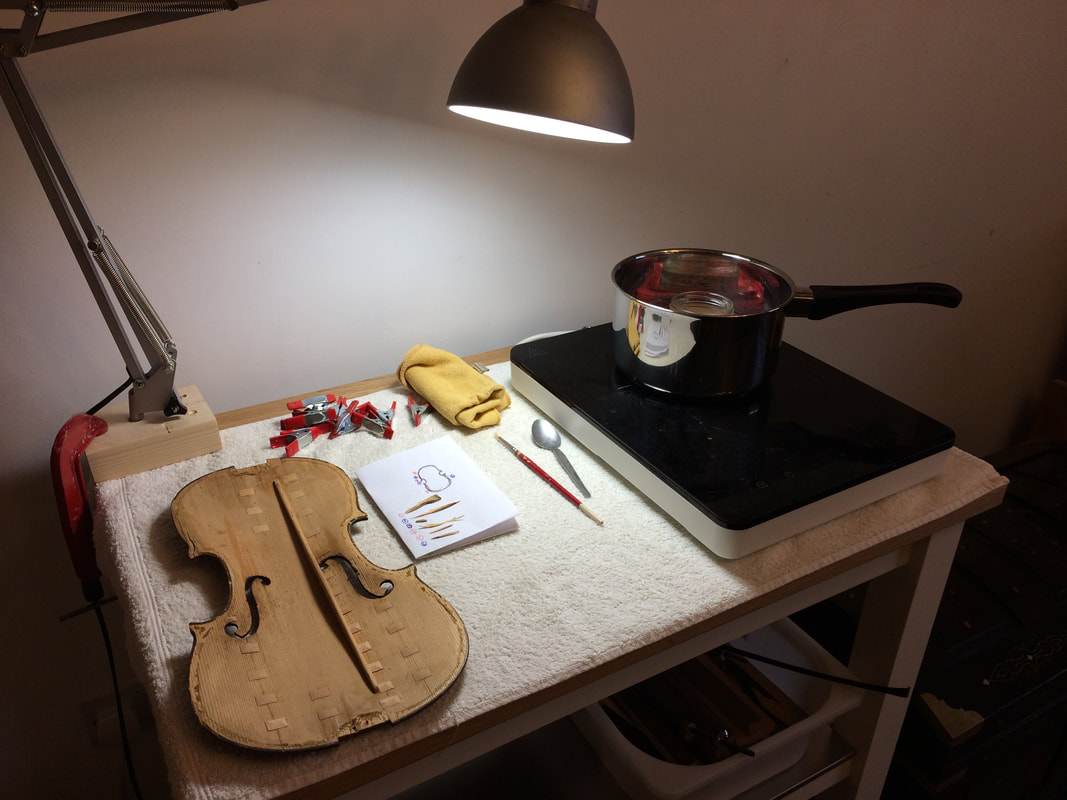
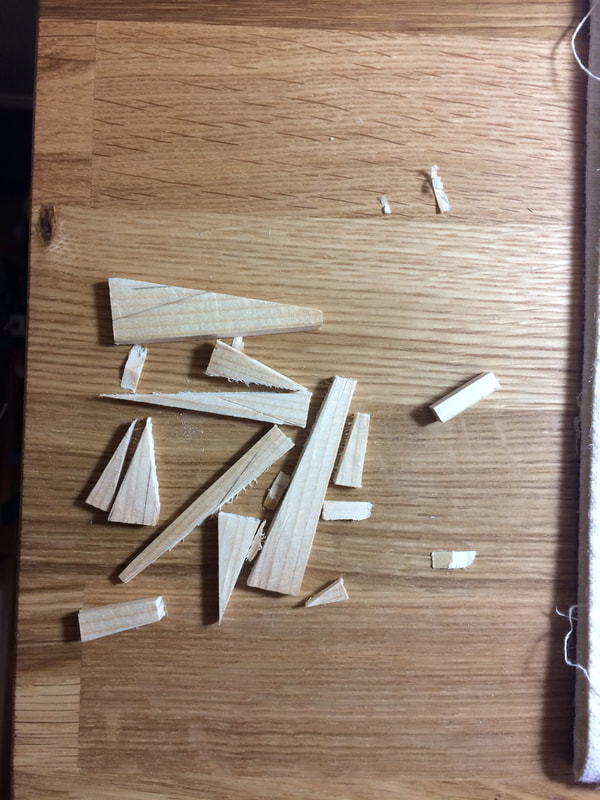
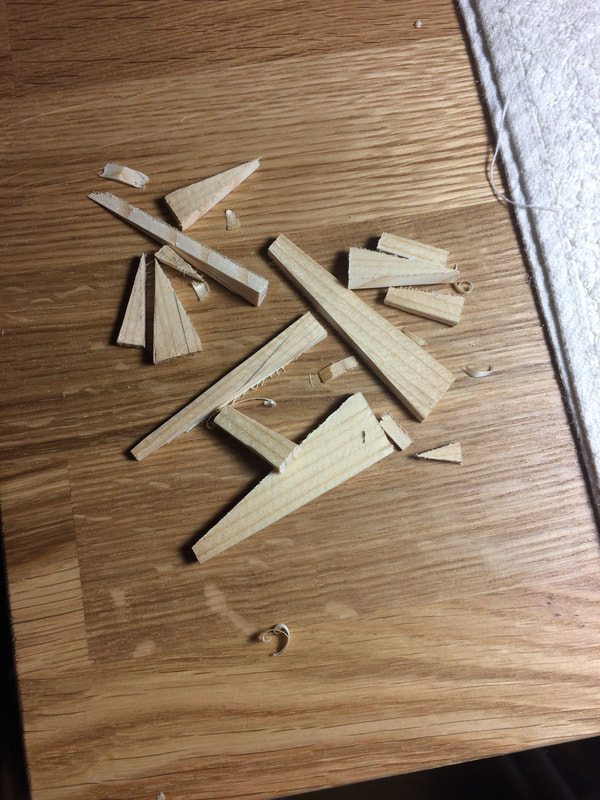
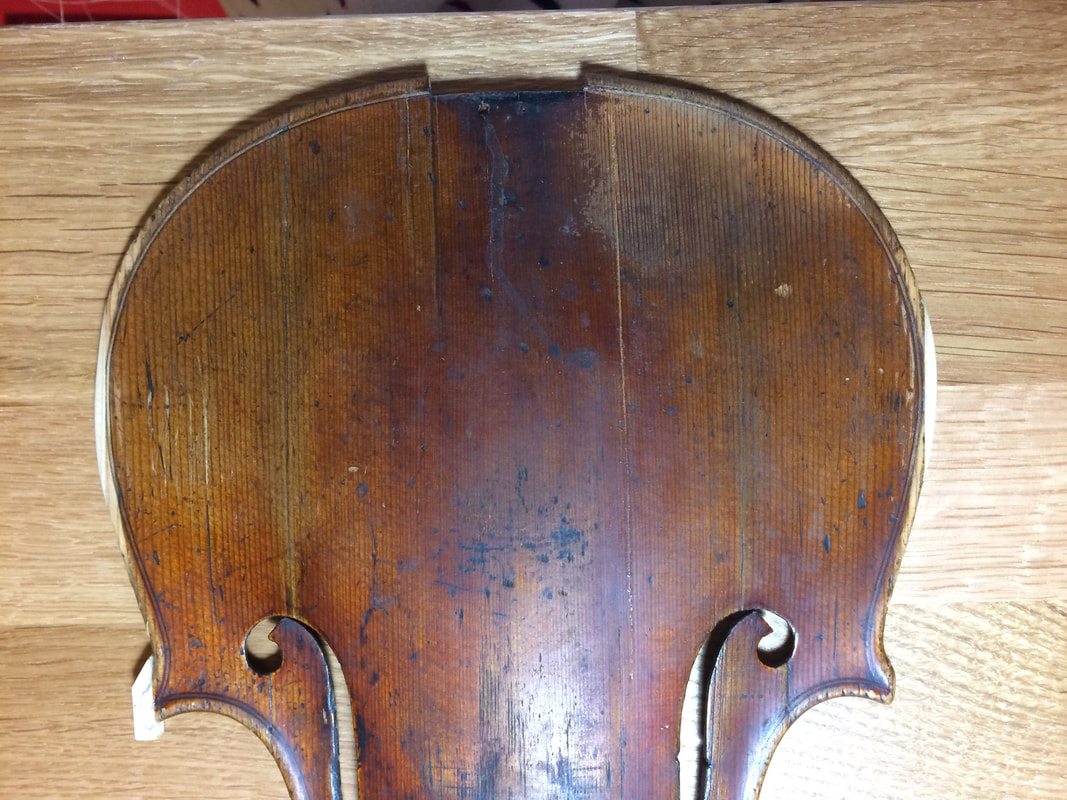
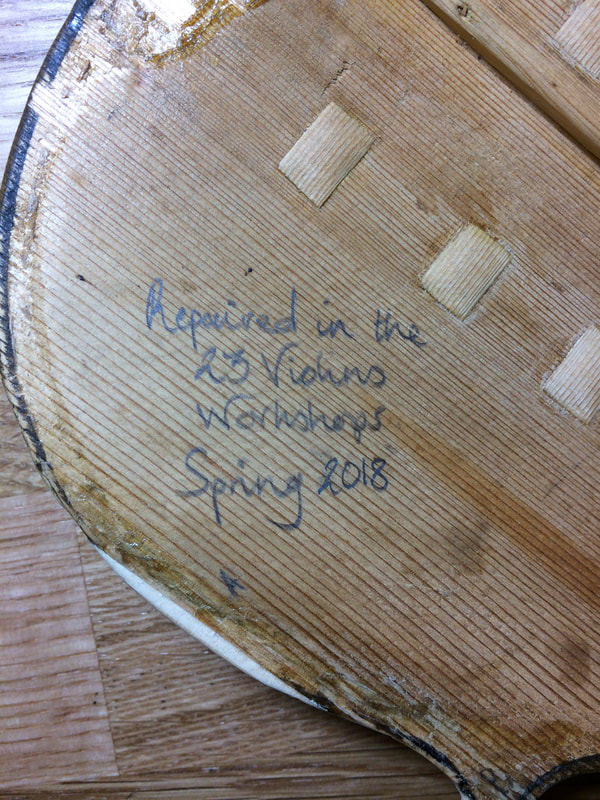
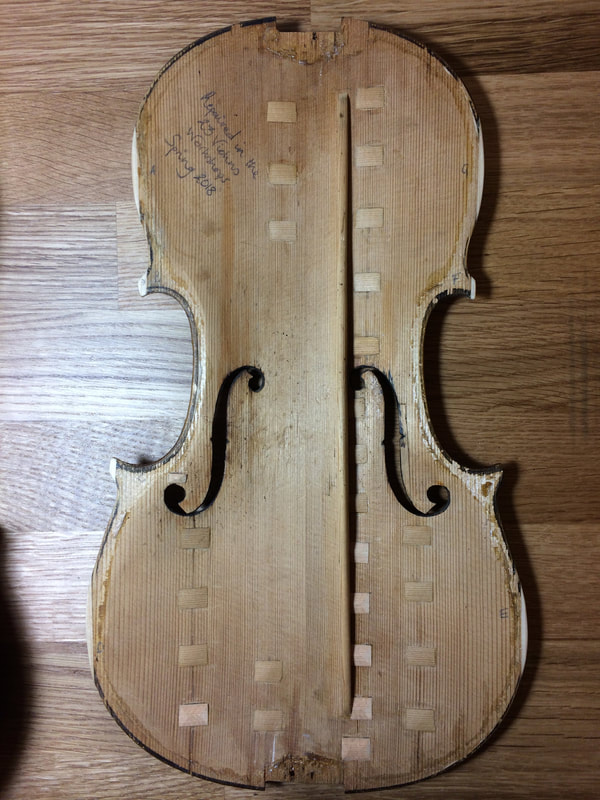
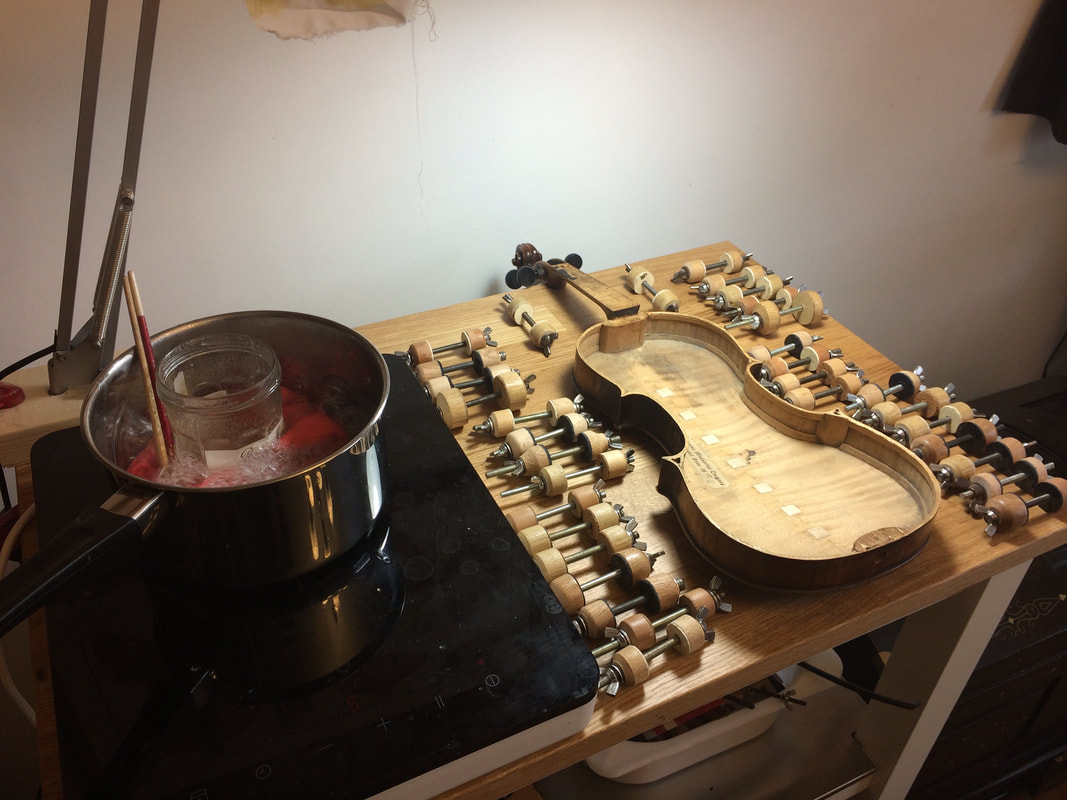
We began work by removing the front to allow us to reglue the open cracks in the front and back. This revealed some previous repair work; someone had reglued and cleated several cracks in the front. The workmanship was neat and tidy however in a couple of places the cleats were actually pushing cracks open. Here we removed the cleats in question, thus allowing us to close, reglue and re-cleat the cracks. One of the bigger cracks on the front needed more attention as it was touching at either end however daylight could be seen through the middle. Here we used the chalk fine fitting method to remove the necessary wood at the end of the crack, allowing us to pull both sides together, reglue and cleat.
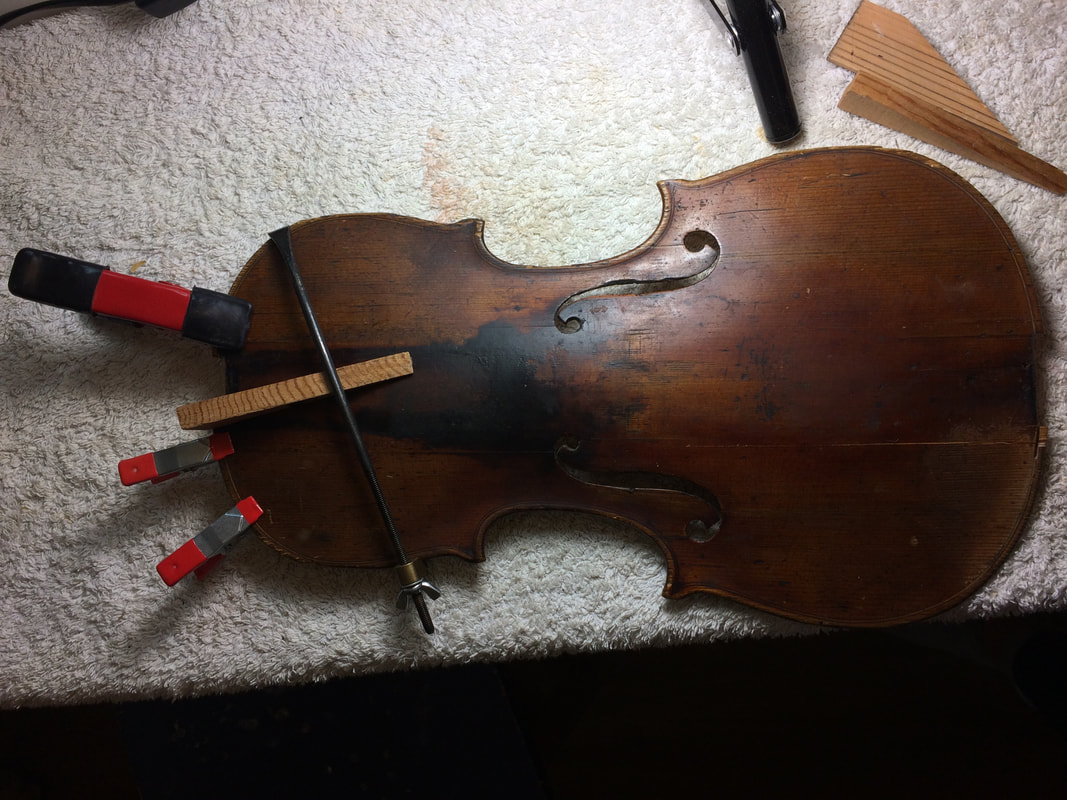
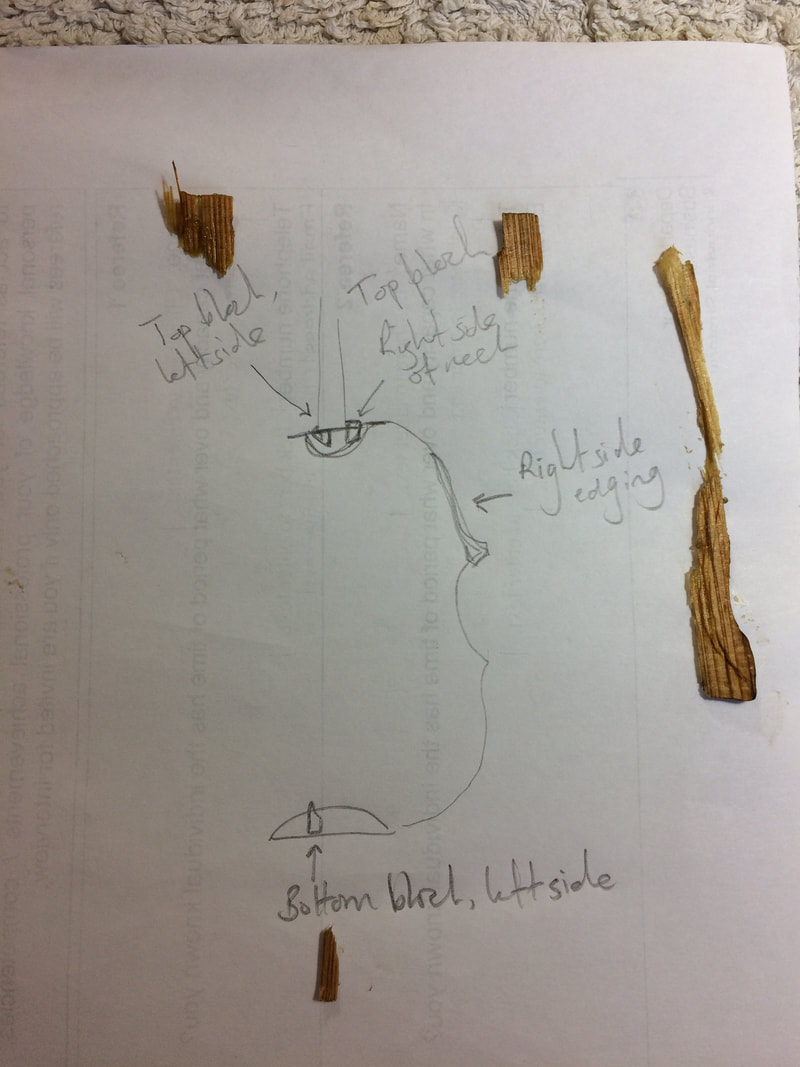
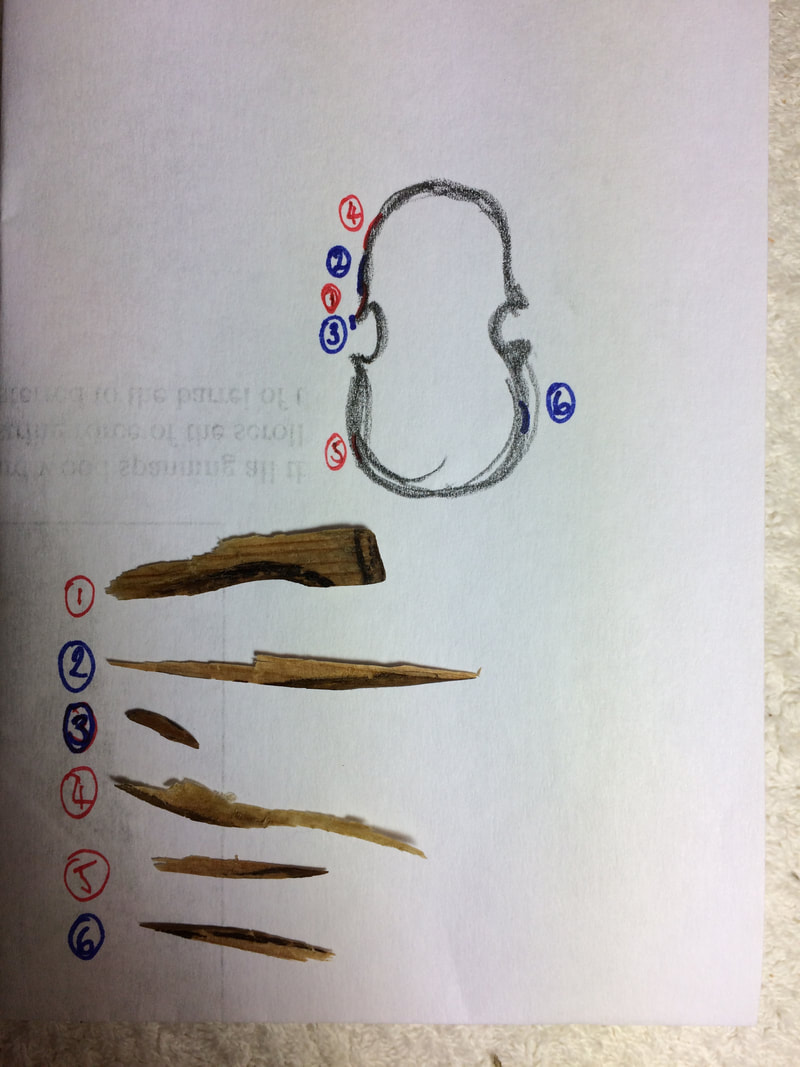
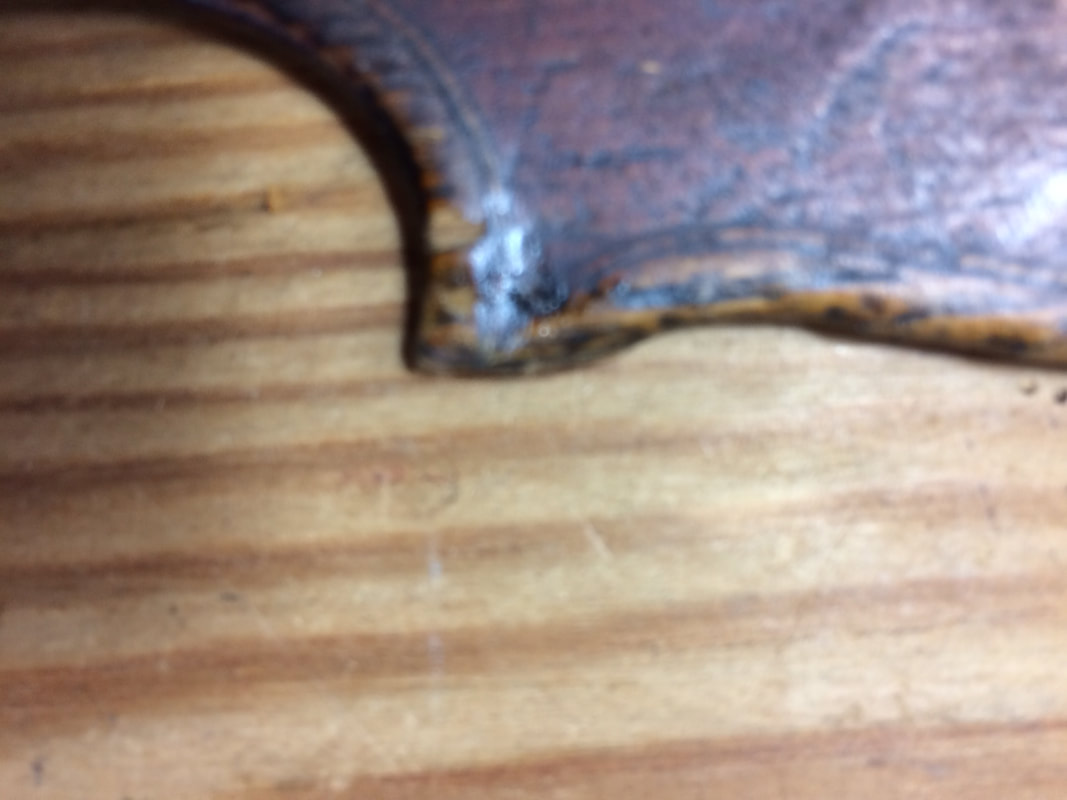
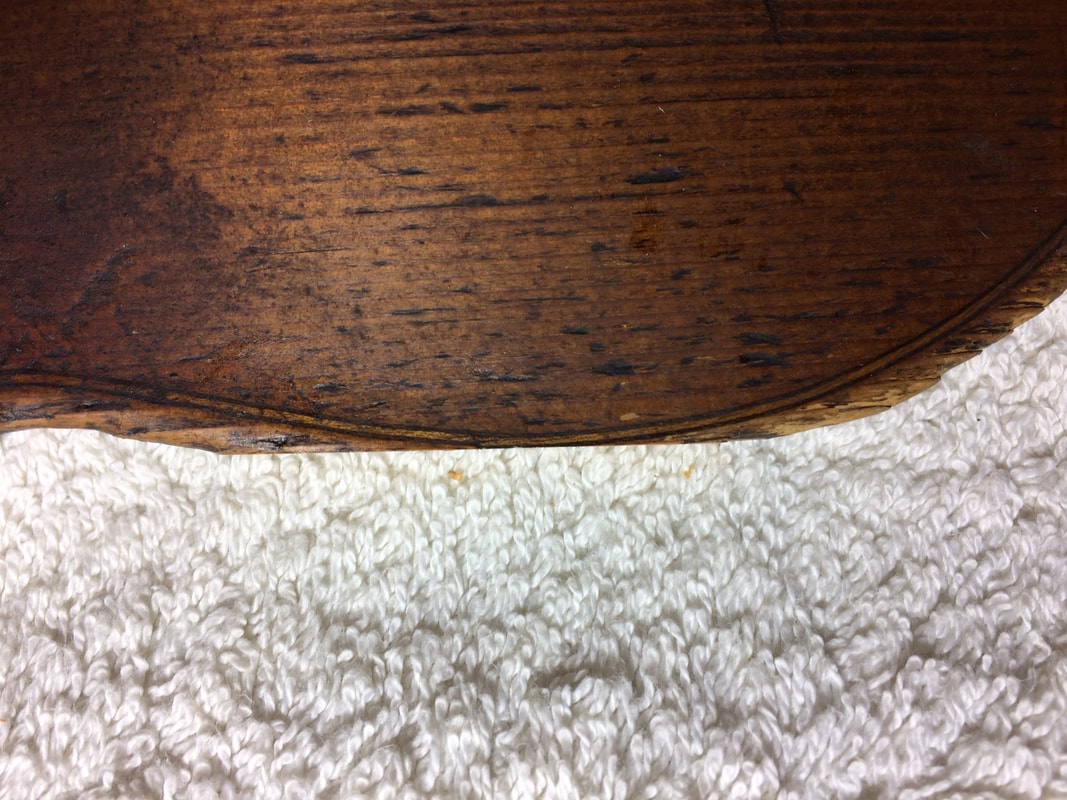
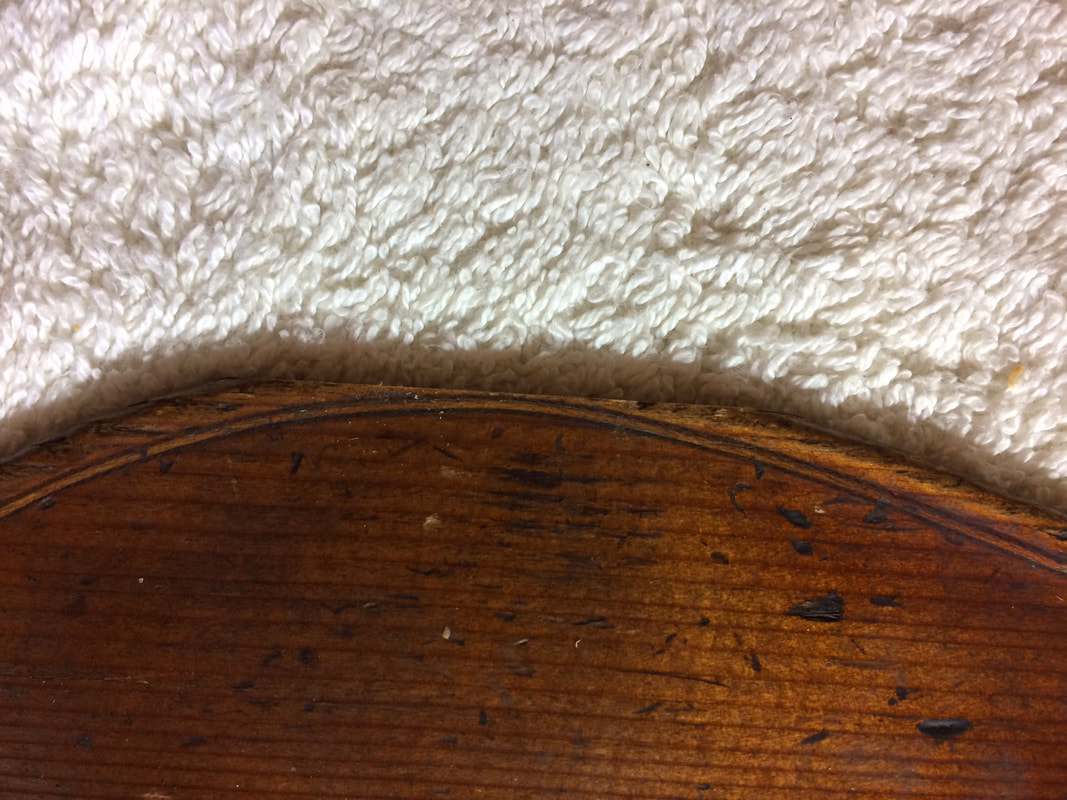
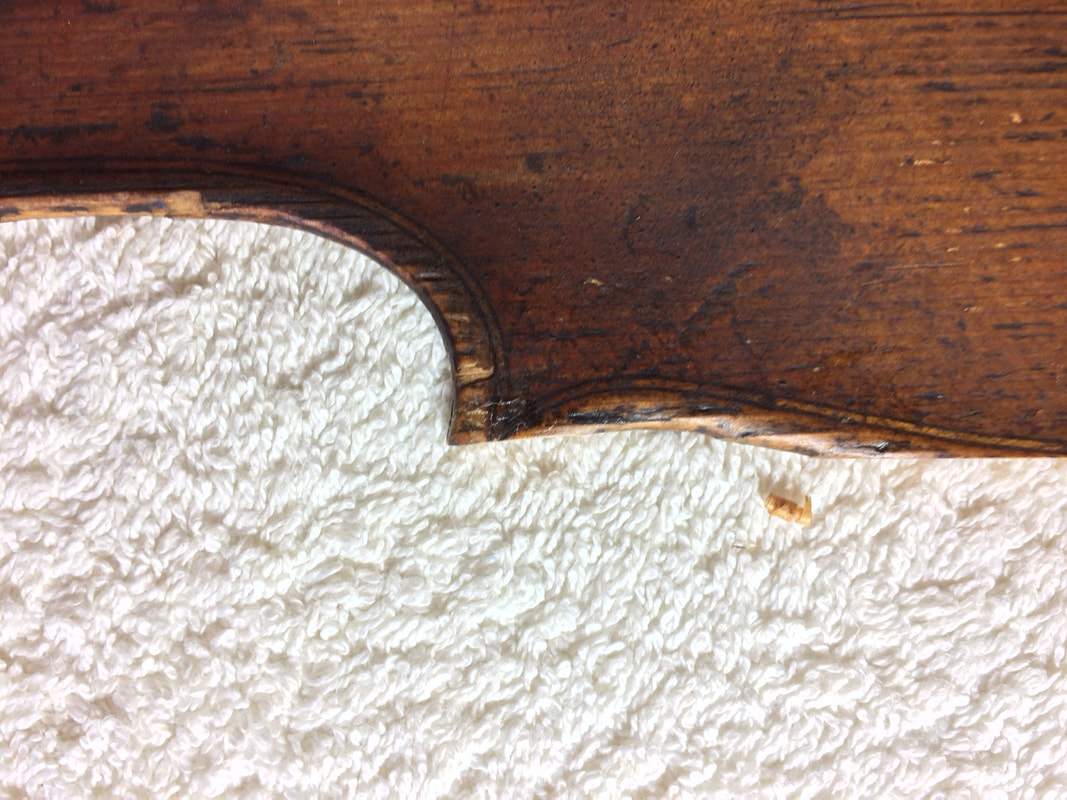
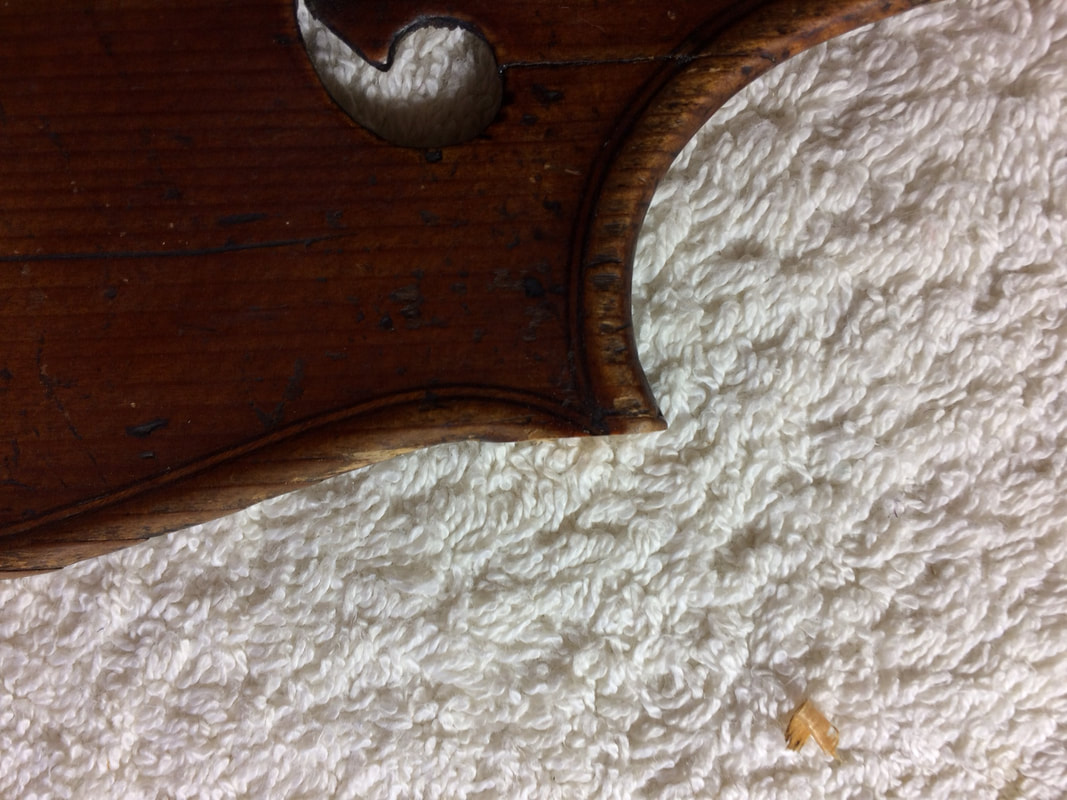
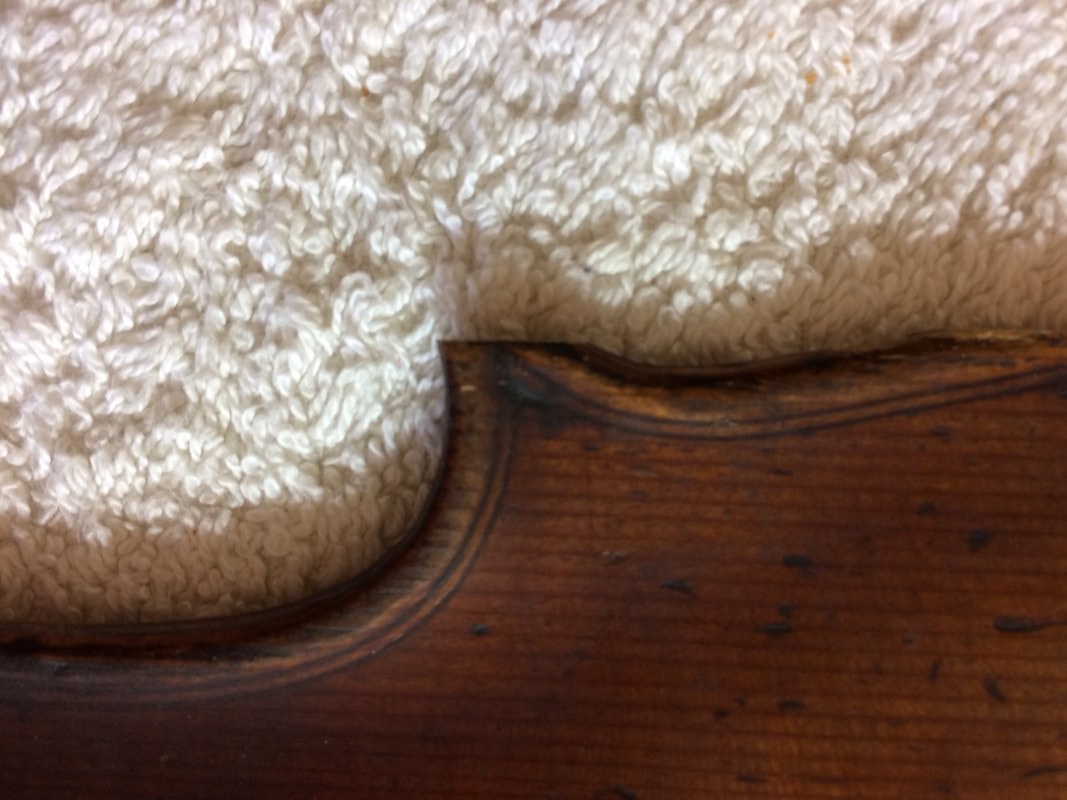
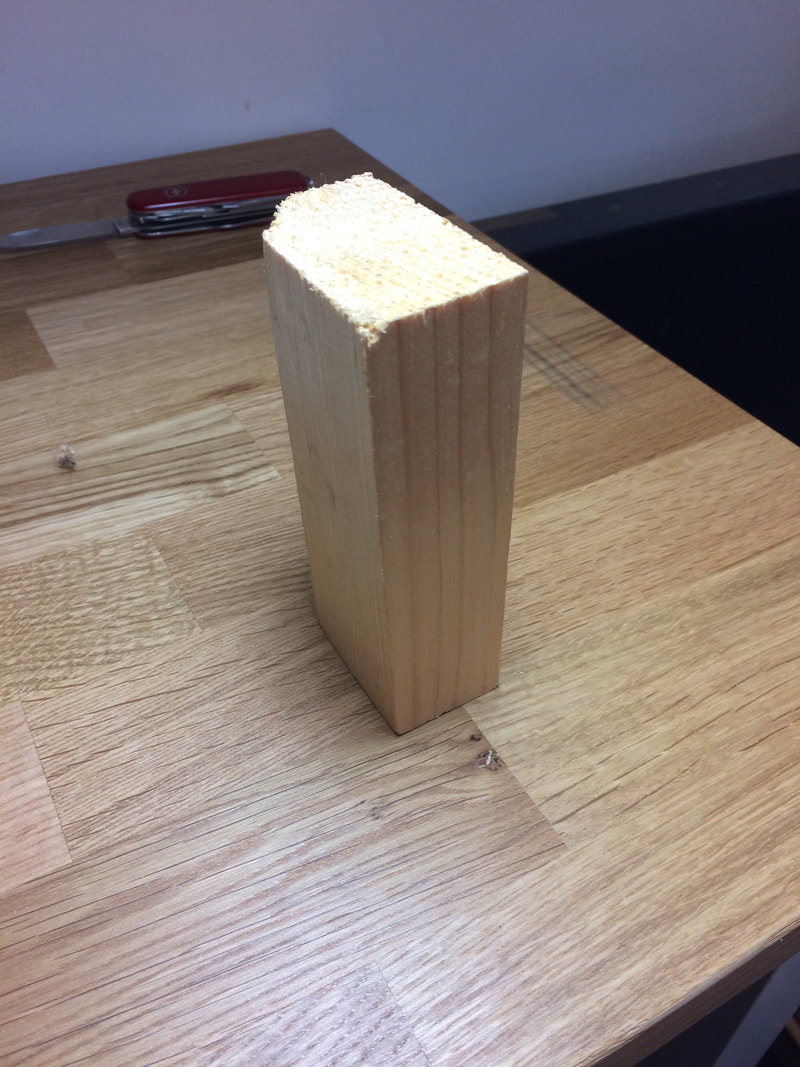
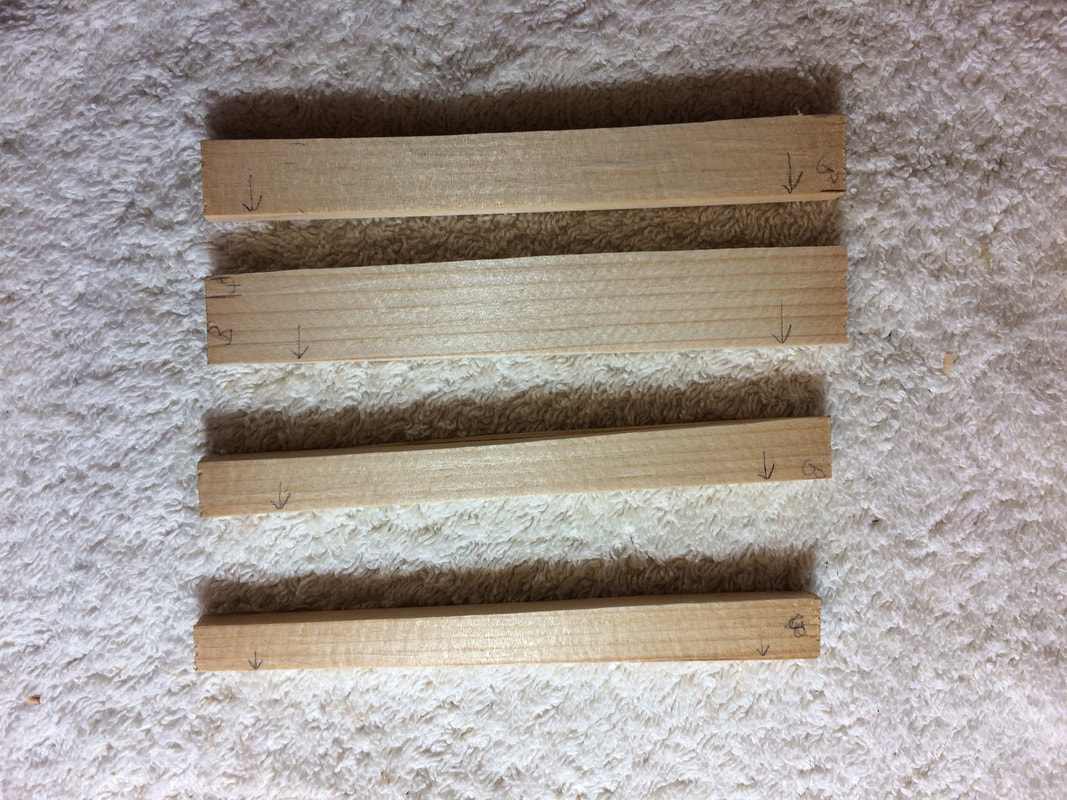
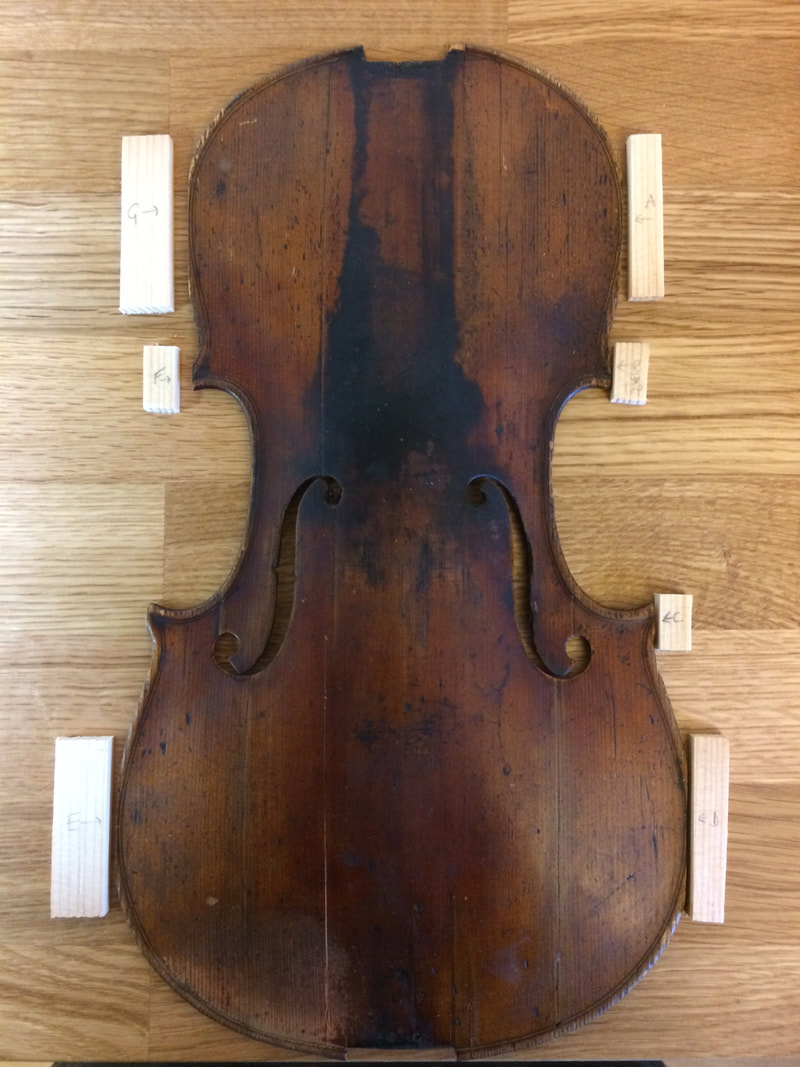
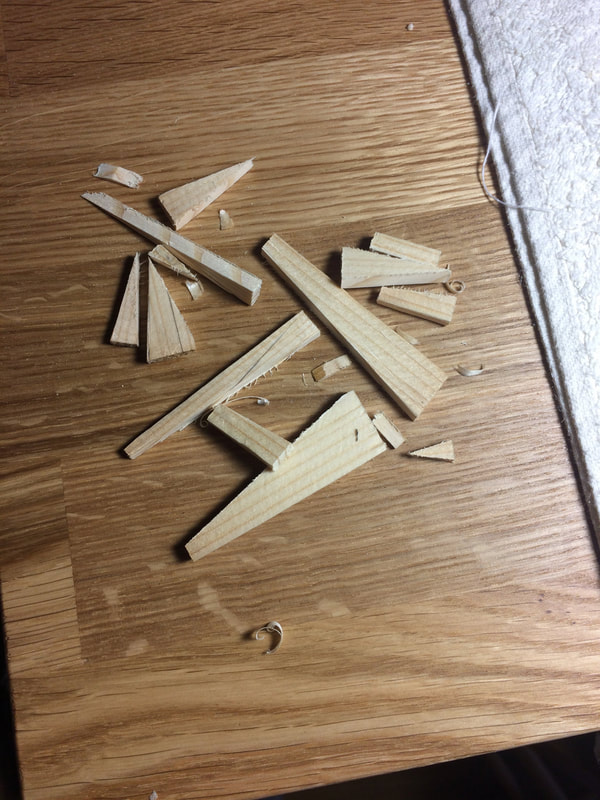
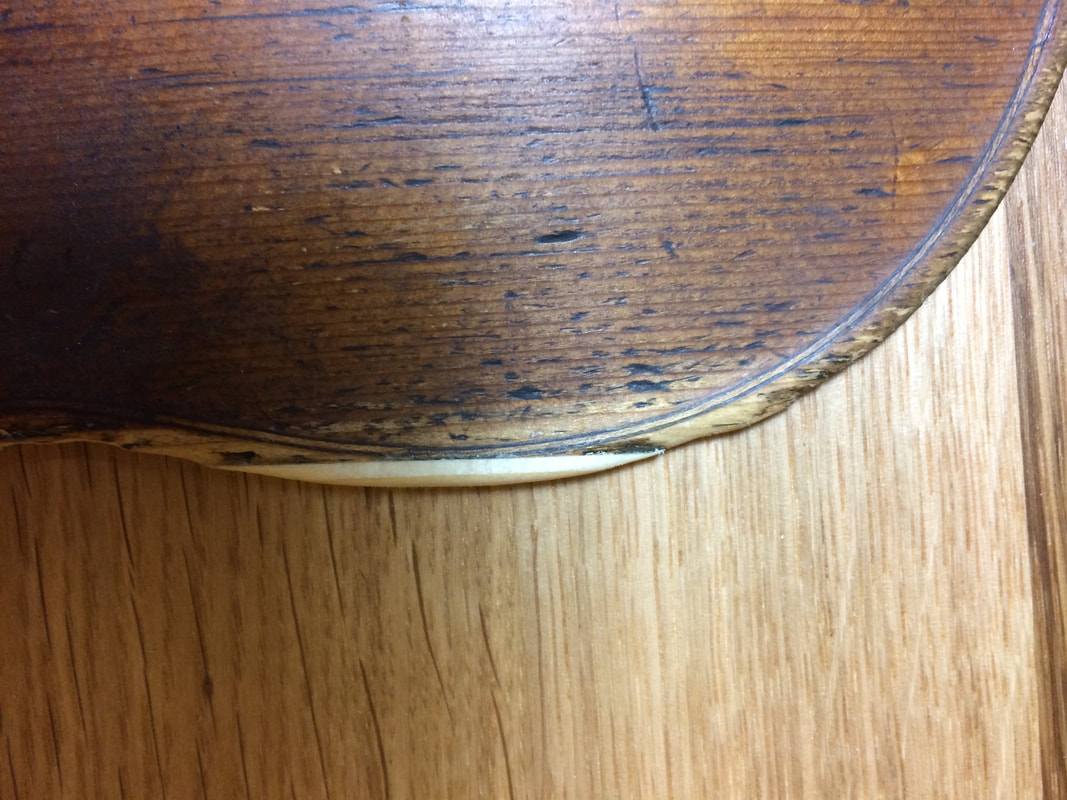
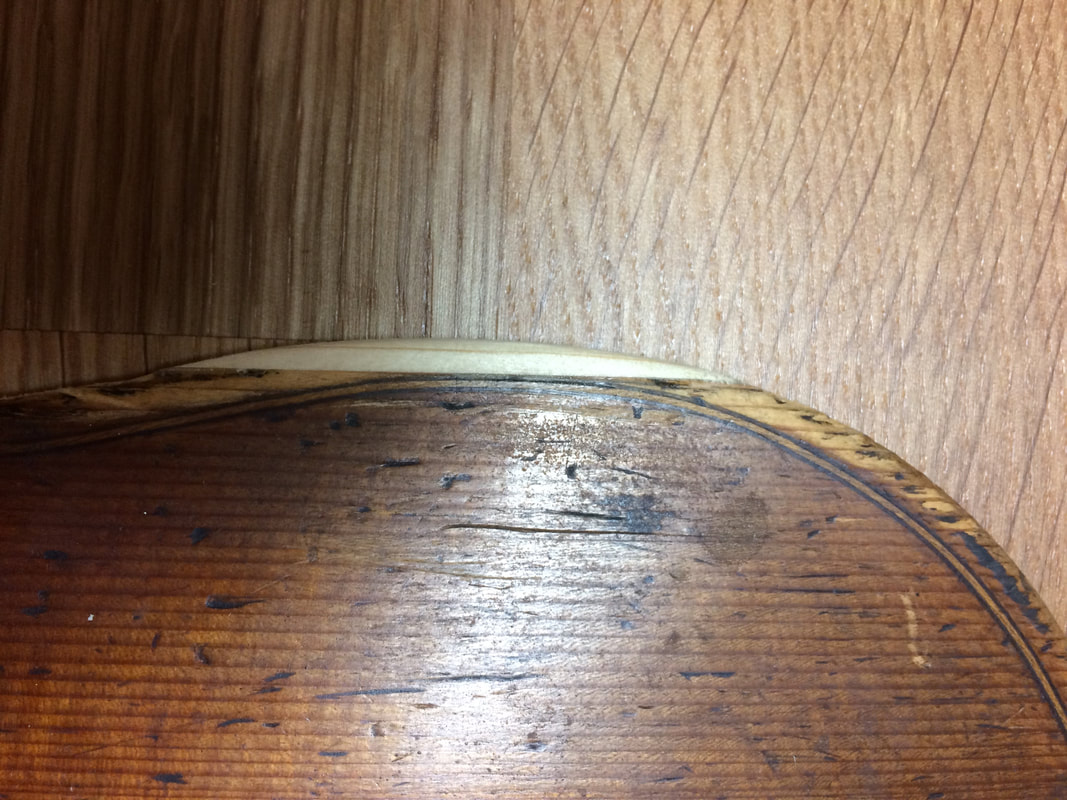
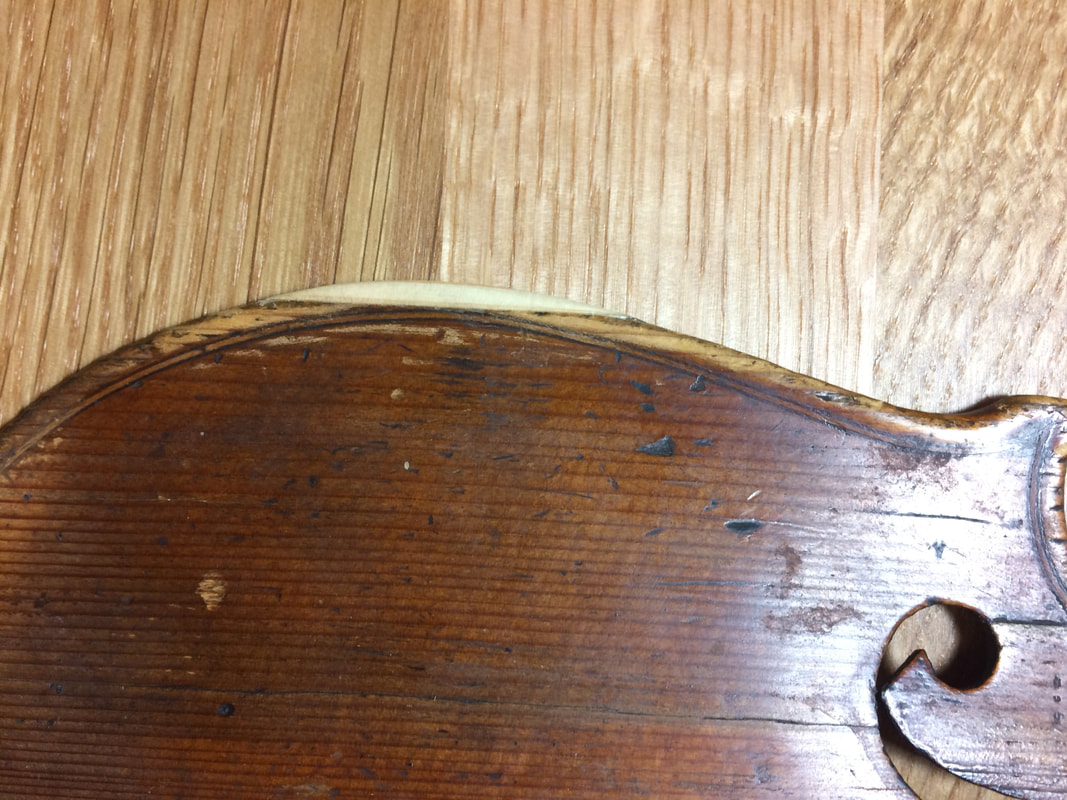
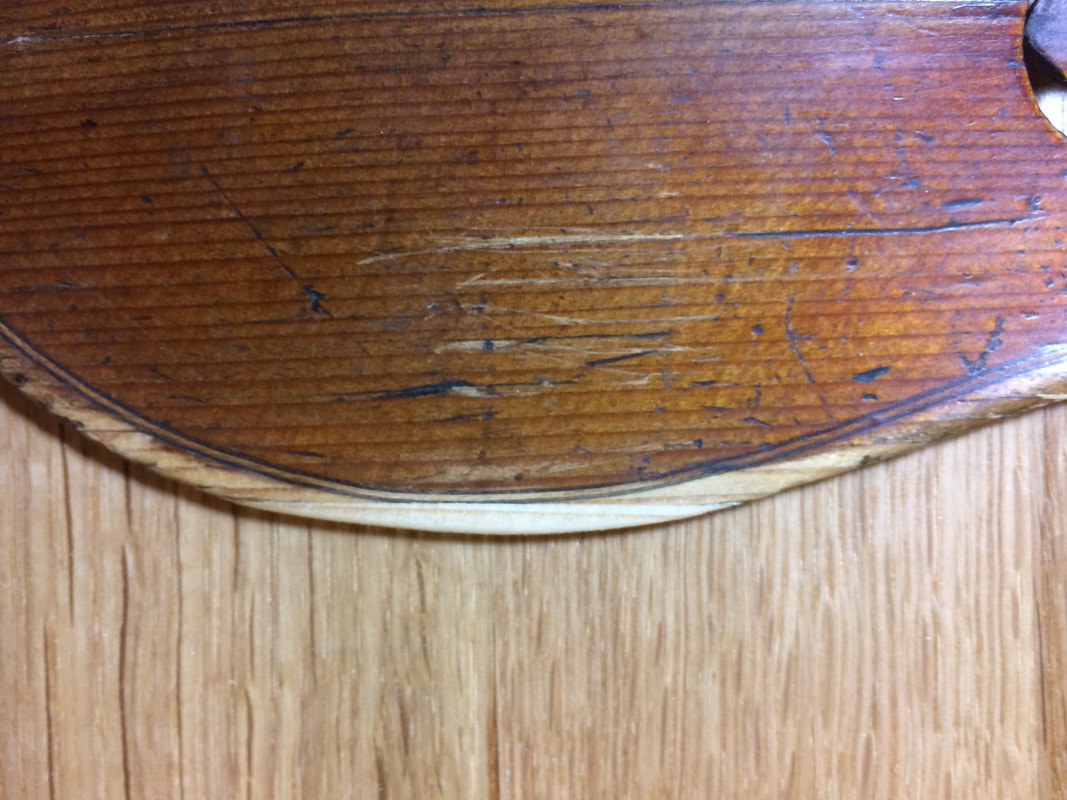
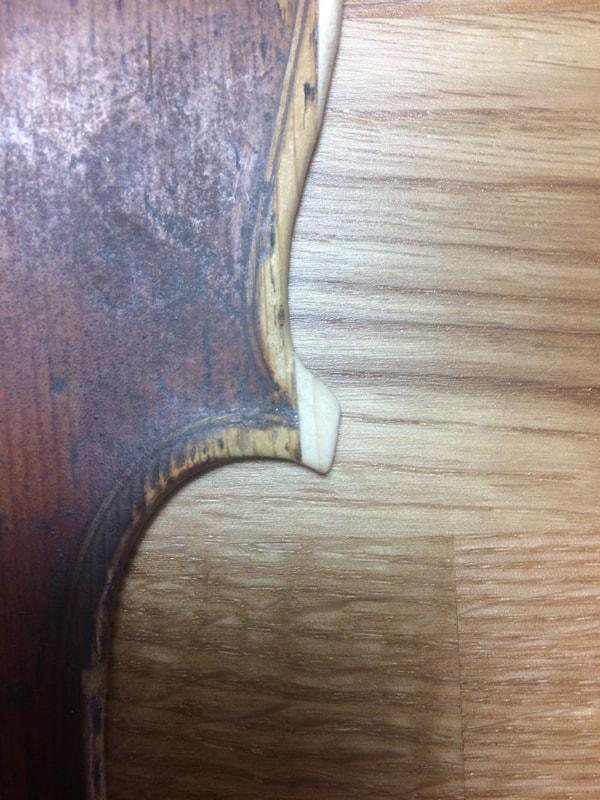
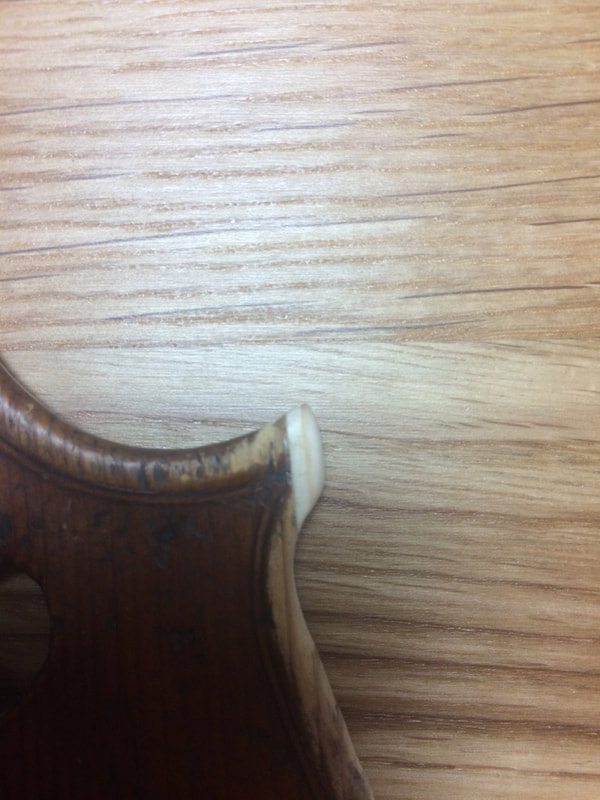
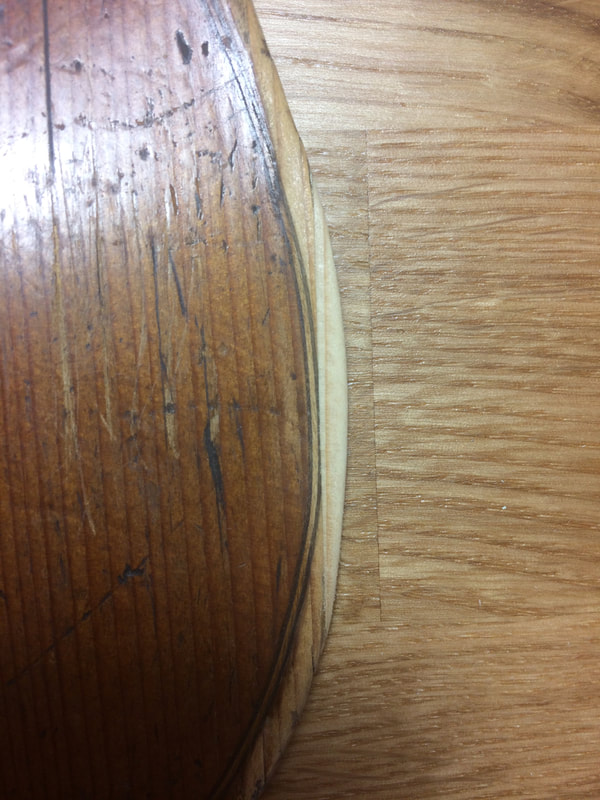
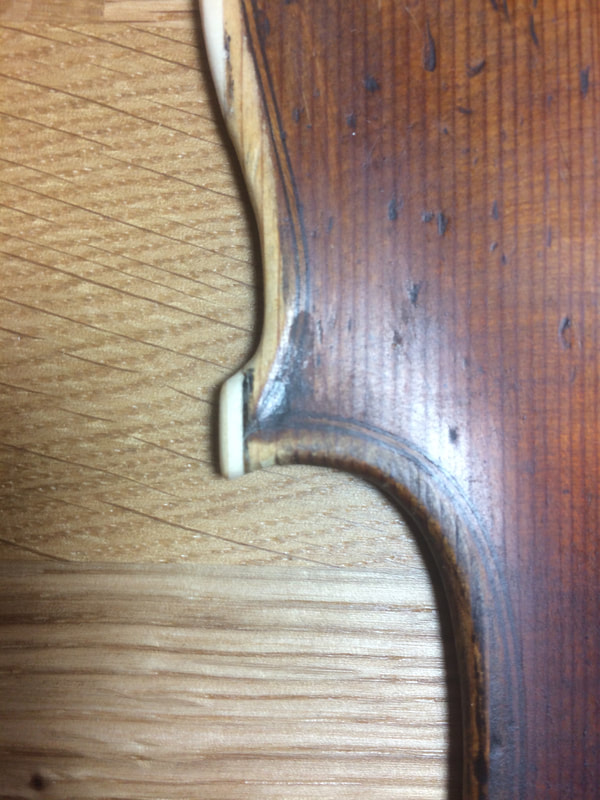
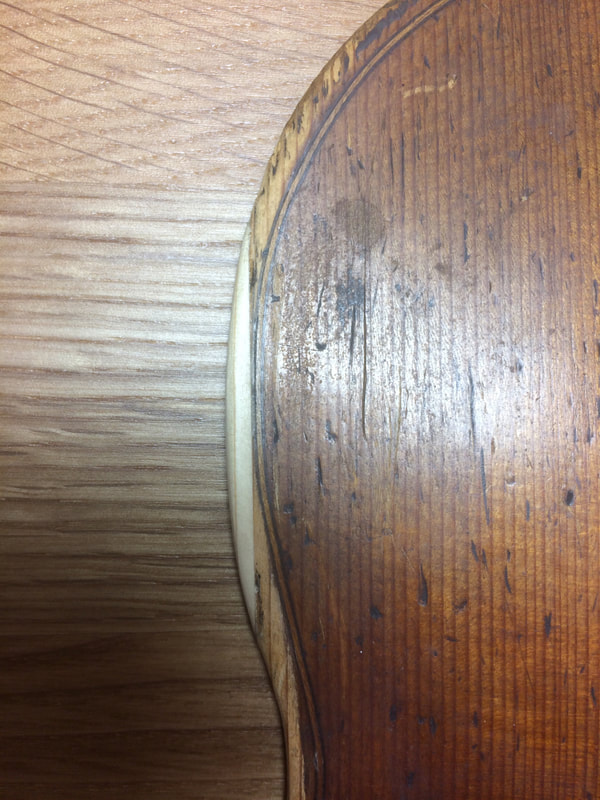
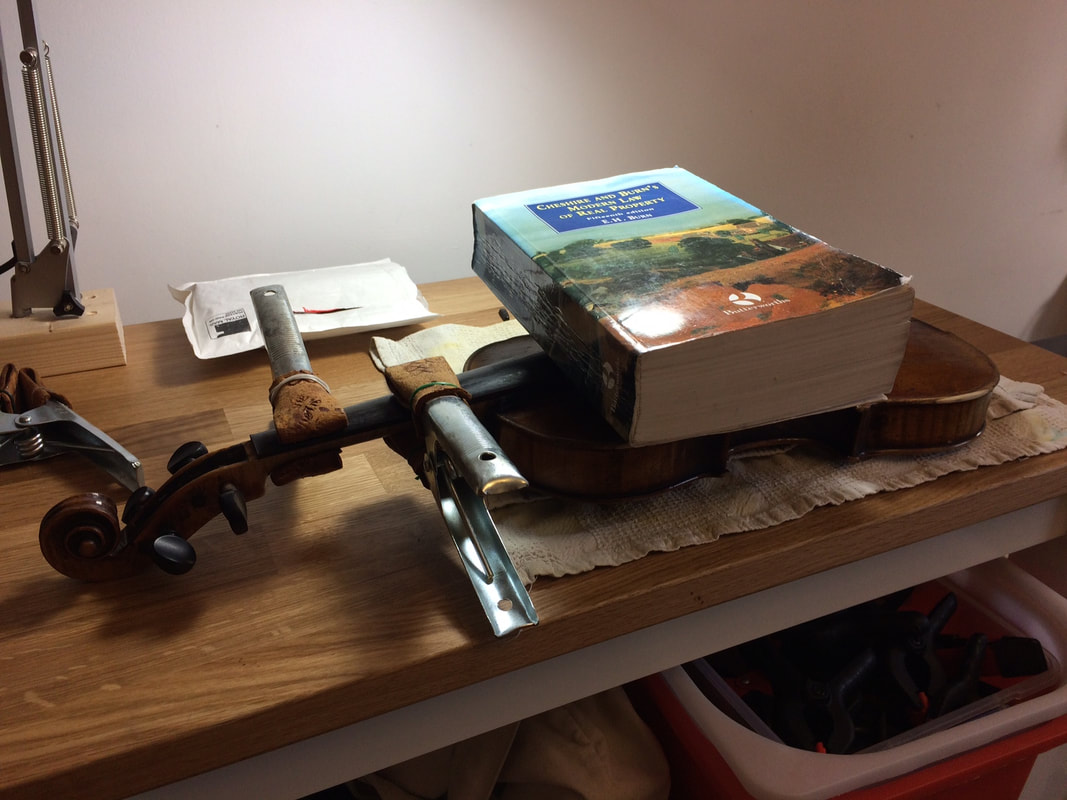
Whilst the front was off we also decided to repair some of the edges and corners which were particularly worn. We planed back the damaged wood on the front to leave a flat surface which we could match new wood to. Finding spruce with a similar grain pattern to the existing wood is very important here. Once the new spruce was planed to the right thickness and glued in place we began shaping the new edges and corners to match the existing. After the corners and edges were finished we glued the front of the violin back on. Final shaping of the corners, if necessary, can be done with the front on to ensure the front and back corners are similar in shape and style.
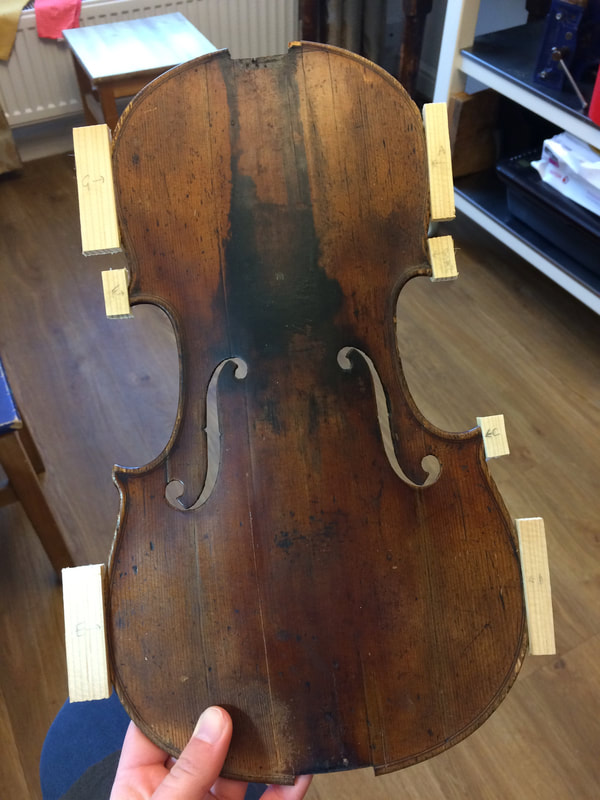
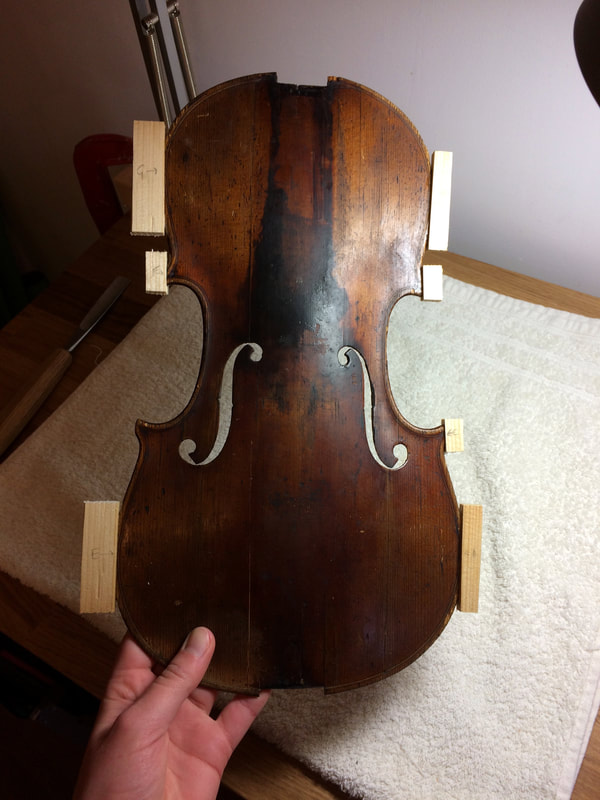
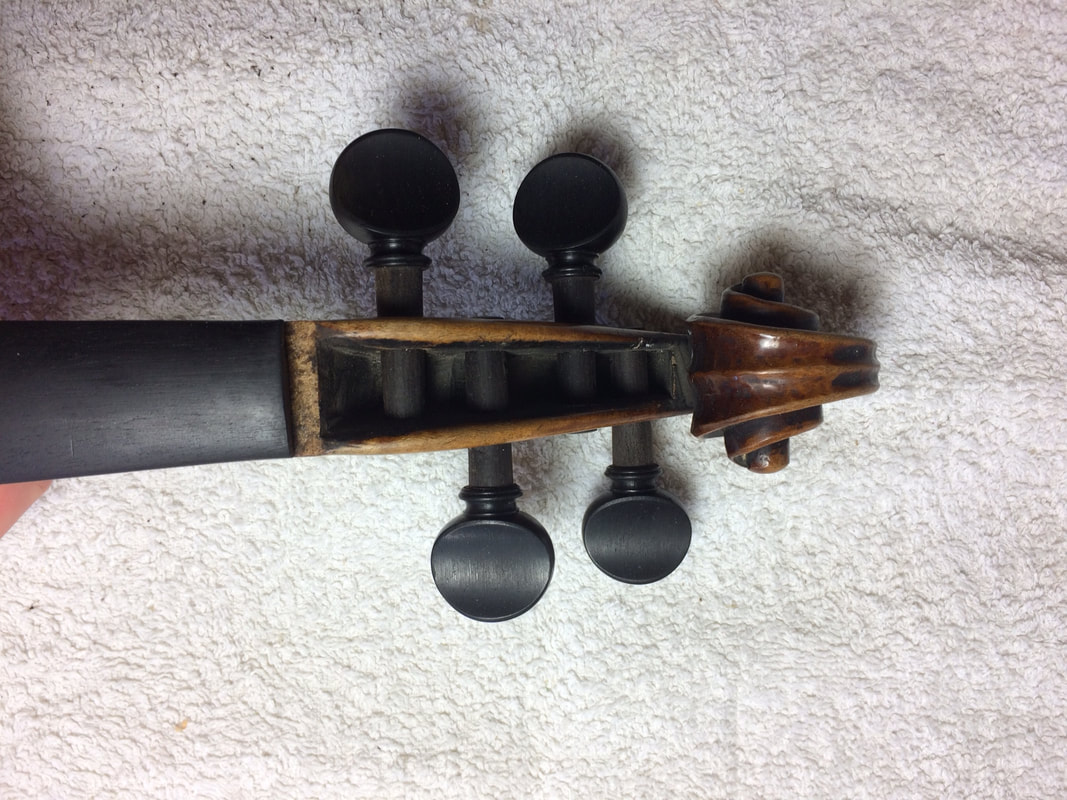
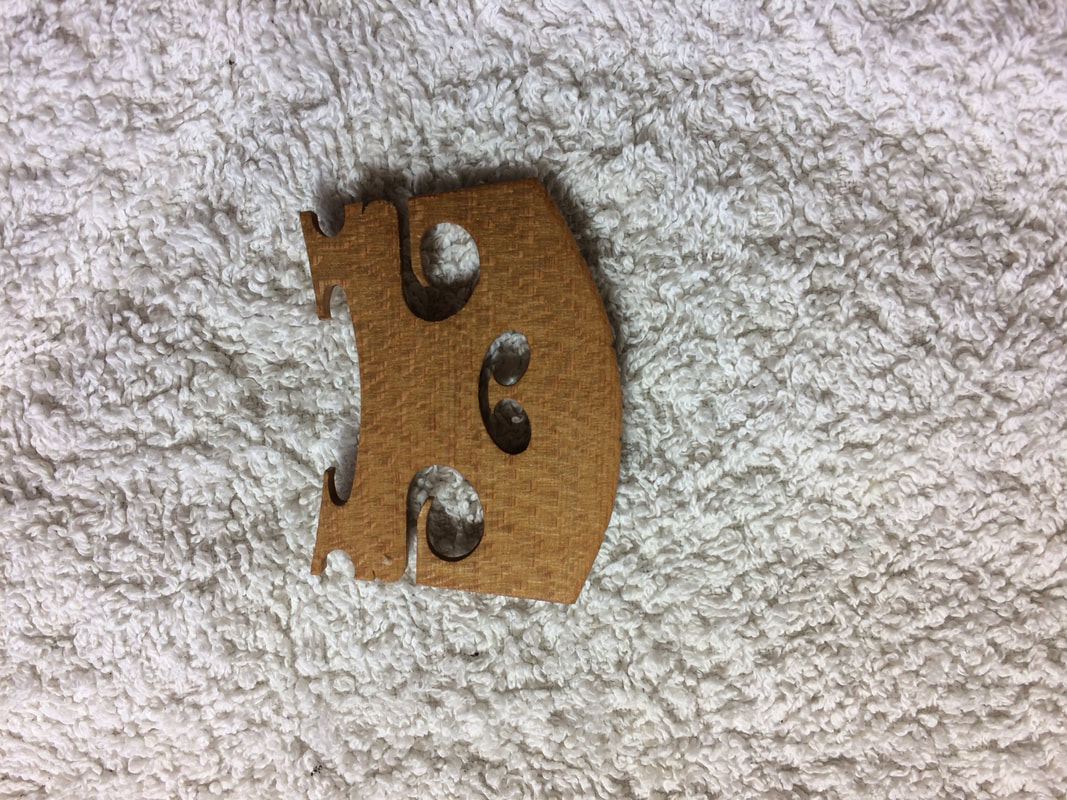
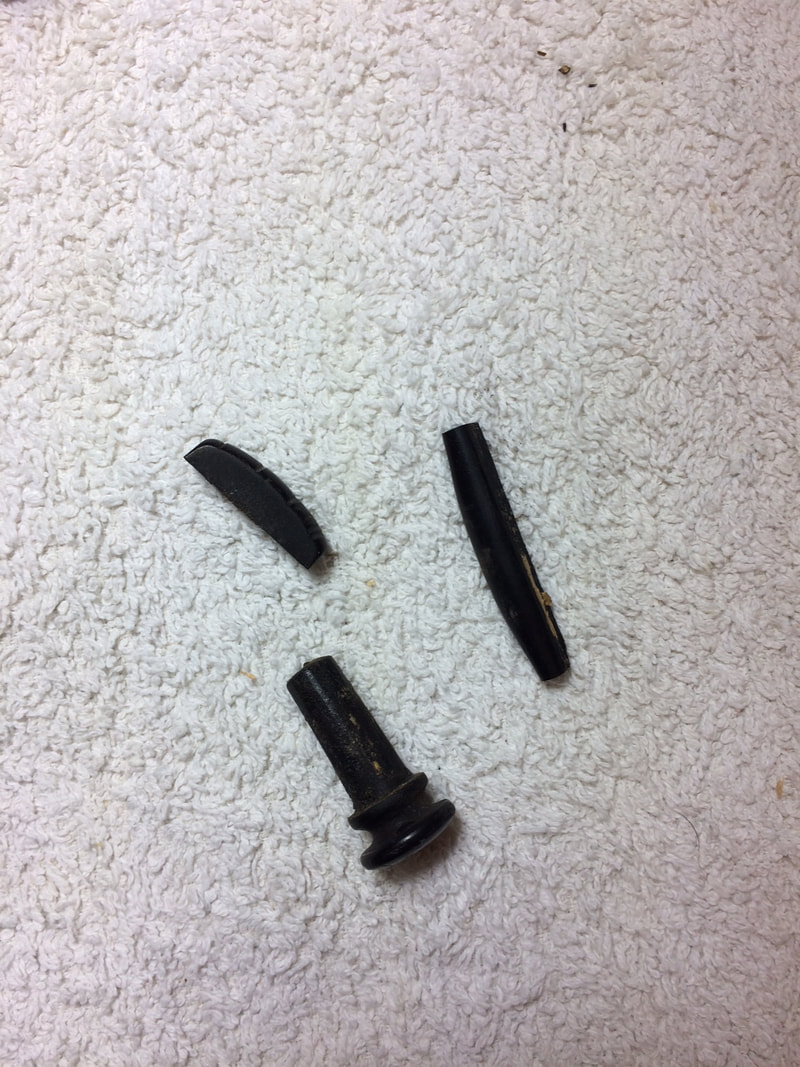
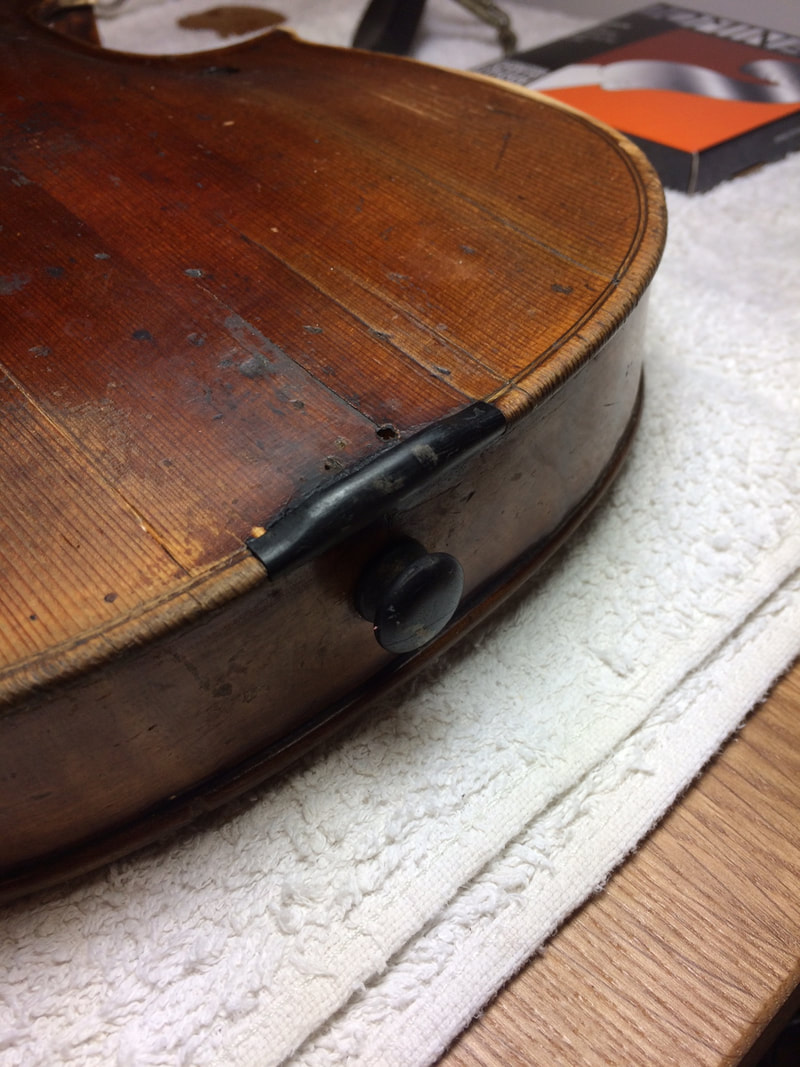
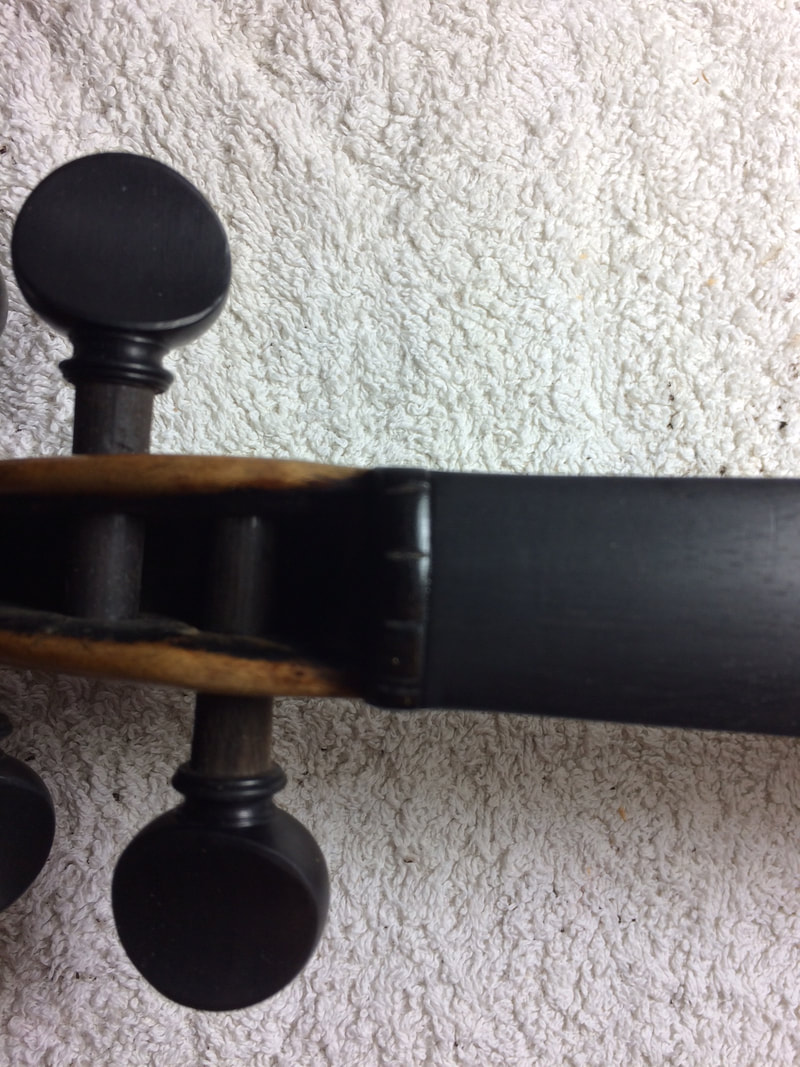
With the top back on it was only a question of a full set up! The violin came with a fingerboard, top nut, button and saddle which we were able to glue back on. We had to fit a new set of pegs, bridge and soundpost. Once this had all been done we were able to set the violin up to see what it sounded like (arguably the best part of the restoration process!). We are very pleased with the sound of this violin - it has a warm, rich tone and projects very well across the register. Only the varnish touching to go now...
We began work by removing the front to allow us to reglue the open cracks in the front and back. This revealed some previous repair work; someone had reglued and cleated several cracks in the front. The workmanship was neat and tidy however in a couple of places the cleats were actually pushing cracks open. Here we removed the cleats in question, thus allowing us to close, reglue and re-cleat the cracks. One of the bigger cracks on the front needed more attention as it was touching at either end however daylight could be seen through the middle. Here we used the chalk fine fitting method to remove the necessary wood at the end of the crack, allowing us to pull both sides together, reglue and cleat.
Whilst the front was off we also decided to repair some of the edges and corners which were particularly worn. We planed back the damaged wood on the front to leave a flat surface which we could match new wood to. Finding spruce with a similar grain pattern to the existing wood is very important here. Once the new spruce was planed to the right thickness and glued in place we began shaping the new edges and corners to match the existing. After the corners and edges were finished we glued the front of the violin back on. Final shaping of the corners, if necessary, can be done with the front on to ensure the front and back corners are similar in shape and style.
With the top back on it was only a question of a full set up! The violin came with a fingerboard, top nut, button and saddle which we were able to glue back on. We had to fit a new set of pegs, bridge and soundpost. Once this had all been done we were able to set the violin up to see what it sounded like (arguably the best part of the restoration process!). We are very pleased with the sound of this violin - it has a warm, rich tone and projects very well across the register. Only the varnish touching to go now...