Restoration of an unlabelled violinBegan March 2020
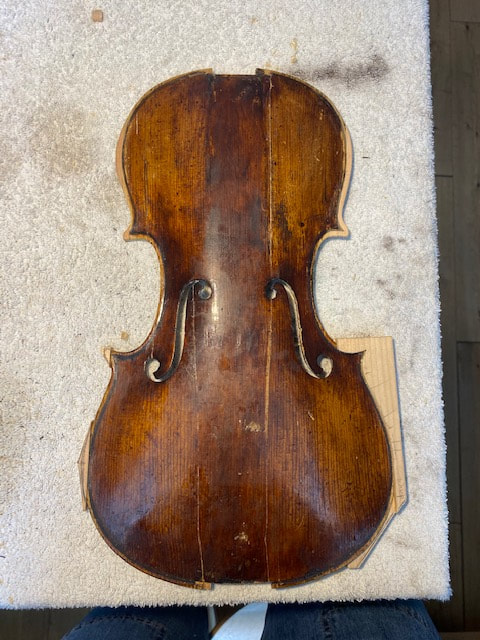
This violin is definitely amongst the largest and most varied restoration projects we've undertaken to date; you name it, this violin needs it! The instrument arrived in poor condition and, releasing the few remaining seams holding the front on, revealed extensive previous repair work. This is generally an encouraging sign as it indicates that someone (perhaps when the violin was in a better state of repair) has concluded that the violin is good enough to warrant work. The previous repair work on this violin, however, is not the best quality and in some places has actually caused more damage than good. Our full assessment for repair included; |
The completed violin (awaiting image)
|
- Doubling all the way around the front to reinforce the edges which had been previously damaged probably during removal of the front.
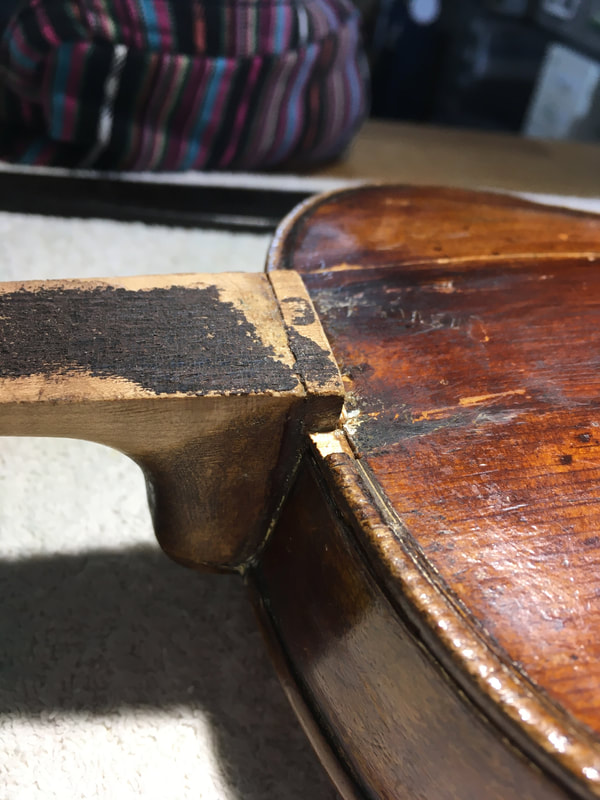
- New edge and corner replacement on the front where wood has been damaged or worn
- Remove remains of previous surface mounted soundpost patch and fit new one
- Cleat remaining cracks in front
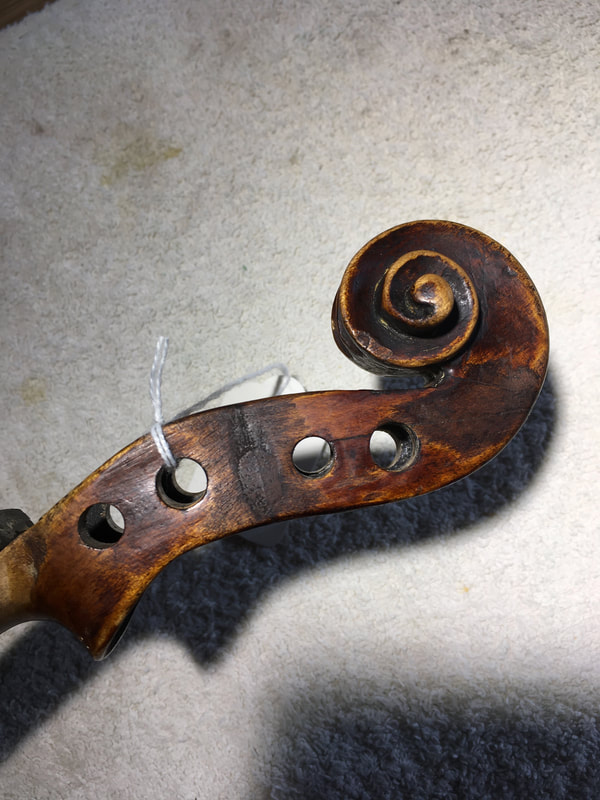
- Glue pegbox crack and fit patch to reinforce
- Re-attach fingerboard
- Make new top nut and lower saddle.
- Full set up, including new pegs, bridge and soundpost
- Varnish work to blend new wood in edging and doubling repairs, and to tidy up damage to the body of the instrument.
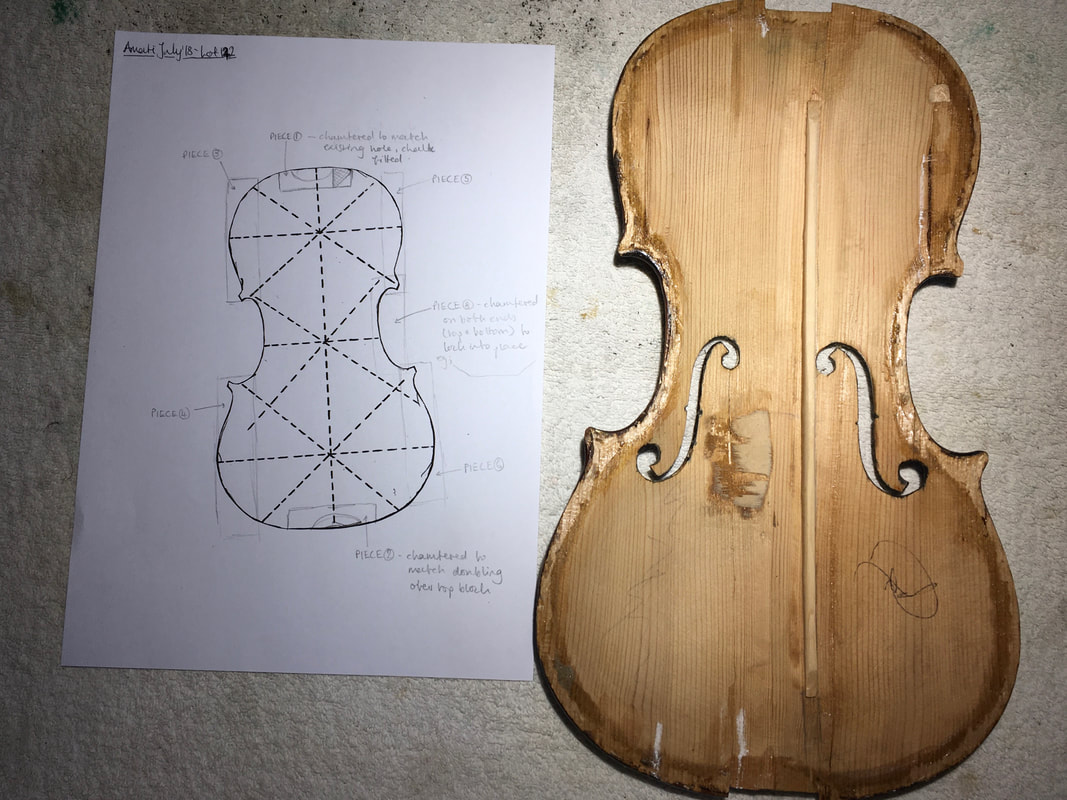
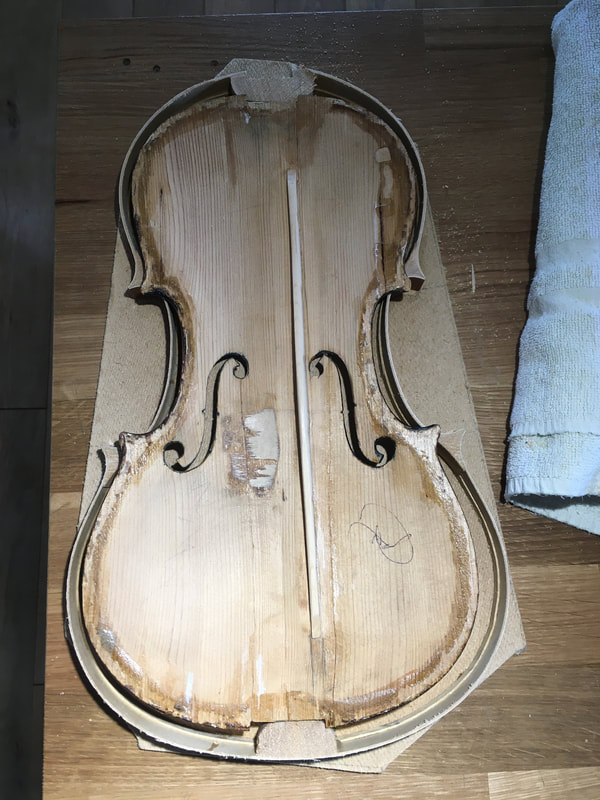
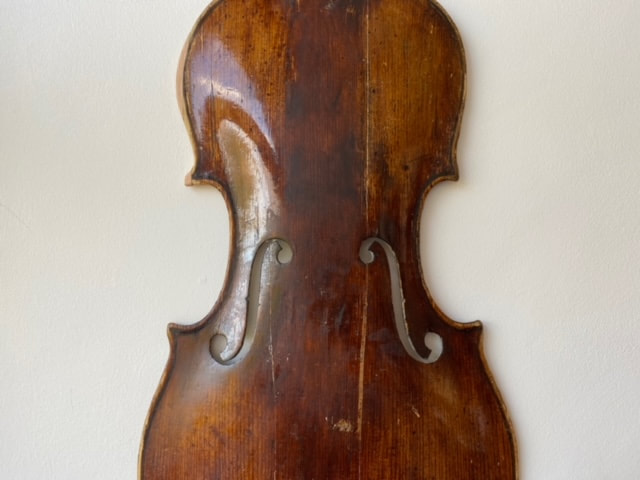
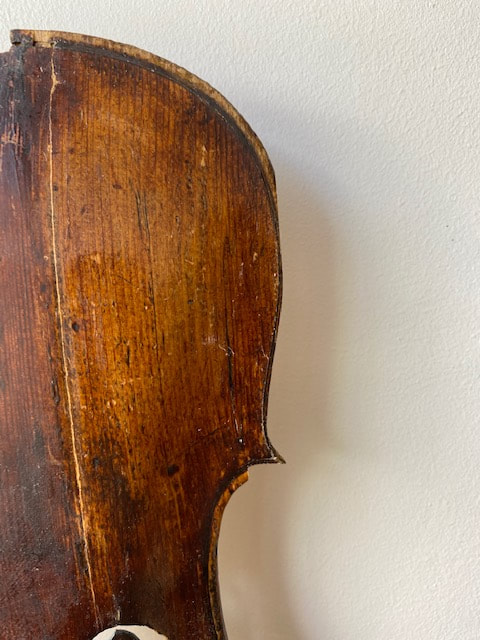
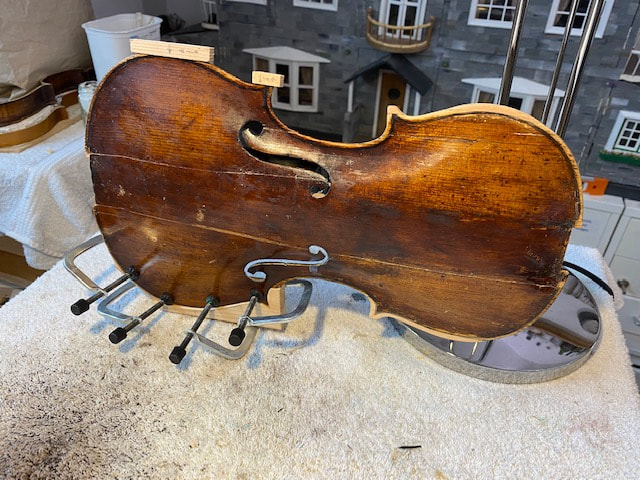
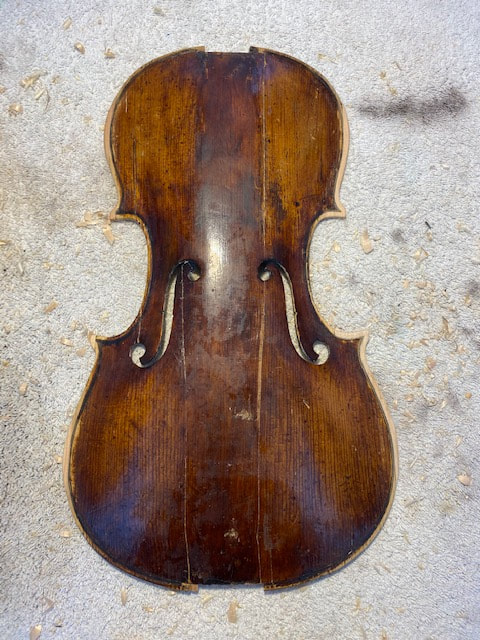
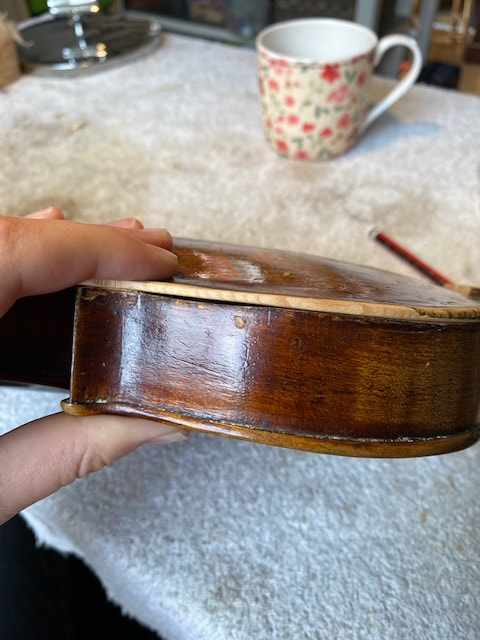
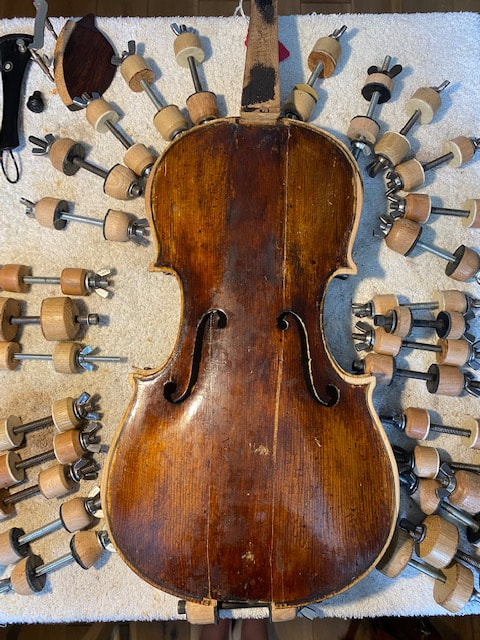
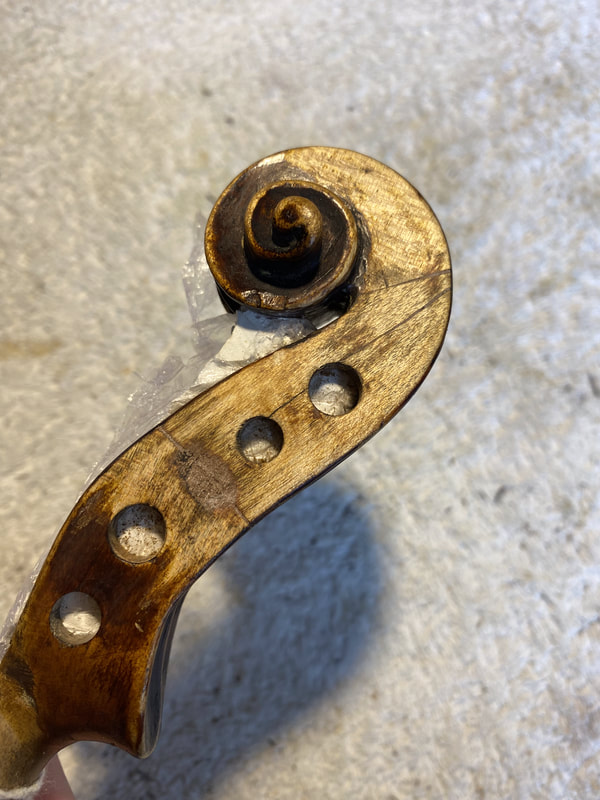
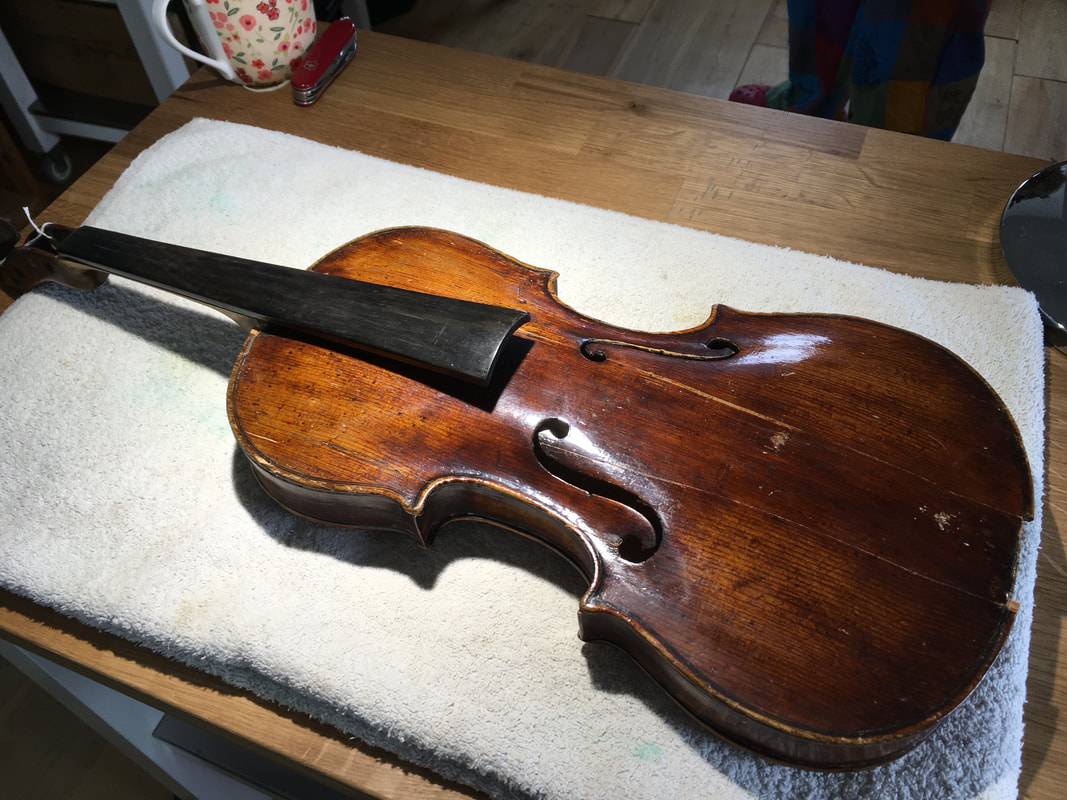
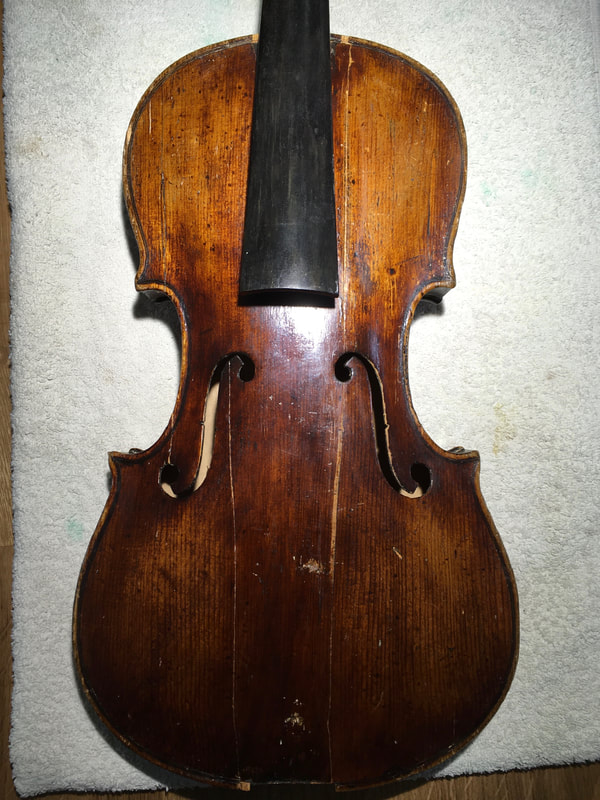
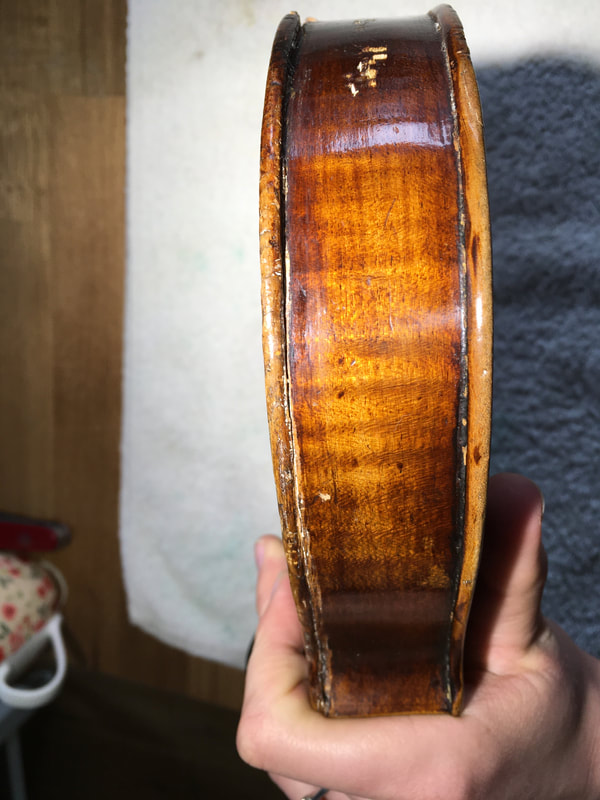
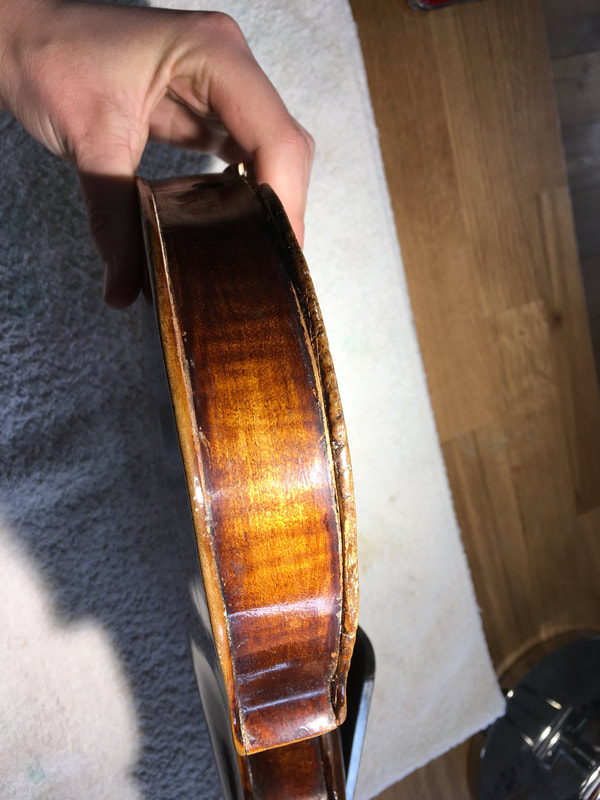
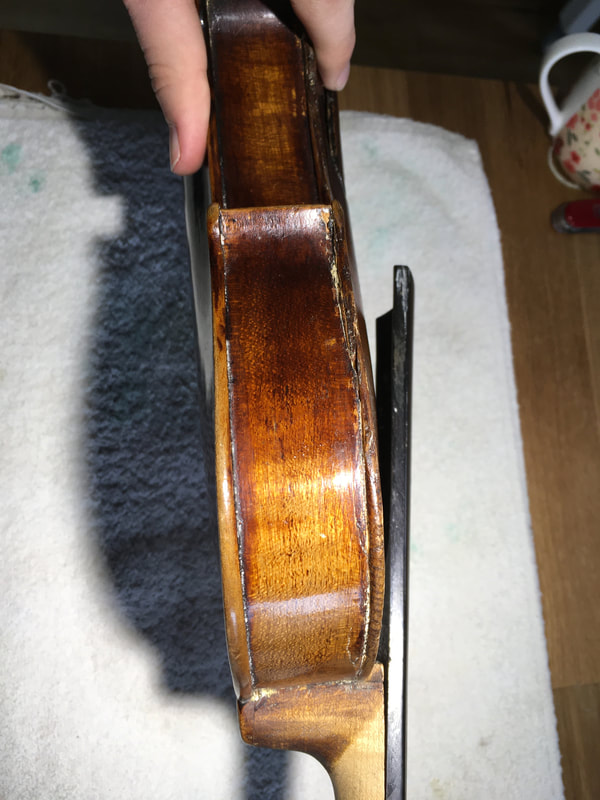
The Violin - prior to work beginning


The repair process
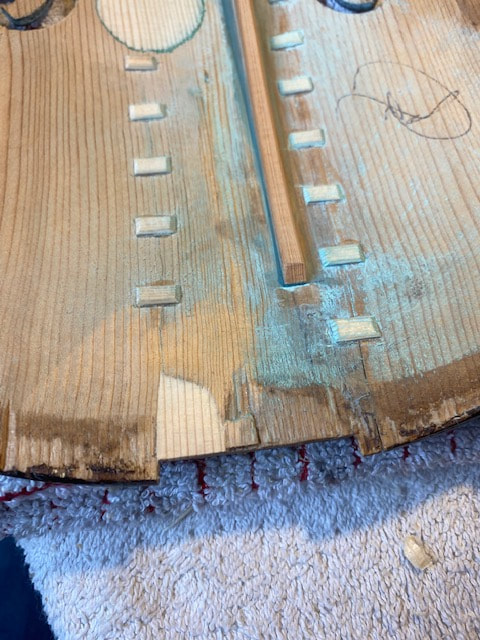
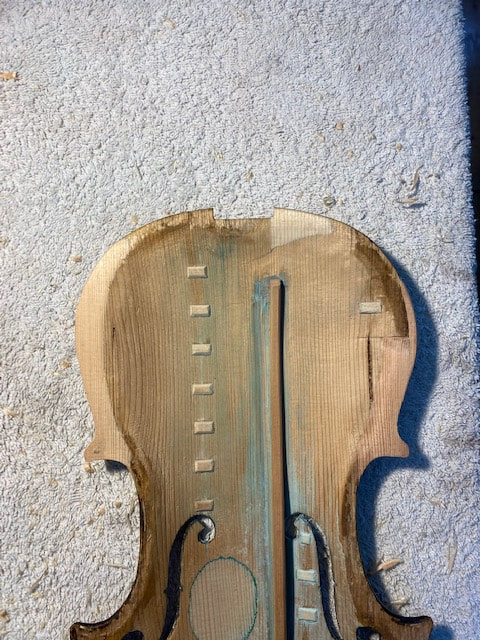
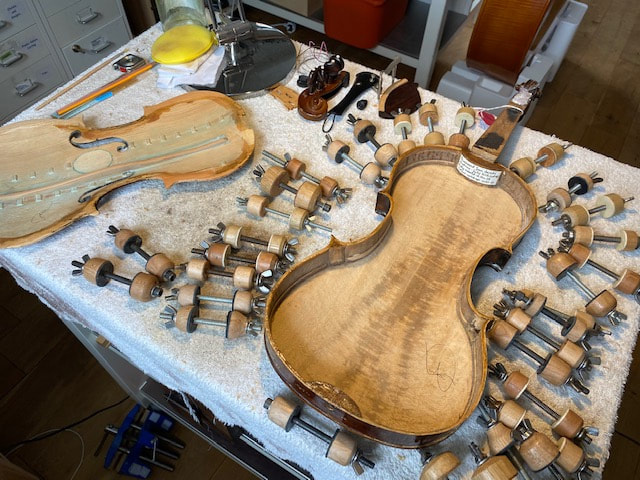
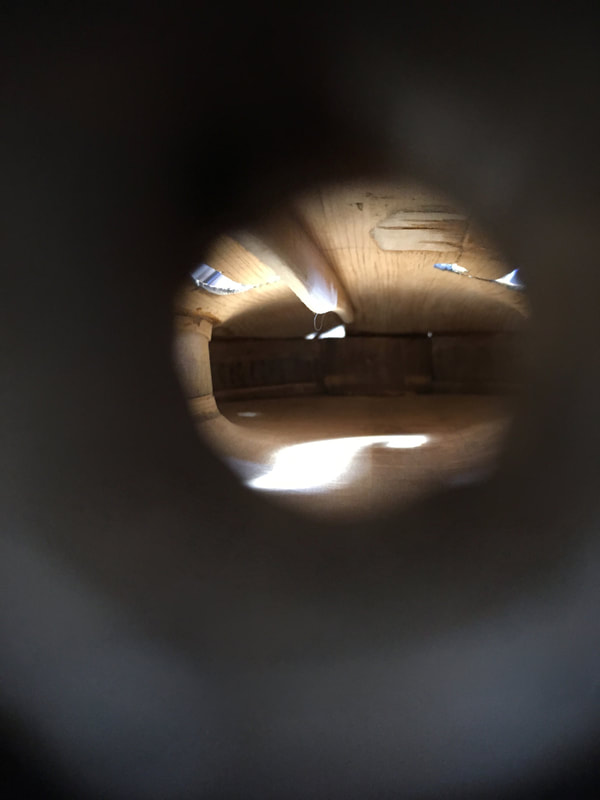
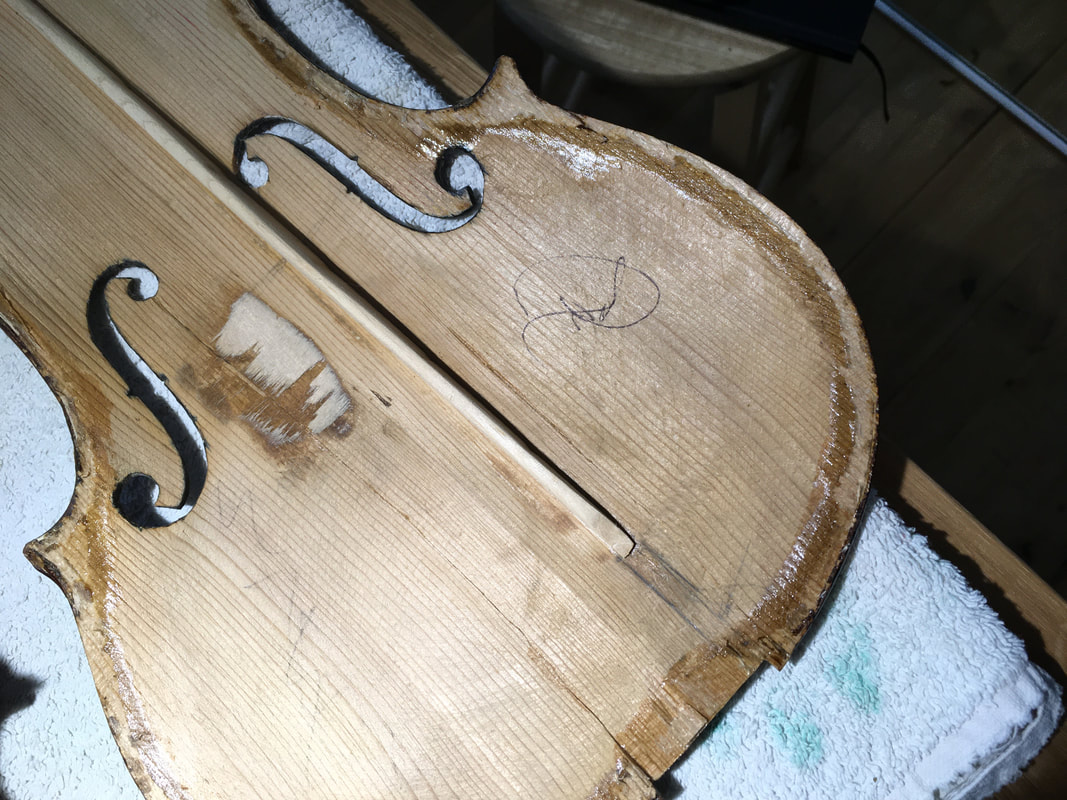
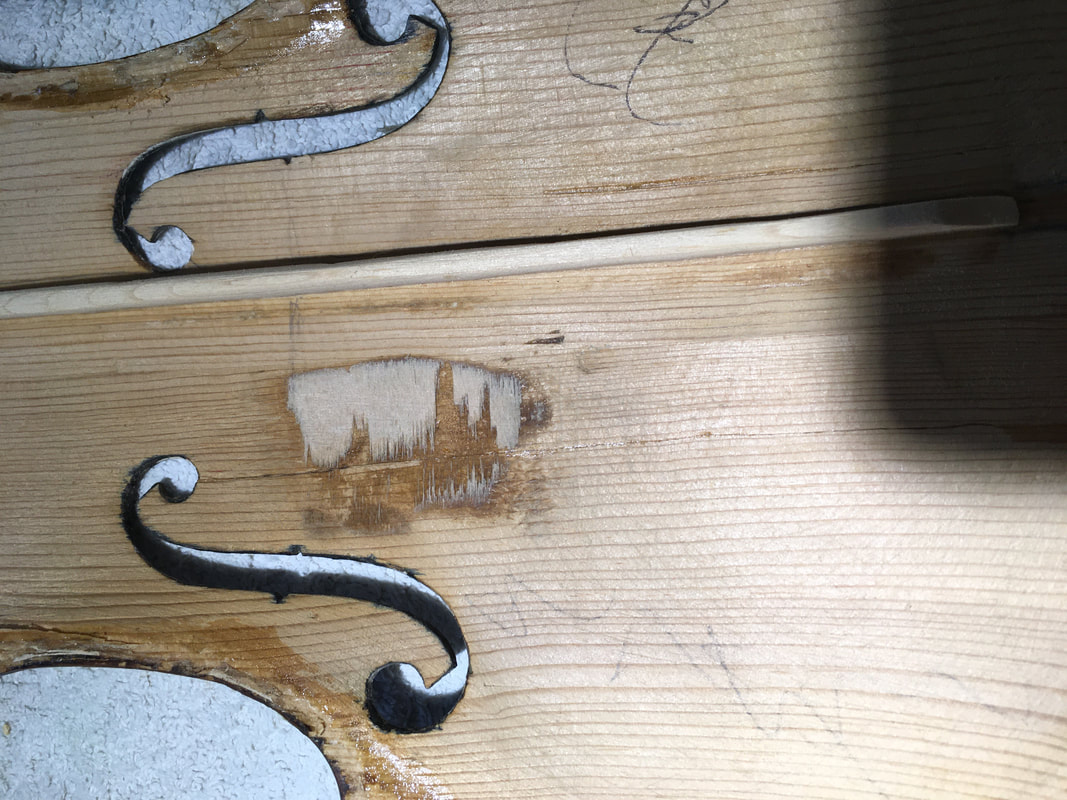
We decided to begin the restoration of this violin by tackling the soundpost patch in order to stabilise the crack in the front. For patch repairs such as this violin fronts require support so that any pressure applied during the repair process does not flex or distort them. Because this violin also requires extensive edging work we decided to cast a full body mould, rather than just a mould for the soundpost area of the front (see our work on the Unlabelled Northern European Violin, c.1830 for smaller front moulds). With sufficient support in place we began carving out the patch bed (including the remains of the previous surface patch) and chalk fitting a new soundpost patch. We created the new patch using quarter sawn spruce split to the right size and roughly shaped. It is important here to match the grain pattern in the patch to the grain pattern in the violin front as best as possible, with both grains running in the same direction when the patch is fitted. Once the soundpost patch was fitted and shaped we cleated the remaining cracks in the front in order to reinforce them and stabilise the front. Alongside this we also soaked out the existing bass bar, which was very poorly fitted and had the grain running in the wrong direction, and fitted a new one.
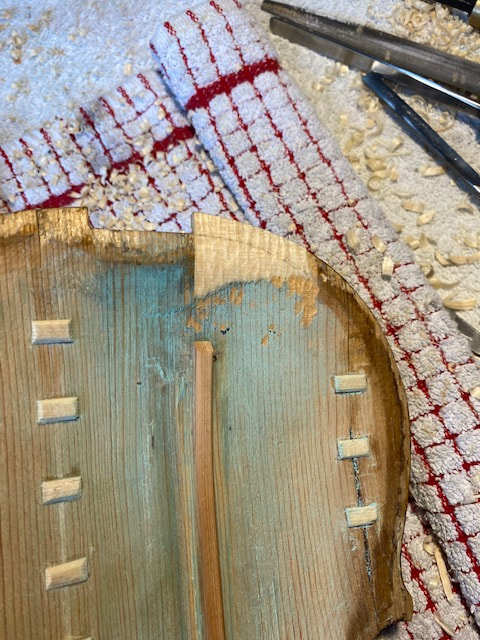
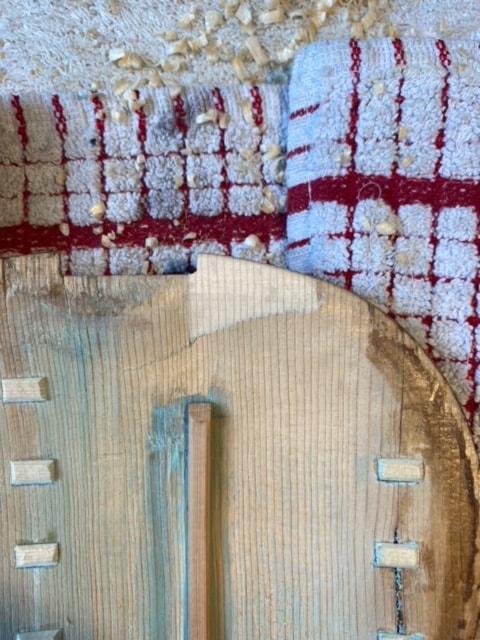
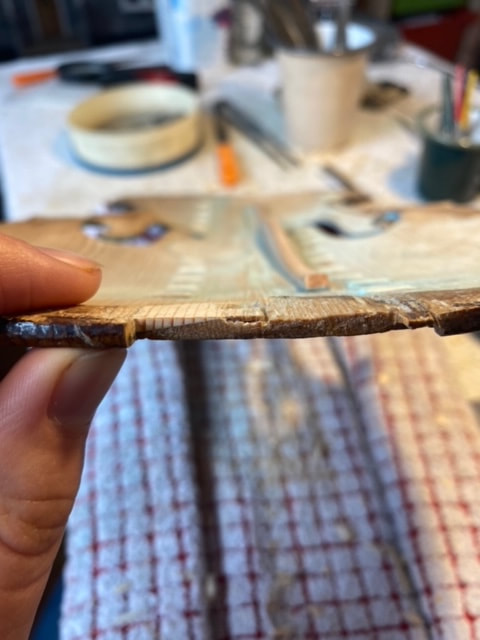
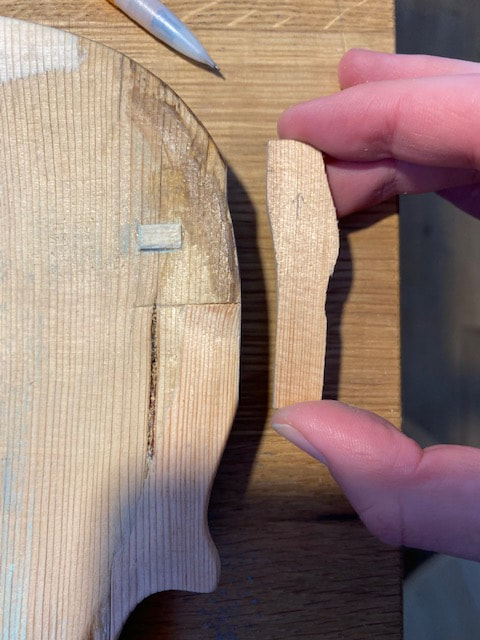
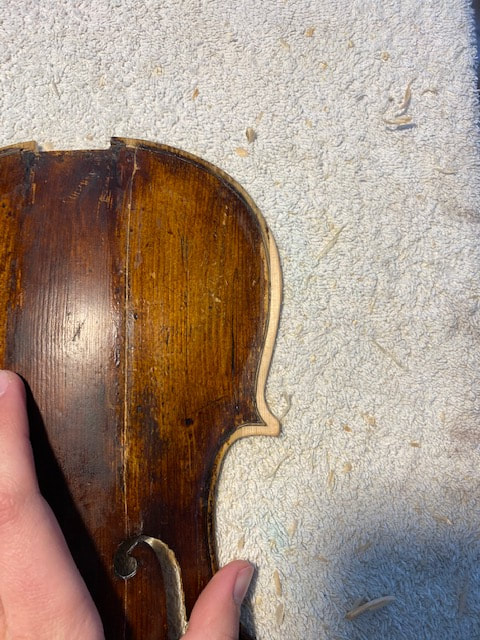
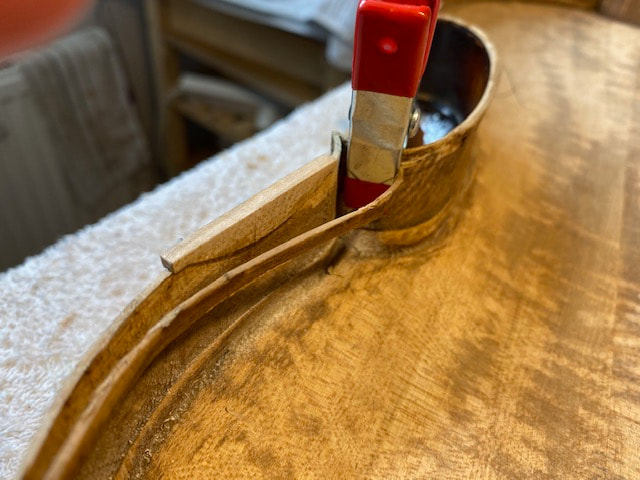
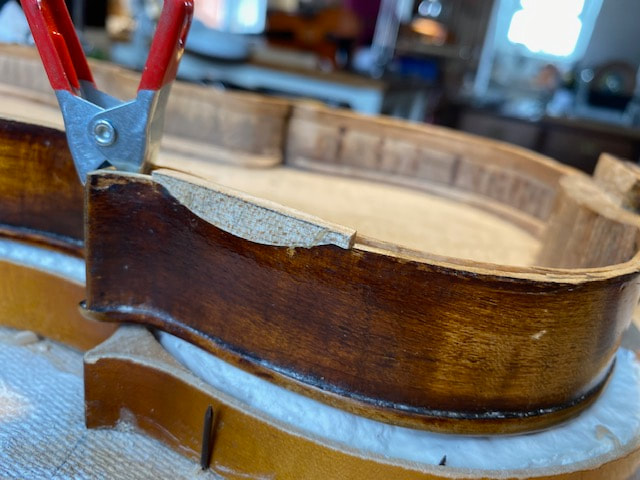
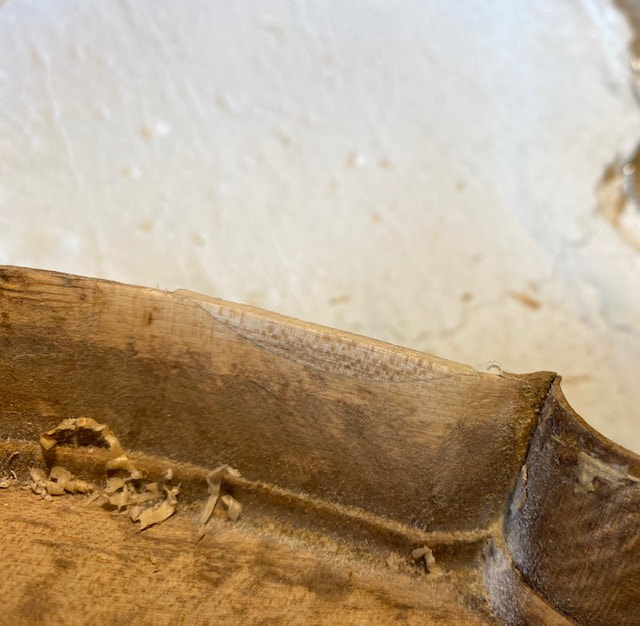
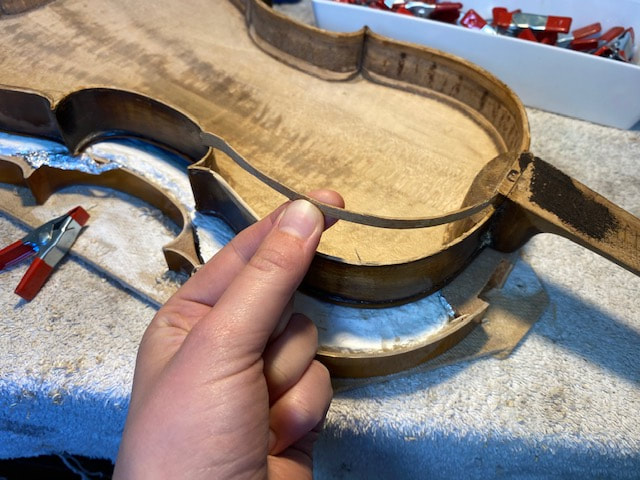
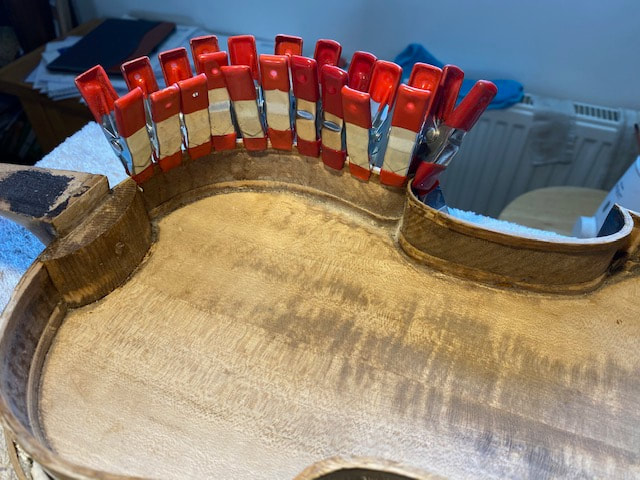
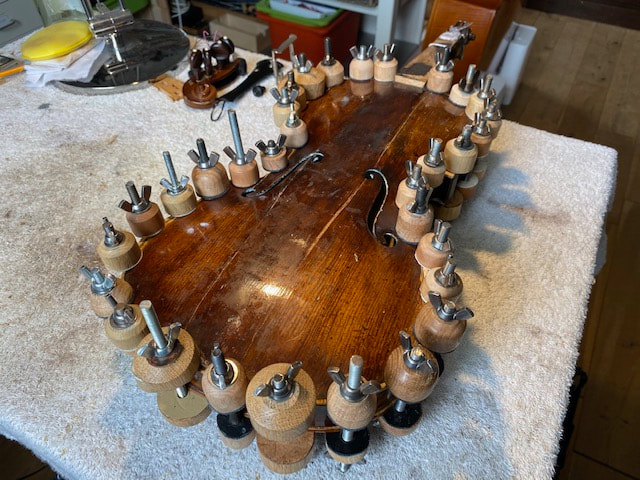
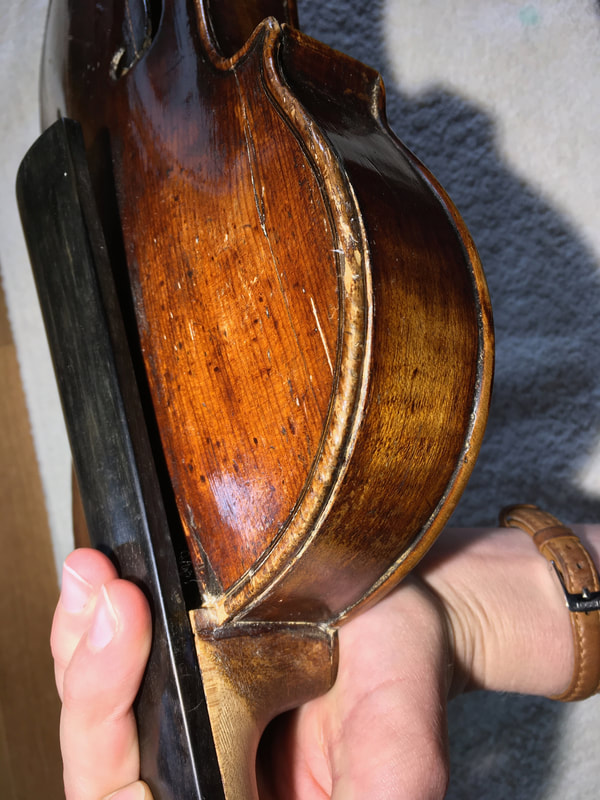
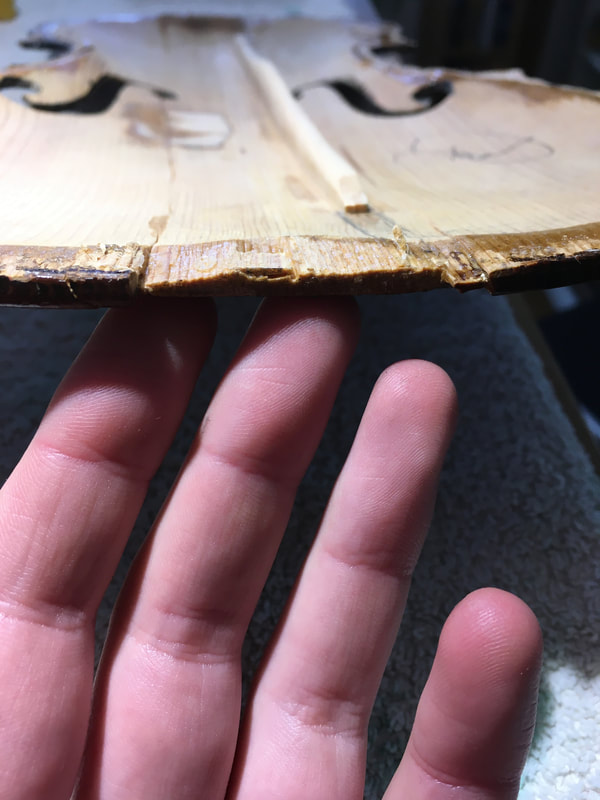
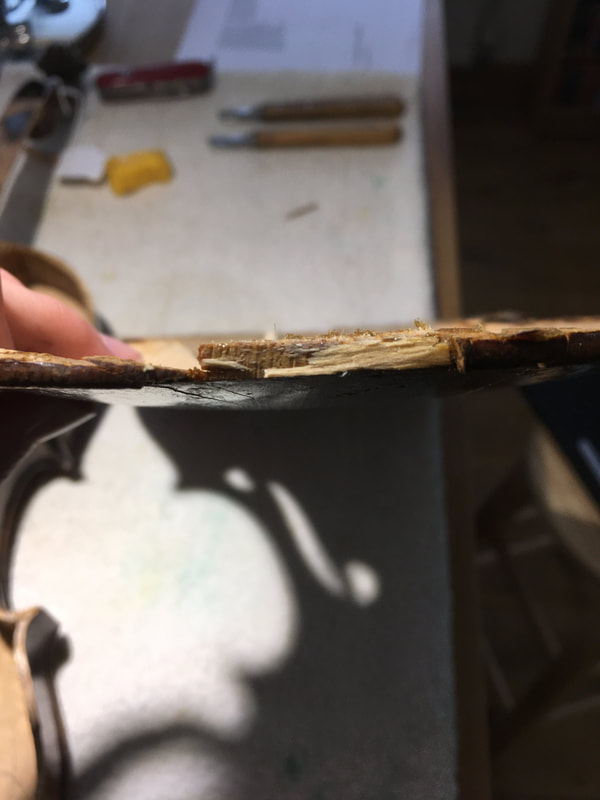
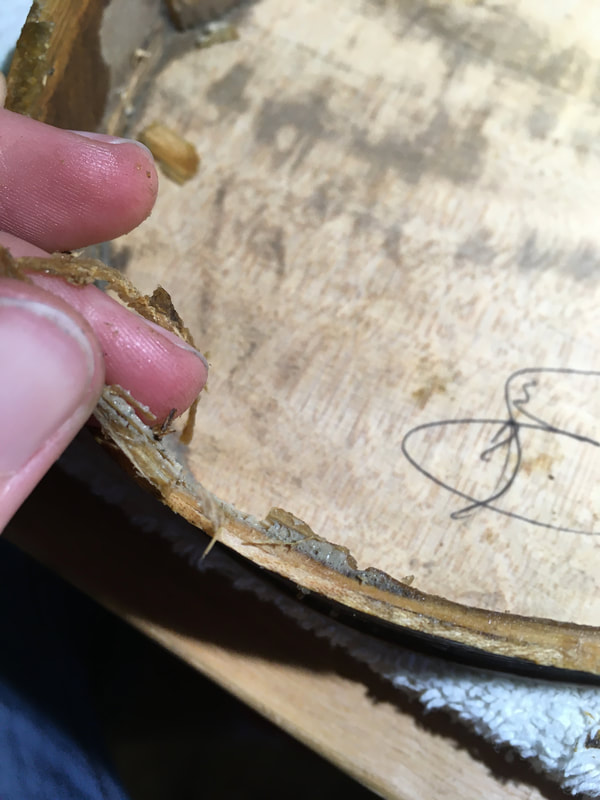
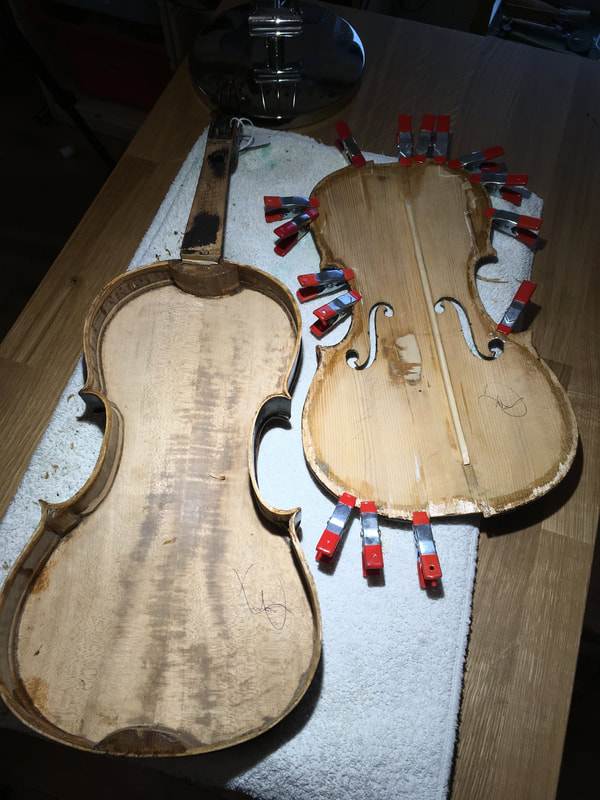
After tackling the soundpost patch, cleats and bass bar we began designing edging repairs to reinforce the front where the edges were worn and/or had been previously damaged. Our initial repair plan included a total of eight separate edging repairs (including some doubling work to repair areas were previous damage had left the purfling exposed) however after several revisions as the repairs progressed we ended up fitting nine new edging pieces. This included two patches around the top and bottom block, one underlaid corner, two underlaid edges and corners, two new corners, and two new edges. All repairs were carried out using spruce, and wood was sourced to match the existing grain lines on the front of the violin. Our repairs have focussed on stabilising damaged areas of the front (probably caused by previous removal of the front) and extending worn edges and corners in order to protect the ribs of the instrument. We have deliberately left our new edges slightly large in places so that final shaping can be done once the front is back on the ribs.
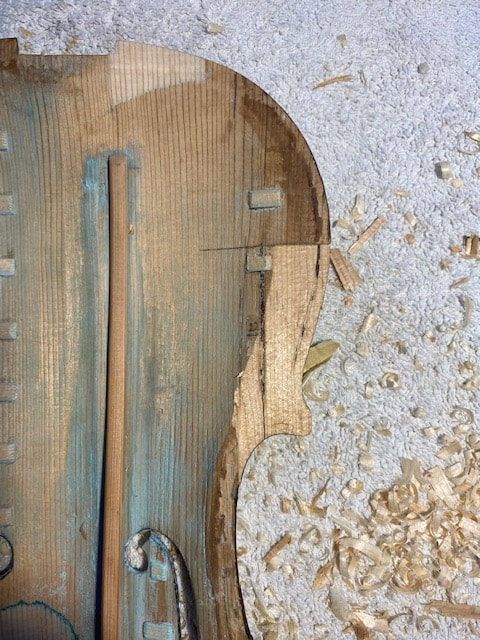
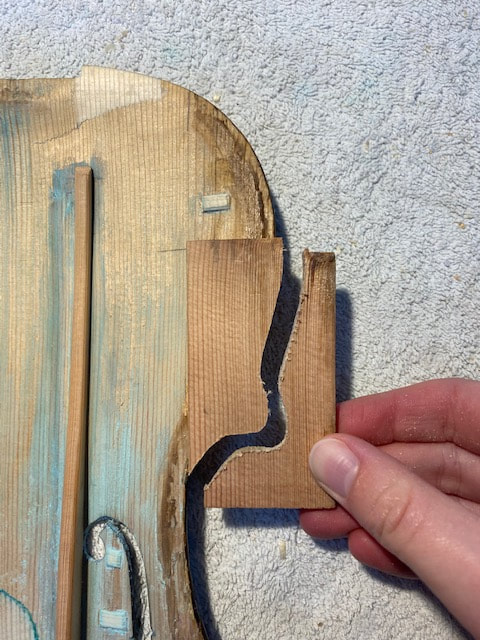
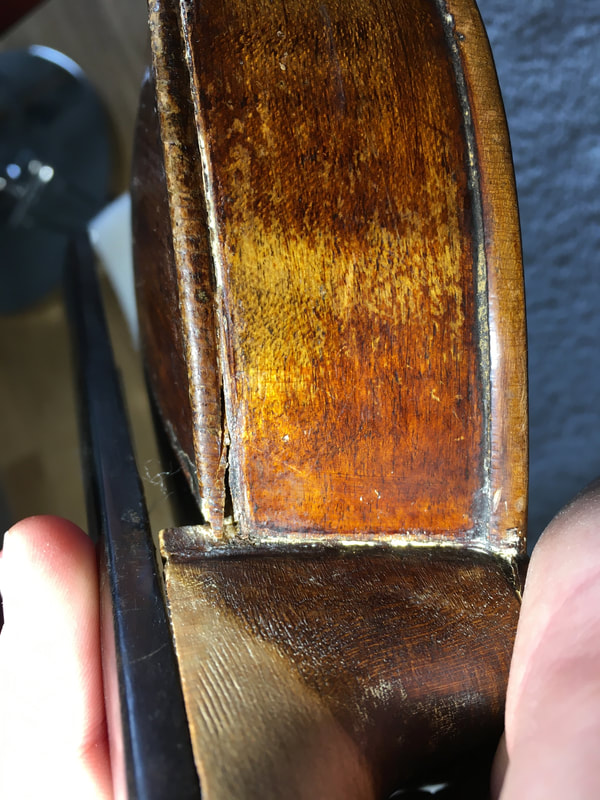
The final job before the front could go back on was to fit a small patch to the upper treble side rib, where the height of the rib was slightly short meaning that there was a large gap when the front in place. In order to do this we enlarged the damaged area to create a semicircular area which we could fit a new piece of maple to. The semicircle shape will be harder to spot once the varnish has been matched, meaning that the finished repair will be invisible to those who don't know to look for it. We found a piece of maple with similar flaming and chalk-fitted it to the ribs. Once it was glued in place we were able to shape it to match the curvature and height of the ribs. We were then FINALLY able to glue the front back on!!
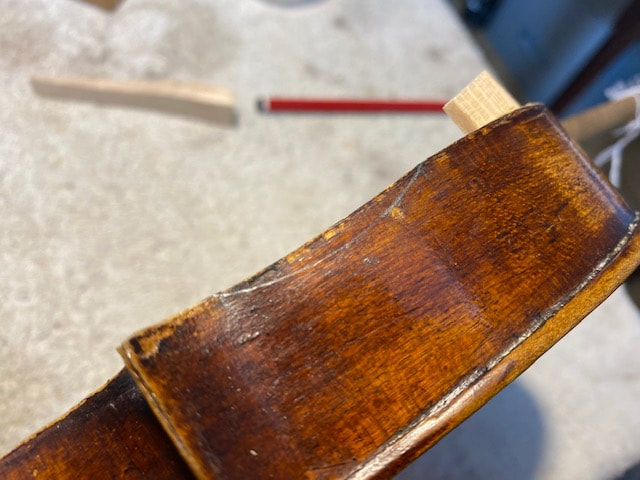
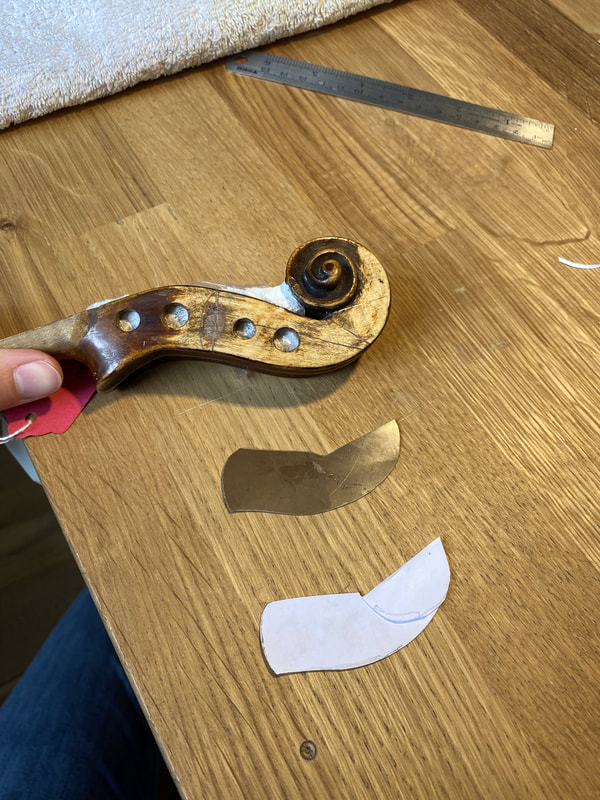
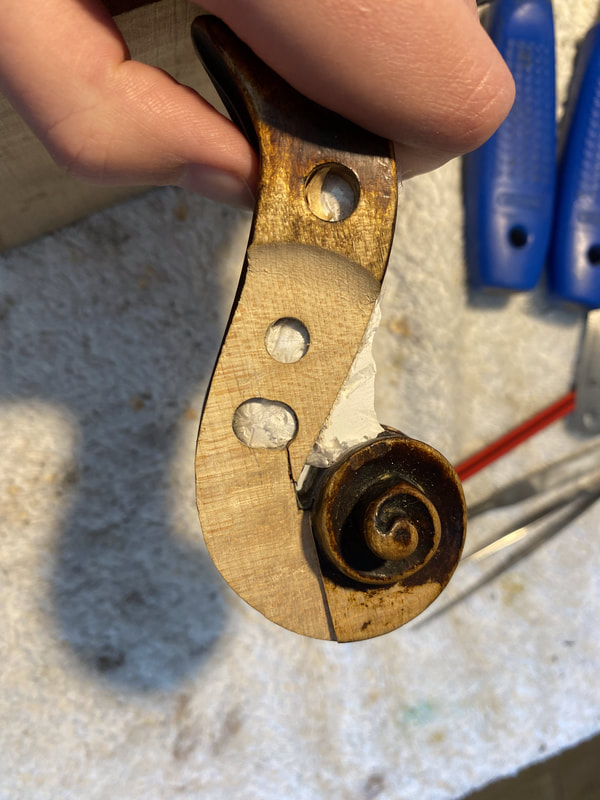
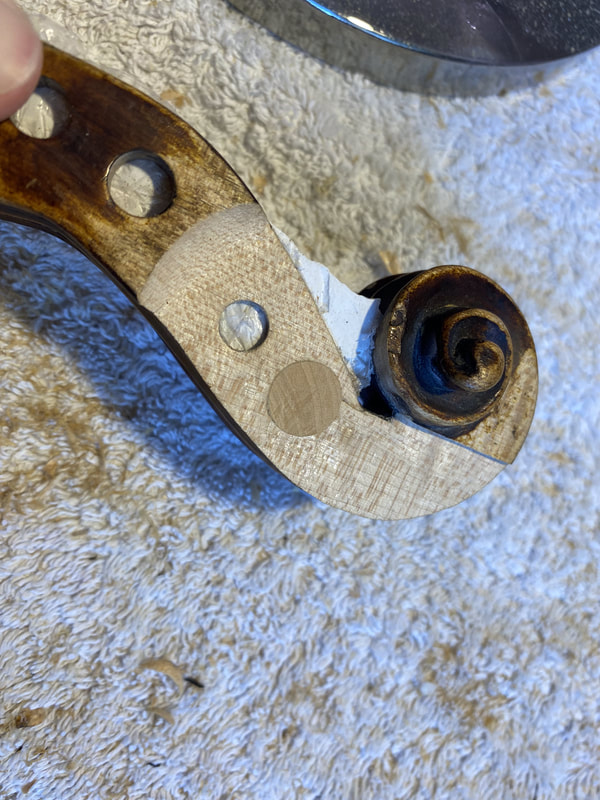
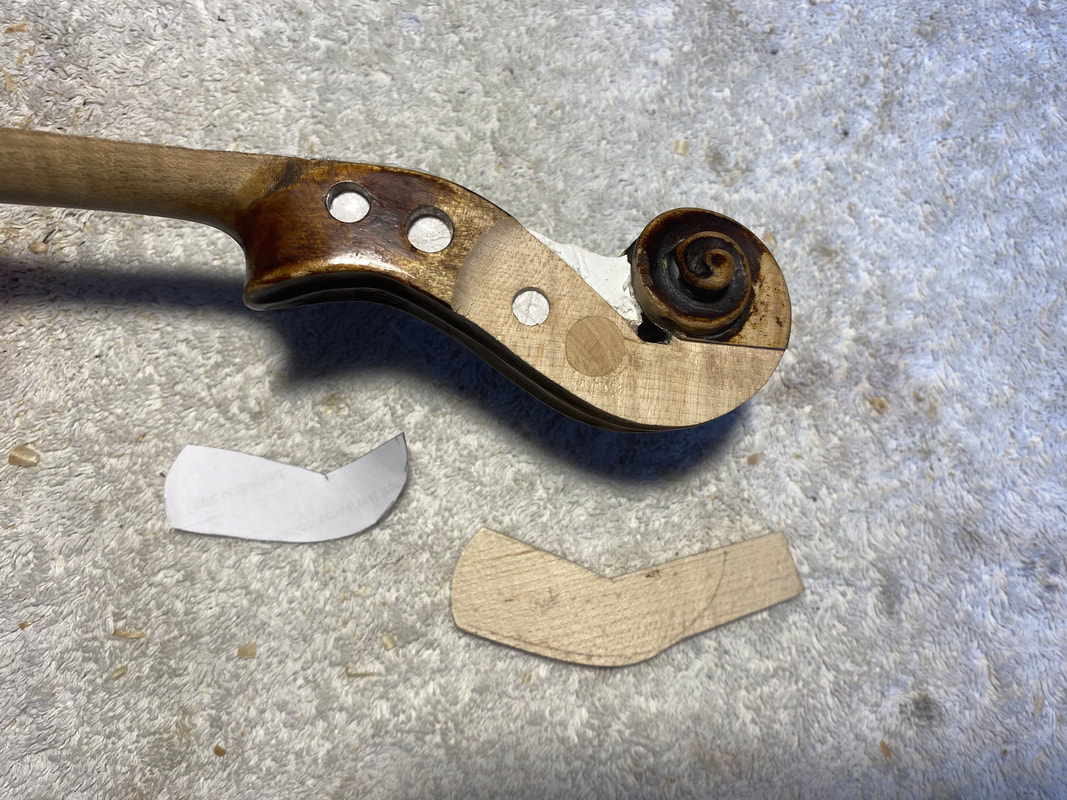
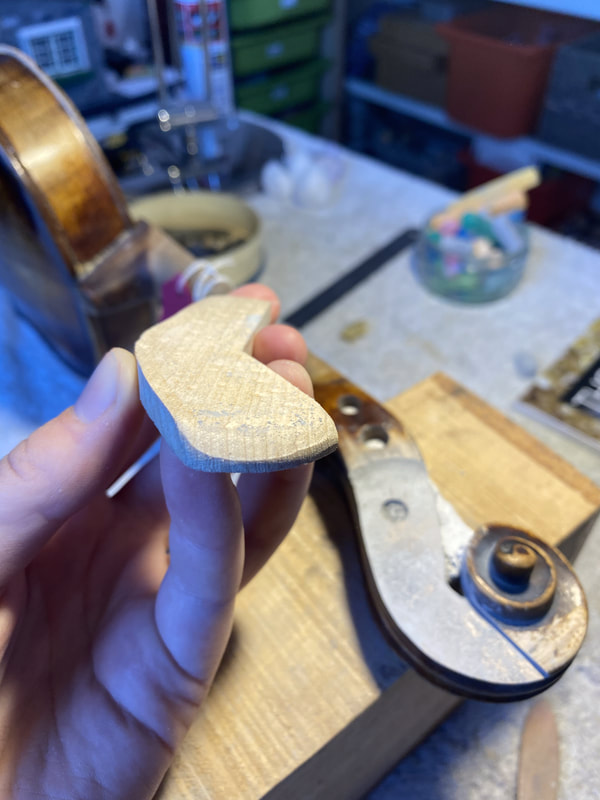
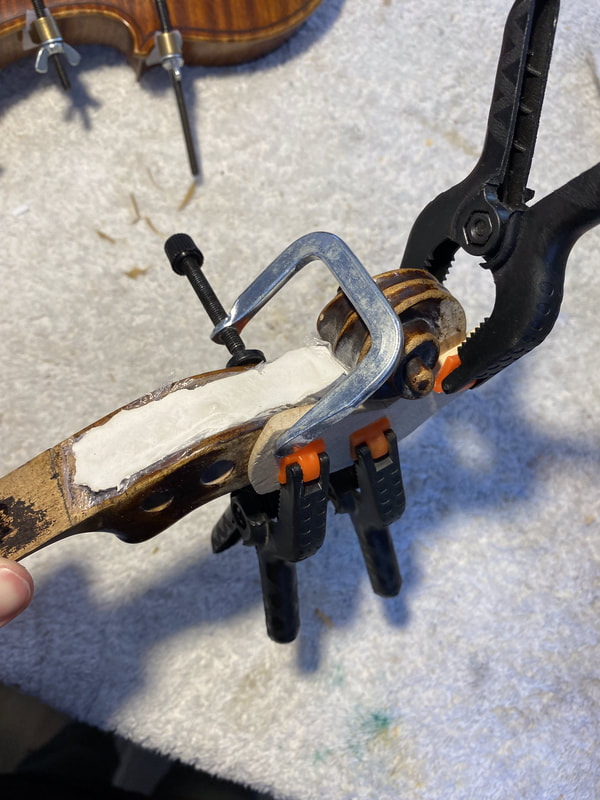
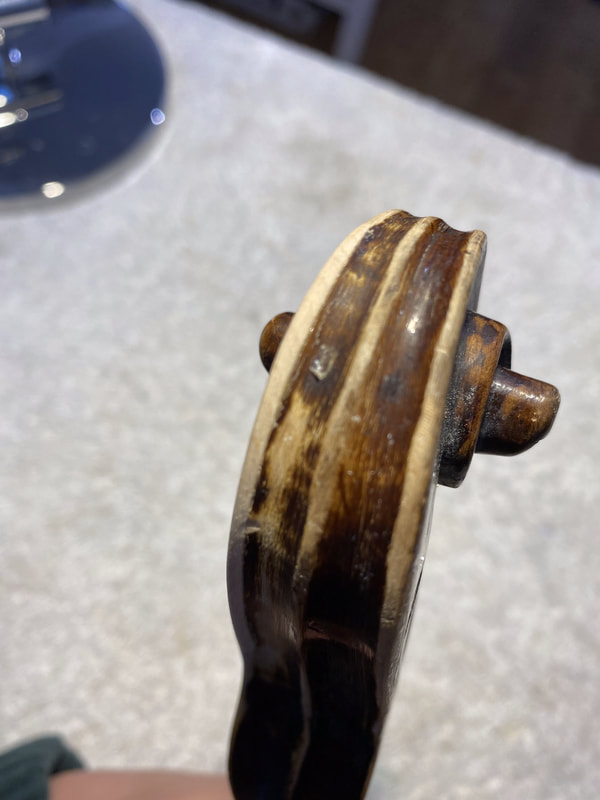
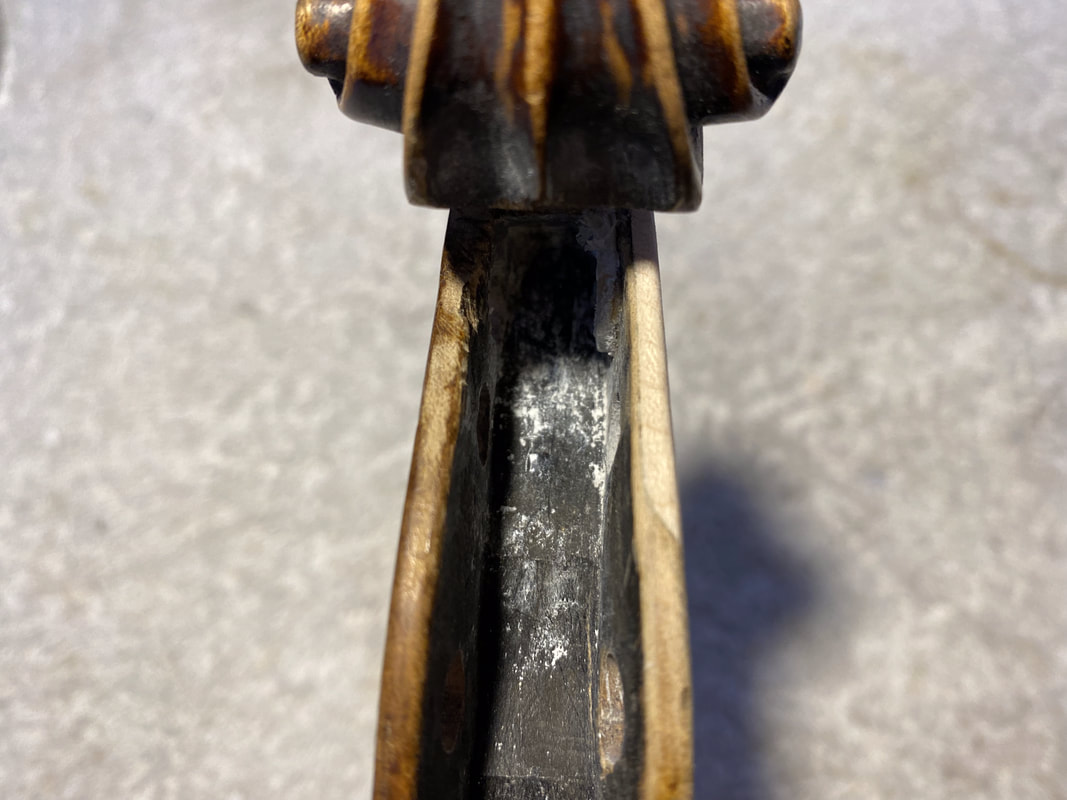
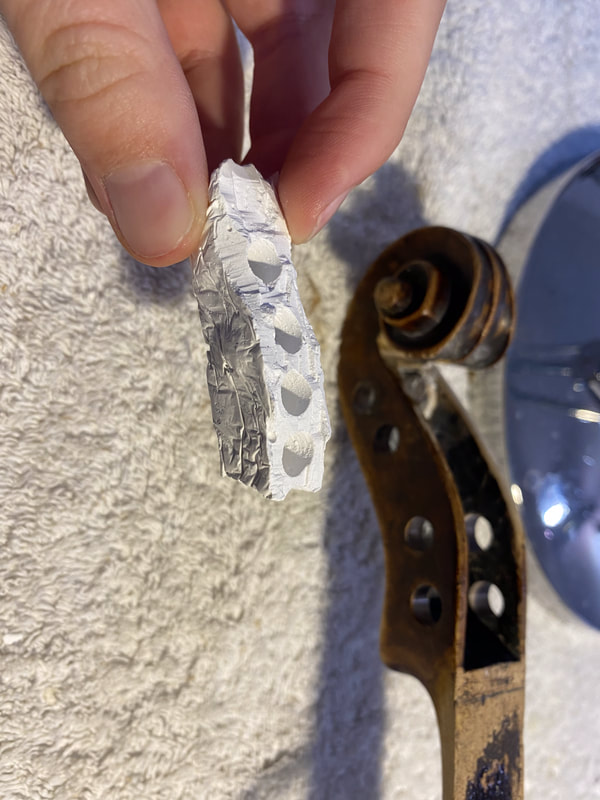
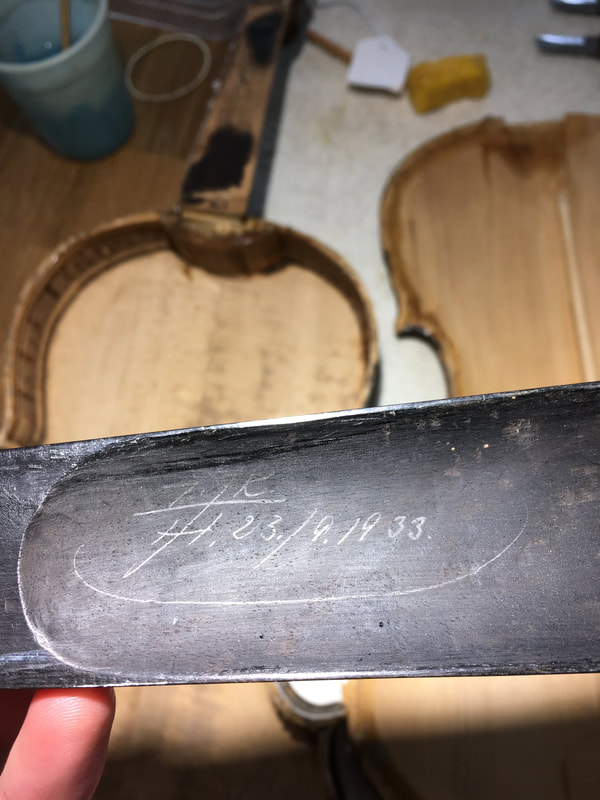
With the violin reassembled, the final repair required was to remove the existing, poorly fitted peg box patch which had subsequently cracked itself and replace it. We began by filling the peg box with plaster of Paris to support the walls of the peg box during the repair. We then carved our the patch bed, making sure that our new patch encompassed all of the damaged areas around the original patch. The A peg hole had been previously fished and whilst carving the patch bed the remains of this bushing (now extremely thin!) fell out. We therefore had to rebush the A peg hole before we could begin work on the patch. Once we were happy with the patch bed - and this is where we believe a repairer makes or breaks a patch (!) - we turned our attention to selecting wood for our patch which matched the existing grain lines and flaming on the scroll. We had created a template in order to mark the patch bed, which we subsequently used to saw the rough shape of the patch. The patch was then chalk fitted to the patch bed and glued in. Once the clamps were off we shaped the patch to match the curve of the scroll.