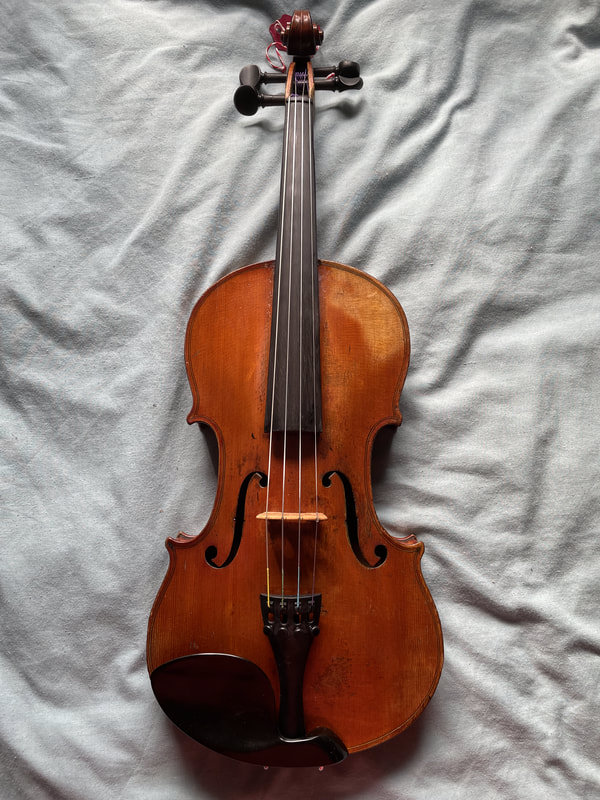
Through patch repair to a violin labelled 'Meyer'2021
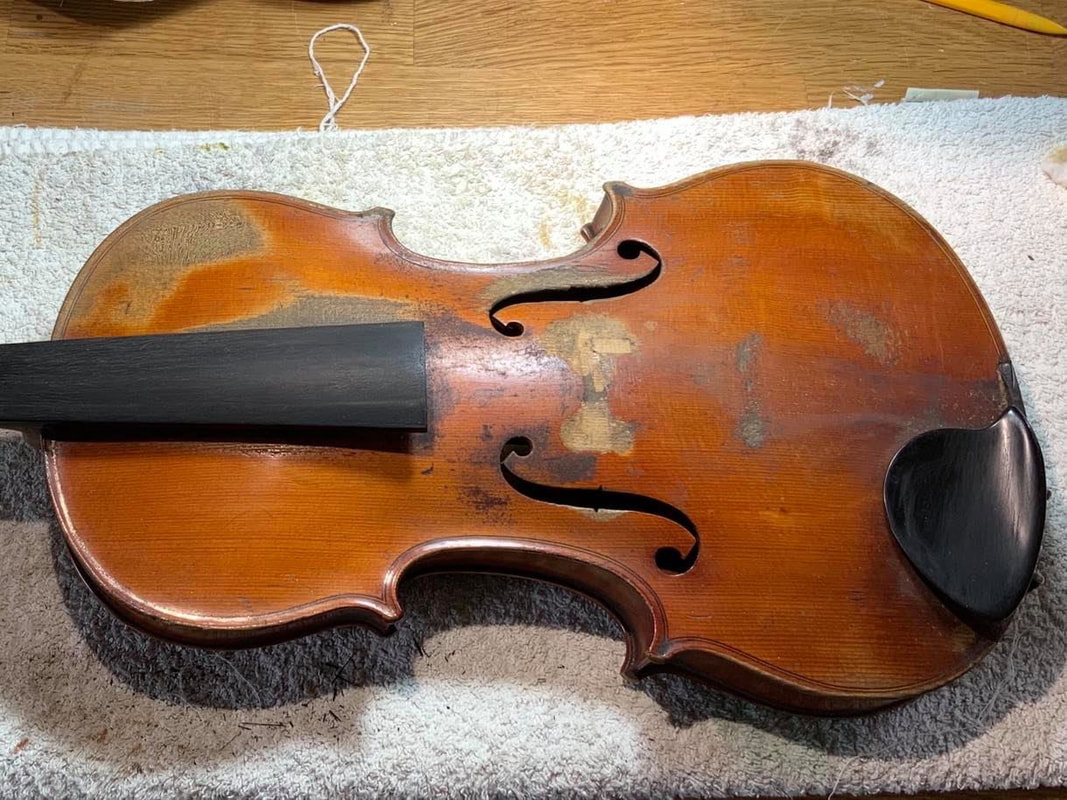
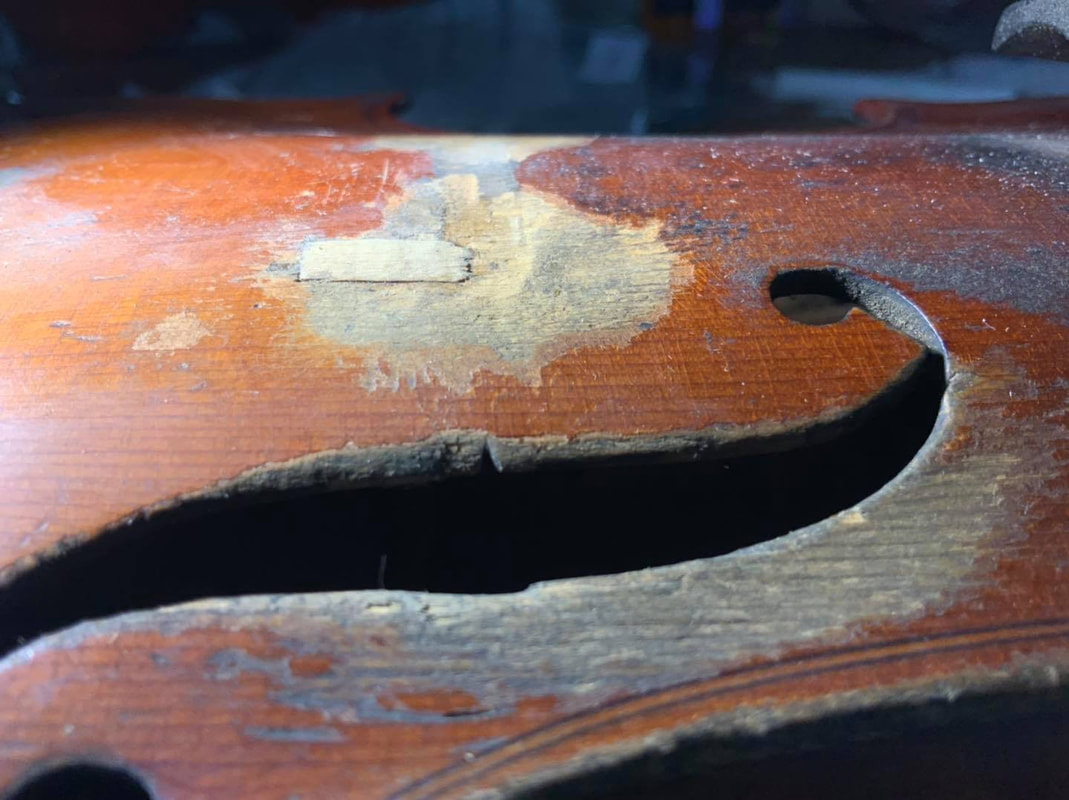
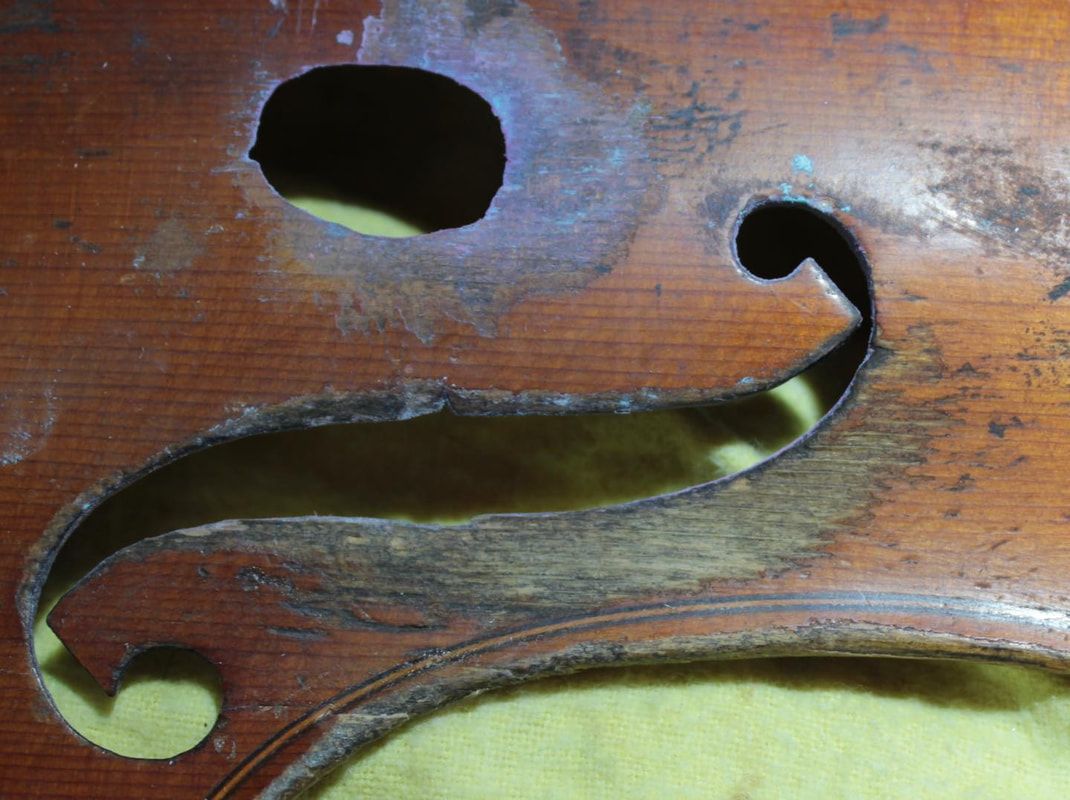
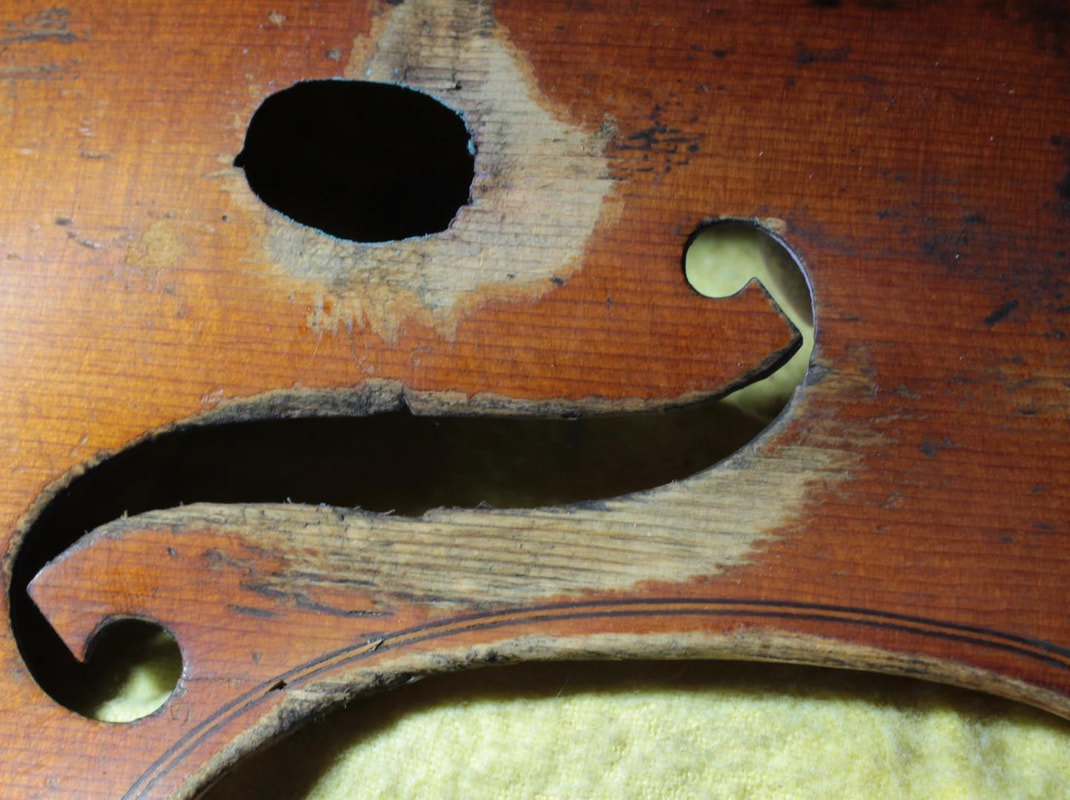
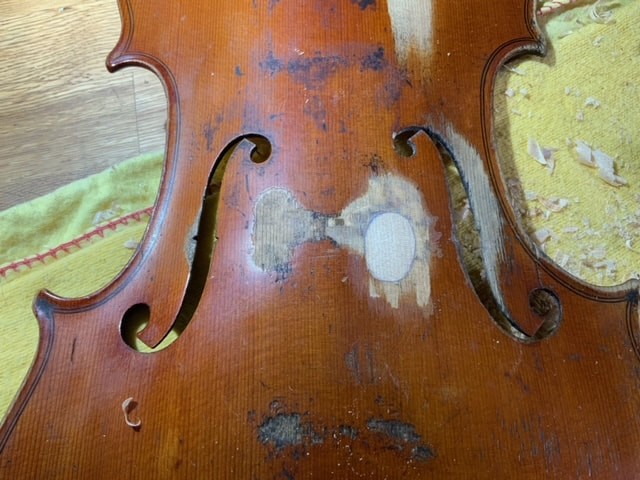
This violin arrived in the workshop with significant damage to the front, including a very poorly fitted square through-patch over the soundpost. In order to repair the damage caused by the previous repair a larger through-patch was required which, rather than going straight through the front like the previous one did, had a curved patch bed to reinforce the front from underneath as well as reinstate the missing wood. |

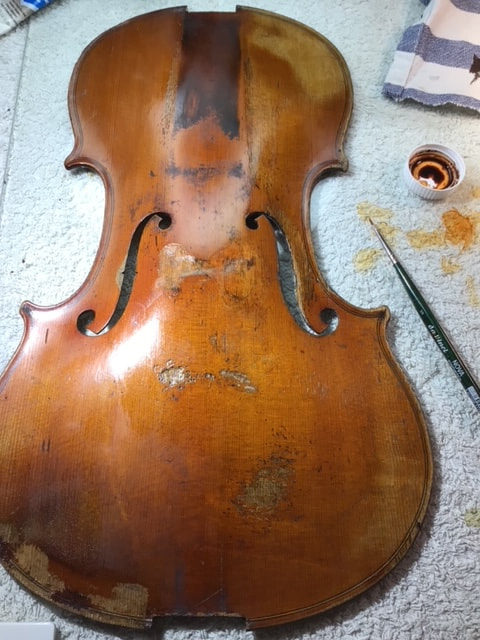
The finished repair awaiting colour matching!
|
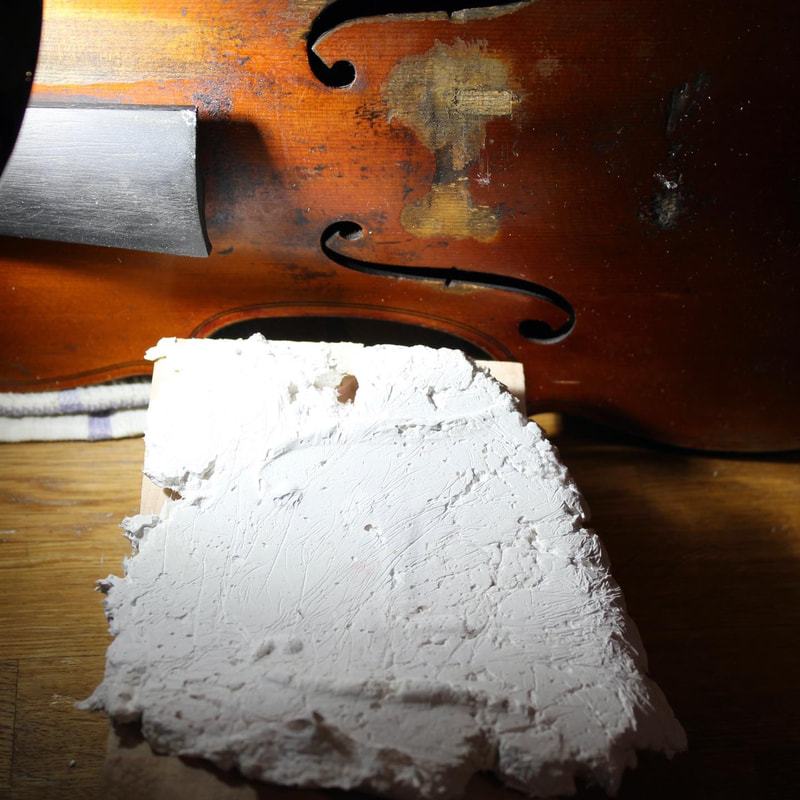
The first step was to cast a mold of the front which we could then use to support the front whilst the new patch was fitted in order to minimise the risk of damaging or distorting the shape of the front. We did this using Sculptamold modelling material, which allowed us to create an exact imprint of the soundpost area of the violin. (To see the other molds we have made, have a look at the full body mold we made for our Restoration of an Unlabelled Violin, or the partial mold we carved from wood for our Soundpost patch on an Unlabelled Northern European Violin).
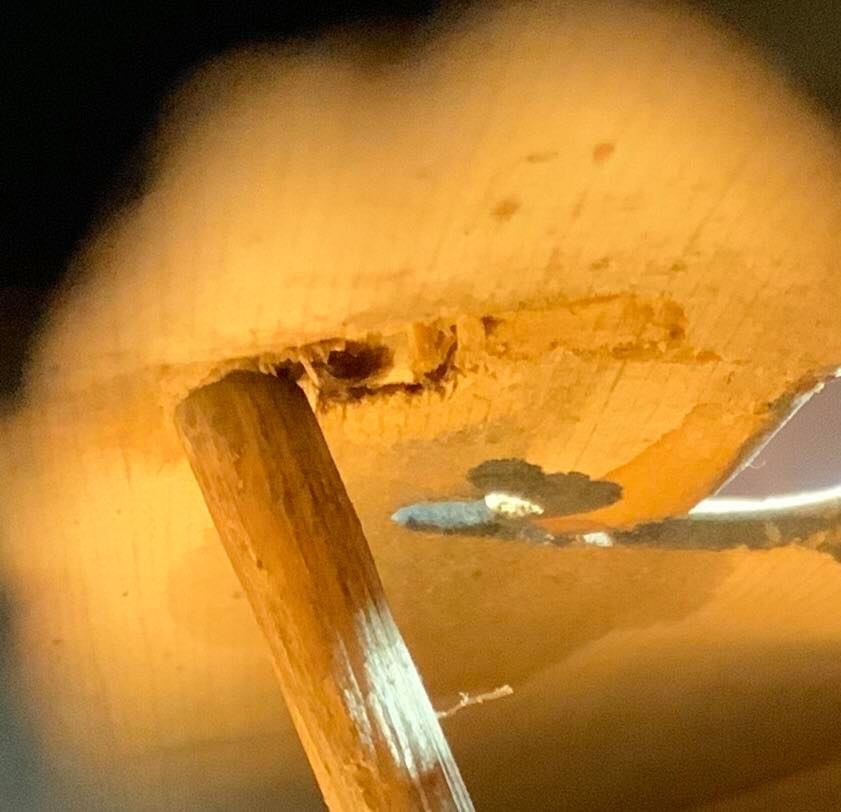
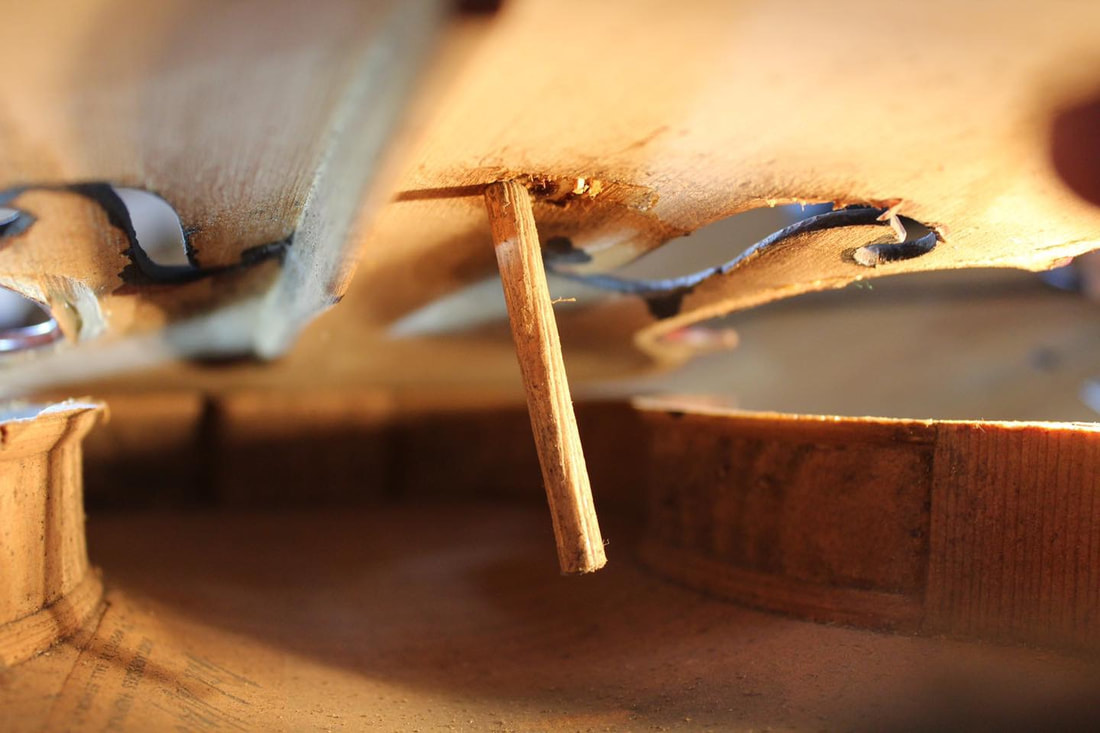
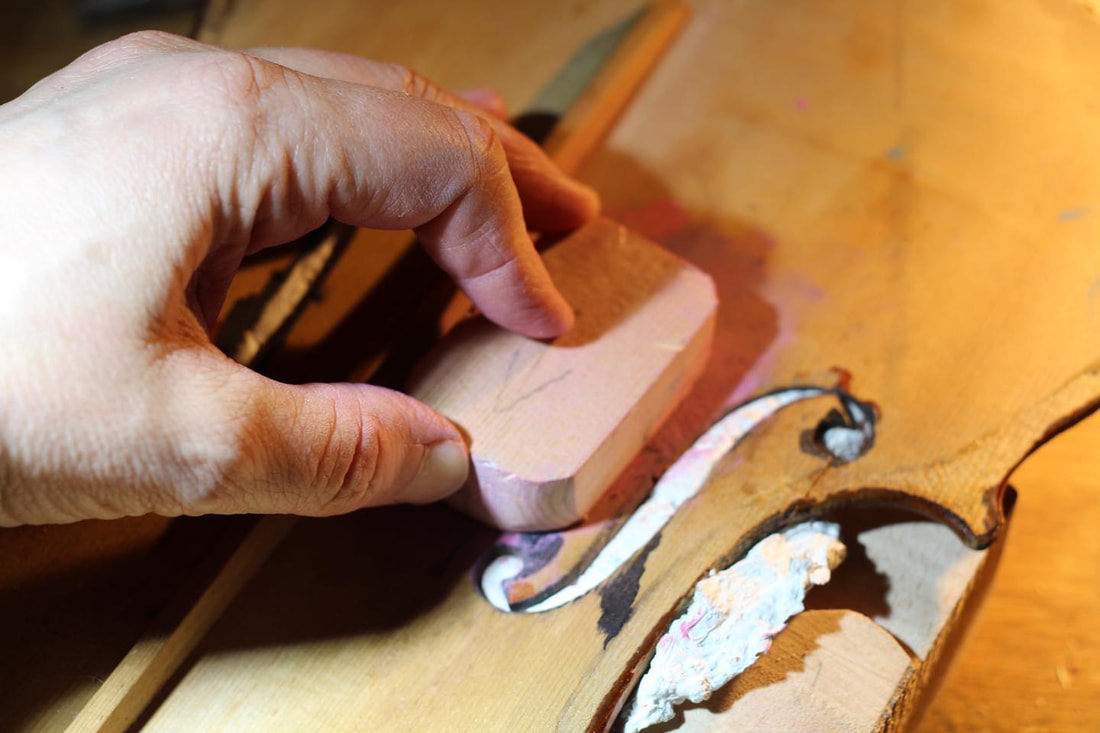
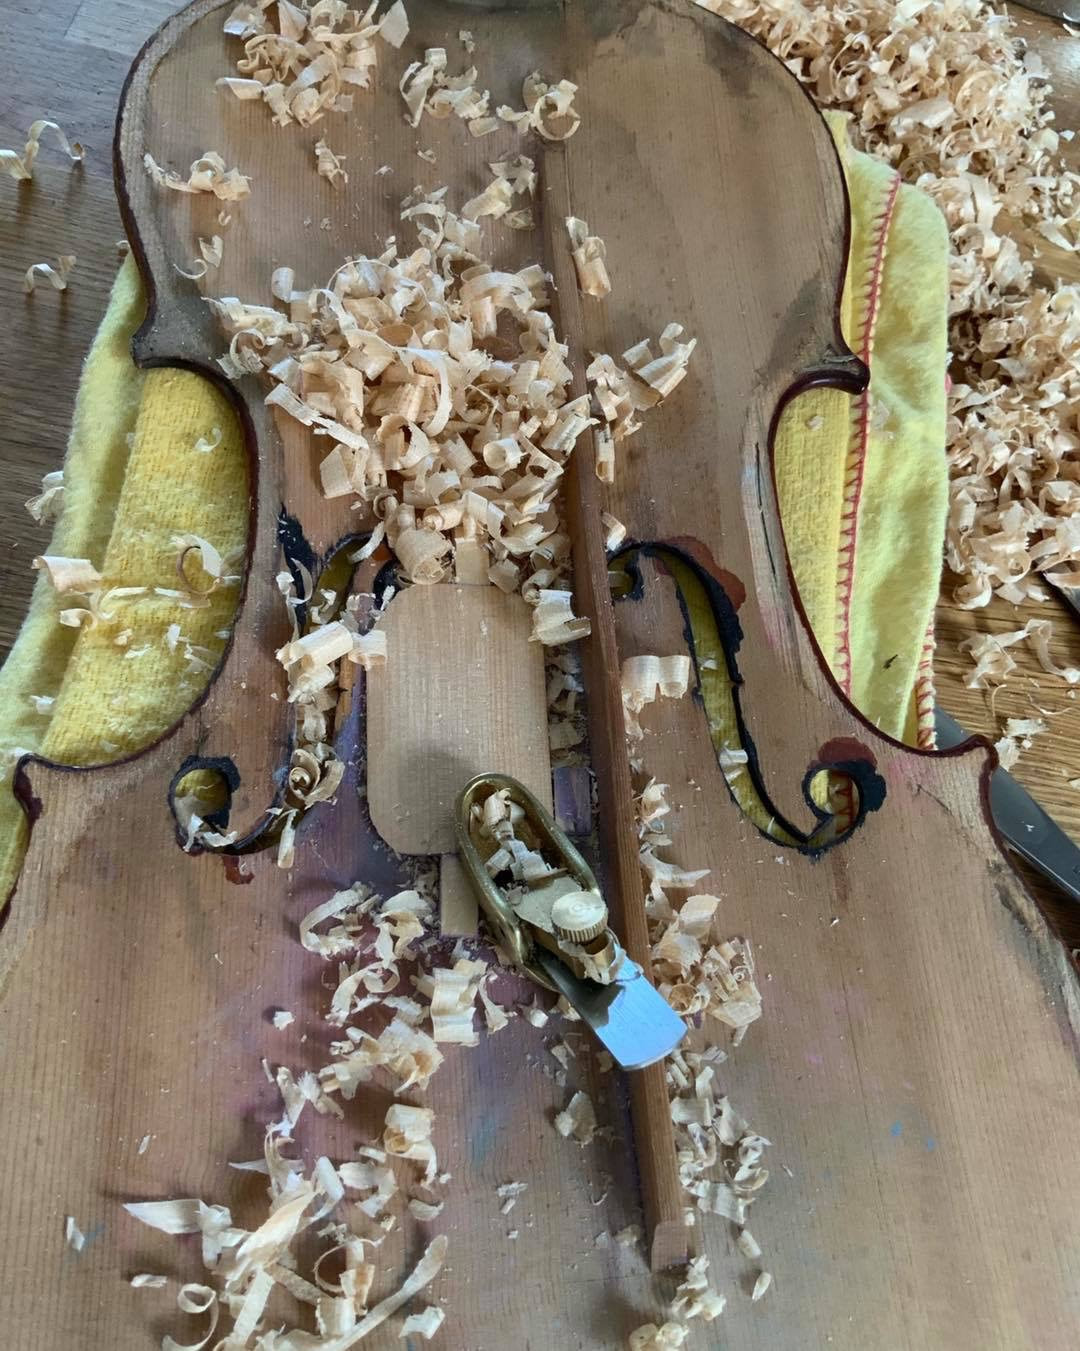
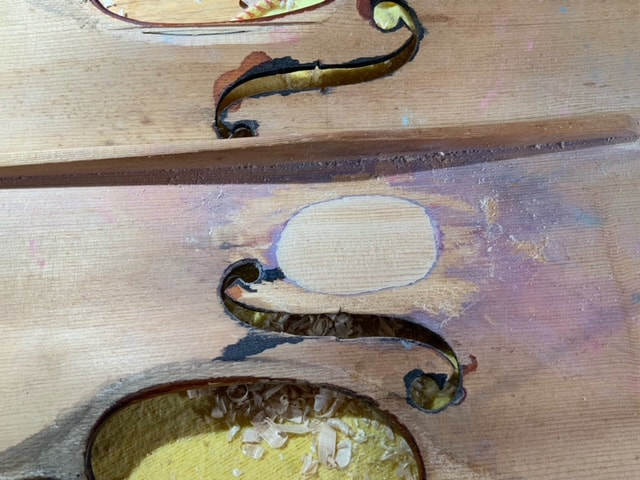
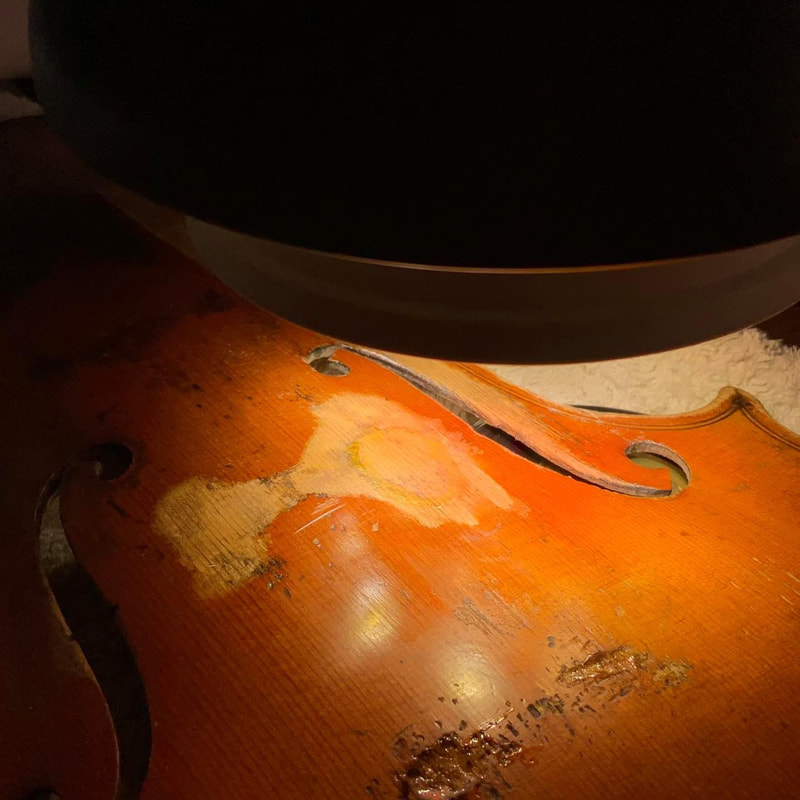
We began by carving the patch bed in the front of the violin. We supported the front of the violin using the mold to enable us to carve all the way through the front and remove the damaged area from the previous through-patch. We then began chalk-fitting our through-patch. We sourced spruce with a similar grain structure to the front of the violin to ensure that our repair matched the violin as closely as possible. Once we were happy with the fit we glued it in and shaped it to match the curvature of the front (both internally and externally).
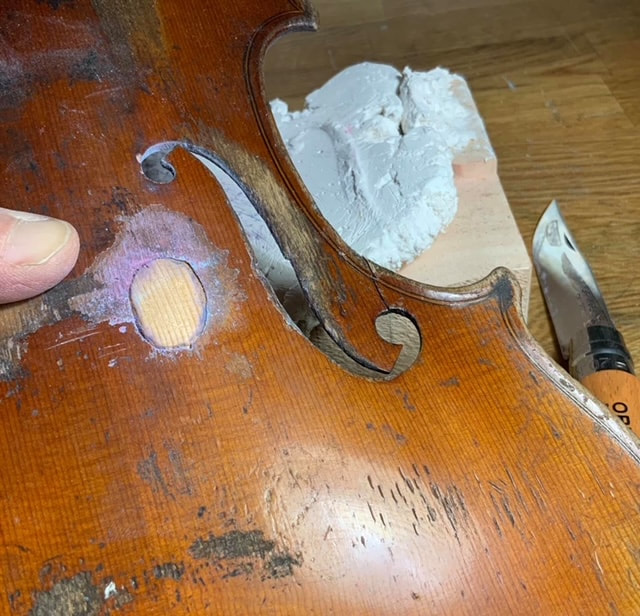
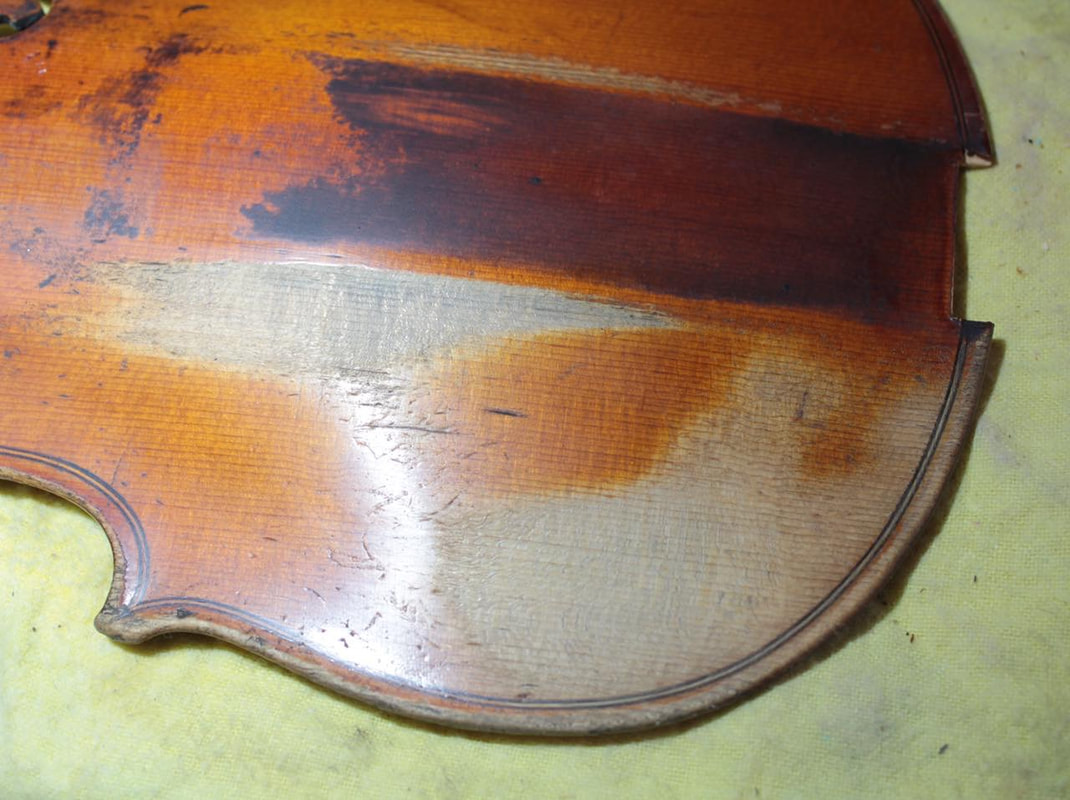
Damage to the front of this violin was not confined to the soundpost area. Previous wear had removed the varnish in several places, leaving bare wood exposed. Left unprotected this had subsequently absorbed dirt and oils from repeated handling. We removed the layers of dirt until we had re-exposed fresh bare wood. Then we began colour matching the worn areas (and our new through patch!) to match the existing colourings of the violin.
We began by carving the patch bed in the front of the violin. We supported the front of the violin using the mold to enable us to carve all the way through the front and remove the damaged area from the previous through-patch. We then began chalk-fitting our through-patch. We sourced spruce with a similar grain structure to the front of the violin to ensure that our repair matched the violin as closely as possible. Once we were happy with the fit we glued it in and shaped it to match the curvature of the front (both internally and externally).
Damage to the front of this violin was not confined to the soundpost area. Previous wear had removed the varnish in several places, leaving bare wood exposed. Left unprotected this had subsequently absorbed dirt and oils from repeated handling. We removed the layers of dirt until we had re-exposed fresh bare wood. Then we began colour matching the worn areas (and our new through patch!) to match the existing colourings of the violin.